
How to Read Knitting Charts
Knitting charts can seem daunting at first, but they are an invaluable tool for visualising patterns and enhancing your knitting skills. This guide aims to guide you thtough how to read knitting charts, symbols, and how to interpret them effectively. Whether you are a beginner or an experienced knitter looking to expand your repertoire, understanding knitting charts will open up a world of creativity and enable you to tackle a wider range of projects with confidence.
What Are Knitting Charts?
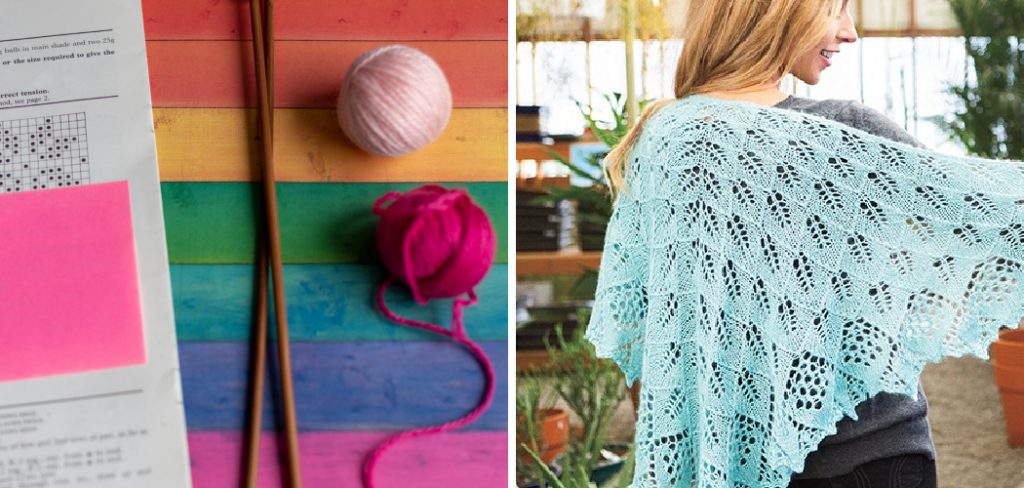
Knitting charts are visual representations of knitting patterns, providing a systematic way to understand and follow complex designs. Typically composed of a grid, where each square represents a stitch, these charts depict both the stitches and any colour changes needed in the project. They serve as a universal language for knitters, transcending written instructions and allowing for a clear, quick reference to the pattern. By using symbols to indicate various stitch types, such as knit, purl, or yarn overs, knitting charts make it easier for knitters to see the overall design and how stitches interact, enabling a more intuitive approach to creating beautiful knitted pieces.
Importance of Reading Knitting Charts
Reading knitting charts is essential for any knitter looking to elevate their craft. Charts provide a condensed visual representation of patterns, allowing knitters to quickly grasp the design without deciphering lengthy written instructions. This efficiency not only saves time but also reduces the likelihood of mistakes. Furthermore, many intricate patterns, especially lace and colourwork, are often best represented through charts, making them easier to follow. By mastering this skill, knitters can confidently explore complex designs and take on projects that might have seemed overwhelming, ultimately enhancing their creativity and knitting capabilities.
10 Methods How to Read Knitting Charts
1. Understanding the Basics of Knitting Charts
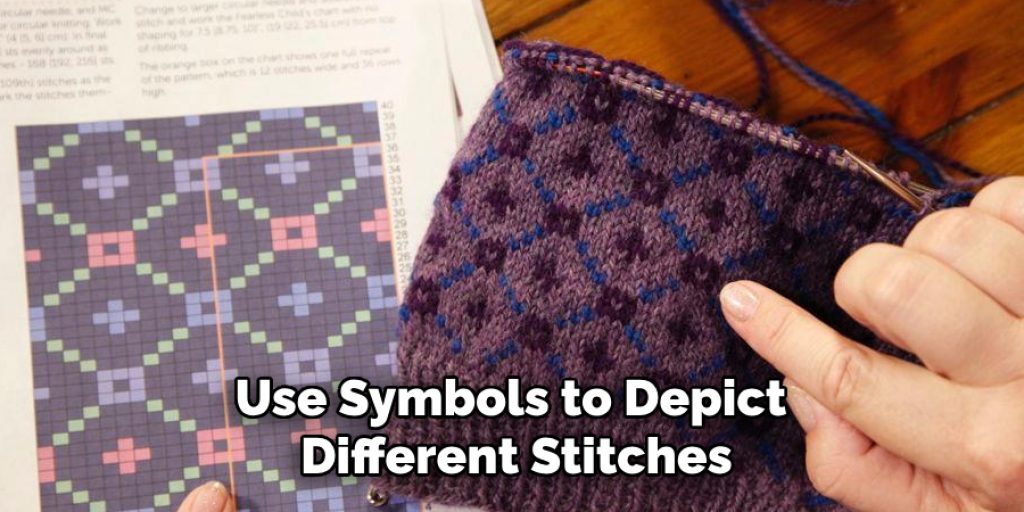
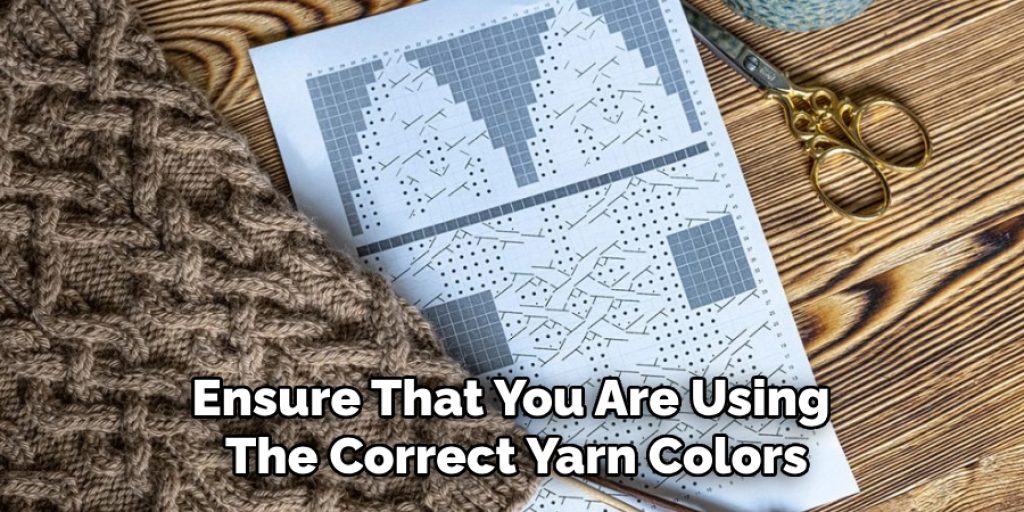
Knitting charts are graphical representations of knitting patterns that use symbols to depict different stitches, increases, decreases, and other techniques. Each symbol on the chart corresponds to a specific stitch or action that you need to perform while knitting. The chart is typically arranged in a grid format, with each square representing a stitch or a row in the pattern. Understanding the basic layout of a knitting chart, including how rows and columns are organized, is essential for interpreting the design and following the pattern accurately.
2. Familiarizing Yourself with Chart Symbols
Each knitting chart uses a unique set of symbols to represent various stitches and techniques. Common symbols include those for knit stitches (usually represented by a simple square or dot), purl stitches (often depicted as a small “p” or a line), and more complex symbols for decreases and increases. Some charts also use symbols for special techniques, such as cables or lace. To effectively read a chart, familiarize yourself with the legend or key provided, which explains what each symbol represents. Understanding these symbols allows you to accurately follow the pattern and reproduce the design.
3. Reading Charts from Right to Left and Bottom to Top
Knitting charts are generally read differently than written instructions. In most charts, rows are read from right to left on the right side (the public or “RS”) and from left to right on the wrong side (the “WS”). This reading direction mimics the natural direction of knitting on each side of the fabric. Additionally, charts are typically worked from the bottom to the top, with each row representing a new row of knitting. Understanding this reading direction is crucial for following the chart correctly and achieving the intended design.
4. Identifying and Following the Pattern Repeat
Many knitting charts include pattern repeats, where a section of the chart is repeated multiple times across the row. These repeats are often marked with brackets or other indicators to show where the repeat begins and ends. To read the chart effectively, identify the repeat section and understand how many times it should be worked across the row. Follow the symbols within the repeat for each instance, and be sure to maintain consistency throughout the row. Recognizing and following pattern repeats helps you maintain accuracy and consistency in your knitting project.
5. Deciphering Stitch and Color Changes
Some charts include color changes or stitch variations within the pattern. Colorwork charts typically use different colors or shading to indicate which color of yarn to use for each stitch. Pay close attention to the color key provided with the chart to ensure that you are using the correct yarn colors. For stitch variations, such as lace or cable patterns, follow the symbols and instructions carefully to achieve the desired effect. Deciphering and managing these changes is essential for creating complex and visually appealing designs.
6. Using the Chart Key or Legend
The chart key or legend is an essential component of any knitting chart, providing explanations for the symbols used in the pattern. This key typically includes a visual representation of each symbol along with a description of what it represents. Before you start knitting, review the key thoroughly to familiarize yourself with the symbols and their meanings. Refer to the key frequently while working on the chart to ensure that you are interpreting the symbols correctly. A clear understanding of the chart key is crucial for accurate and successful knitting.
7. Tracking Your Progress on the Chart
Keeping track of your progress on a knitting chart helps you avoid mistakes and stay on course. Use a row counter or mark the rows you have completed with a pen or sticky notes to monitor your progress. For charts with multiple repeats, use a highlighter or a separate piece of paper to track which repeat you are currently working on. Regularly checking your progress and staying organized helps prevent errors and ensures that you follow the pattern accurately from start to finish.
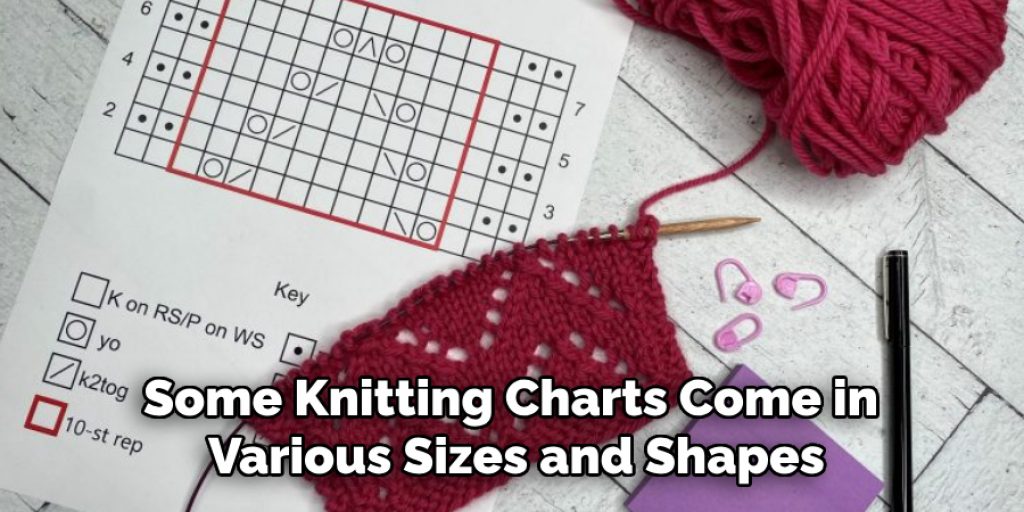
8. Handling Charts with Different Sizes and Shapes
Some knitting charts come in various sizes and shapes, depending on the complexity of the design. Large charts may include multiple pattern repeats or complex stitch arrangements, while smaller charts may focus on simple motifs. When working with different sizes and shapes, adjust your approach accordingly. For larger charts, break the pattern into manageable sections and focus on one section at a time. For smaller charts, pay close attention to the details and ensure that you maintain accuracy throughout. Adapting to different chart sizes and shapes helps you manage complexity and achieve the desired results.
9. Practicing with Simple Charts
If you are new to knitting charts, start by practicing with simple charts to build your confidence and skills. Choose patterns with basic stitches and straightforward designs to familiarize yourself with reading and interpreting charts. As you become more comfortable with simple charts, gradually progress to more complex designs and patterns. Practicing with simpler charts allows you to develop a solid foundation and gain experience before tackling more intricate projects.
10. Seeking Help and Clarification
If you encounter difficulties or confusion while reading a knitting chart, do not hesitate to seek help and clarification. Consult knitting books, online resources, or knitting communities for guidance and support. Many knitting patterns also provide additional instructions or tips for reading the chart. If you are still unsure, reach out to experienced knitters or pattern designers for assistance. Seeking help when needed ensures that you understand the chart fully and can complete your knitting project successfully.
Tips for Achieving the Best Results
- Choose Quality Yarn and Needles: Selecting high-quality yarn and appropriate needle sizes for your project can significantly impact the final outcome. Opt for materials that complement your chosen pattern and ensure they are suitable for your skill level.
- Take Your Time: Knitting with charts can be challenging, especially if you are just starting. Allow yourself time to understand the pattern and don’t rush through the process. Enjoy the journey of creating!
- Stay Organised: Keep your workspace tidy and organized by using containers for your yarn and tools. A clutter-free environment can help you concentrate and work more efficiently.
- Practice Regularly: The more you practice reading charts, the more confident you will become. Dedicate time each week to work on different types of charts to enhance your skills and experience.
- Review and Confirm: After finishing a section of the chart, take a moment to review your work for accuracy before moving on. This can save you time and effort in the long run by catching mistakes early.
- Keep a Knitting Journal: Document your projects, including details about yarn, needle sizes, and any modifications you make. This will help you learn from each project and track your growth as a knitter.
Conclusion
Reading knitting charts is an essential skill for tackling a wide range of knitting patterns and designs. By understanding the basics of charts, familiarizing yourself with symbols, and following the chart’s layout and instructions, you can successfully interpret and execute intricate patterns. Whether you are working with simple designs or complex motifs, these detailed methods will help you master the art of reading knitting charts and enhance your knitting experience. Thanks for reading, and we hope this has given you some inspiration on how to read knitting charts!
Elizabeth Davis
Elizabeth is a creative writer and digital editor based in the United States. She has a passion for the arts and crafts, which she developed from a young age. Elizabeth has always loved experimenting with new mediums and sharing her work with others. When she started blogging, she knew that DIYquickly would be the perfect platform to share her tutorials and tips. She's been writing for the blog from the beginning, and her readers love her helpful advice and easy-to-follow instructions. When she's not writing or editing, Elizabeth enjoys spending time with her family and friends.


