
How to Recover a Vintage Lampshade
There are some things that you can’t recover, like the time you accidentally spilled coffee all over your new white shirt on your way to an important meeting. You might think it’s impossible to get out those stains, but maybe there is a solution to this problem.
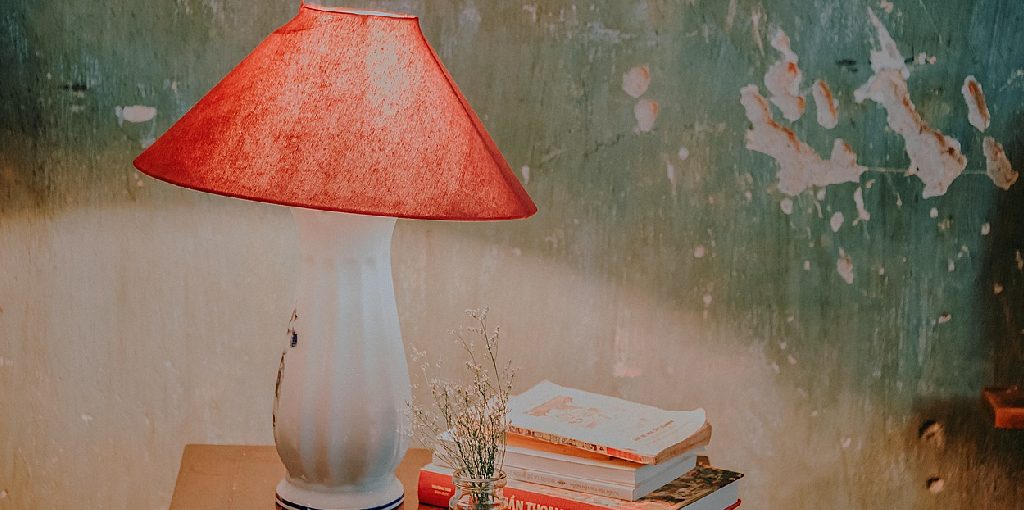
If you have a vintage lampshade at home and it needs some cleaning, here are some tips on how you can clean the dirt off or remove dust from its surface. So, this article is for you. You will learn how to recover a vintage lampshade with just one simple trick!
Step to Follow on How to Recover a Vintage Lampshade
Step One: Determine
First, determine what type of coverage you have. There are a variety of fabrics and styles, some more common than others, but by looking around the lampshade itself, you should be able to tell pretty easily. For example, if the fabric is translucent or sheer, like tulle or organza, you can most likely make out the shape of the frame below.
This is a good indicator that you would need to use some paste or adhesive, as tulle and organza do not stick well to surfaces on their own. On the other hand, if the fabric is a more substantial material like velvet, you will most likely want to recover the shade using needle-and-thread techniques, but be sure to use the appropriate needle.
Step Two: Cut to Size
Find an Exacto knife or other very sharp object and cut carefully around the exterior circumference of your lampshade, making sure not to nick any fabric. Note that you may need to use multiple blades for this step; replace the blade immediately if it becomes dull.
Keep a sponge and a cup of water nearby to wipe away any excess crumbs from the fabric as you cut. Be sure to hold the fabric taught around its circumference as you cut, and not too tightly so that the fabric is not pulled out of shape or crease lines form.
Step Three: Remove Lining
Once you’ve turned over your lampshade and cut around the frame’s exterior circumference, you can remove its lining from the frame. Take care to cut any fabric that has been glued or attached at all, as this lining is usually stapled or nailed into place and requires careful cutting not to damage other parts of the lampshade.
Lining can be pulled off by hand in large pieces, so keep your hands on the outside of the lampshade and pull from there. You may have to cut some pieces that are too difficult to rip off by hand, but be careful not to damage the inside of the lampshade when cutting with a knife.
Step Four: Clean
You will need to clean dirt or dust off of all facets of the lampshade before continuing, so use a damp sponge to wipe down the fabric outside. Next, use an air duster that can blow away any difficult particles to remove with a damp cloth. Once your lampshade is free from debris, you can remove any staples or nails that may still be in place.

Start by removing the back, if there is one, usually only on more contemporary lampshades with linings. Then, work your way to loosen any staples along with the heading where the lining was attached. This will help in how to recover a vintage lampshade.
Step Five: Prepare Frame
Begin preparing your lampshade for a new covering by removing its old, damaged headings with pliers if necessary. If you are covering the lampshade with a fabric or material that does not have its heading, then you will need to use your needle-nosed pliers to roll the wire of neighboring sashes together tightly so there is no gap between them for light to pass through.
Tightly twist these wires together with the pliers until they are slightly difficult to roll, and then snip off any excess wire at their ends with wire cutters. Once you have rolled all of your sashes together in this way, you can use needle-nosed pliers or a tack hammer to bend the wires inward on themselves, so they do not stick out from the fabric.
Step Six: Rewire Sash
If you are using a fabric with its headings, such as lace or tulle, then the sashes of your lampshade should already be rewired, so proceed to Step Seven. However, if you are covering your lampshade with a material that does not have its headings, such as velvet, cotton, or linen, then you will need to rewire the sashes of your lampshade yourself.
Wire lampshades are manipulated by cutting off any excess or corroded wire at their ends with wire cutters. Next, use needle-nosed pliers to bend these wires at a ninety-degree angle perpendicular to the sash itself. Then, grab each wire with your needle-nosed pliers to horizontal with the sash and twist it around its neighboring wire tightly.
Step Seven: Maintain Shape
Once you have wired your lampshade, it may be necessary to maintain its shape. You can twist any sashes that are too loose and floppy back into place with pliers and then hold them in place with electrical tape until their new soft lining material prevents them from moving around.
Using a tack hammer or other small tool, tap any loose staples or nails back into place on your lampshade so that it holds its shape. You can also use tape to hold the new headings in place while you work, as many fabrics will be difficult to work with as you cut and sew them into place.
Conclusion:
If you’re a vintage lampshade collector or just want to try your hand at restoring one of these old beauties, we hope this blog post has been helpful. We’ve given you some tips on how to clean and restore the original beauty that lies beneath years of dust and dirt!
Whether it’s an heirloom from grandma’s attic or something more modern that needs a facelift, you can get that old lampshade recovered in no time. The conclusion paragraph is informative and provides information on how to recover a vintage lampshade.


