How to Remove a Granite Countertop
Remodeling a kitchen or bathroom is an exciting task, but knowing exactly how to do it can be daunting. One of the most difficult parts of many home improvements is figuring out how to safely and effectively remove a granite countertop from its installed location. Fortunately, with some basic tools and knowledge, this job can be easily done without the help of a professional. Read on for helpful tips on how to remove a granite countertop!
Is It Hard to Break a Granite Countertop?
Yes, it is possible to break a granite countertop. Granite is an exceptionally hard material, but it’s not impossible to break. It’s important to use the right tools and take the necessary steps to protect your countertop from damage during removal. However, taking precautionary steps, like using an angle grinder with a diamond-tipped blade to cut through tough spots, will help minimize potential damage.
10 Methods How to Remove a Granite Countertop
1. Use a Putty Knife:
You can use a putty knife to help loosen the adhesive between the countertop and its substrate. Gently work your way around the countertop until it is loose enough for removal. If you are not familiar with how to use a putty knife, ask a professional for assistance. However, be aware that using a putty knife can cause damage to your countertop, so it should only be used with caution.
2. Remove Any Fixtures:
Unscrew any fixtures which may be stopping you from removing the countertop. This includes things like sinks, faucets, and other items that are attached to the granite. While you’re at it, you may want to consider removing any items that are placed on top of the countertop as well. Try to do this carefully so as not to damage the countertop or anything else.
3. Use an Electric Saw:
Using an electric saw with a diamond blade can make cutting through tough spots easier and faster than a hand saw or grinder. Be sure to wear appropriate safety gear, such as eye protection and gloves, when using power tools on your project. Make sure to use the correct blade for your material. However, if you are unsure what type of blade to use, consult a professional for advice.
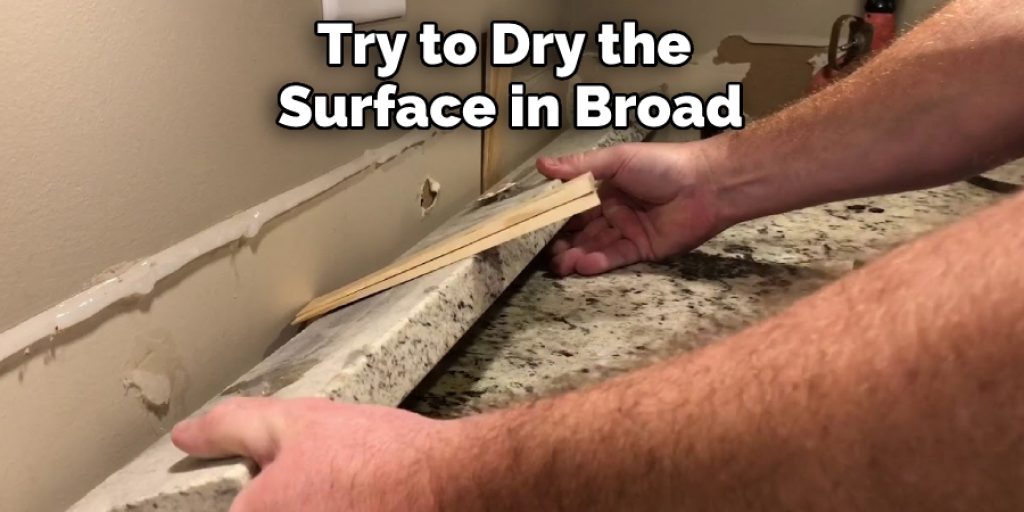
4. Apply Warm Water:
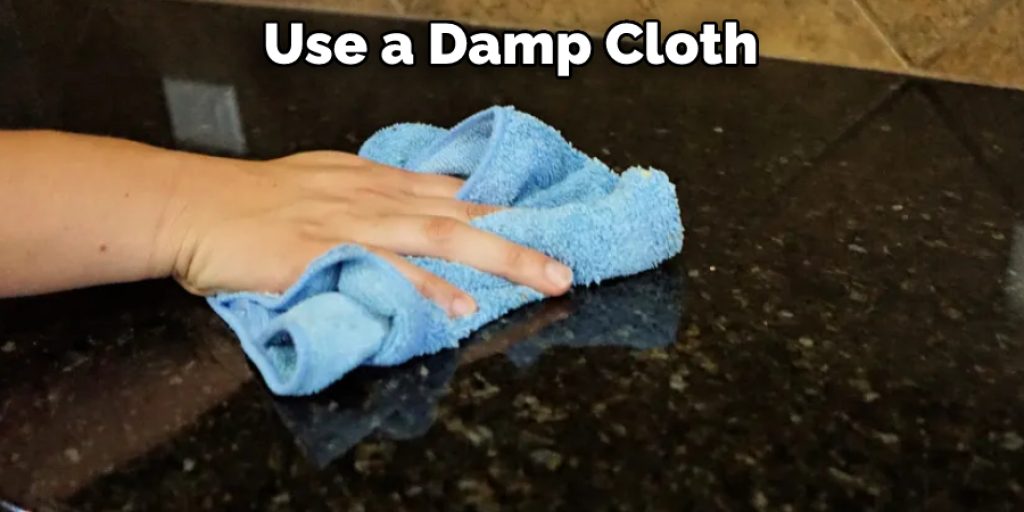
Applying warm water to the adhesive between the countertop and its substrate can make it easier to remove. Be sure not to use too much, however, as this may damage the surface of your granite. If you are concerned about potential damage, use a damp cloth instead. Although it may take longer, it is less likely to cause any lasting damage. Make sure to use a steady hand when applying the warm water, and work slowly to ensure that you do not miss any areas.
5. Use a Pry Bar:
You can also use a pry bar or other similar tool to help loosen up any stubborn spots that won’t come free with just a putty knife. Be careful when using this method, as you don’t want to chip or crack your countertop in the process. However, if done properly, this can be a great way to finally get that stubborn glue off your countertop.
Be sure to use the right size and shape of pry bar for the job and only use gentle pressure. If you can’t get something off with a putty knife or pry bar, it may be time to try a stronger adhesive remover such as Goo Gone or a solvent like acetone. Be sure to use these products with caution and follow all safety precautions.
6. Apply a Heat Gun:
Applying a heat gun to the adhesive can also soften it and make removal easier. Start at one corner of the countertop and slowly move the heat gun in a circular motion, being careful not to stay in one place for too long as this could cause damage.
If you don’t have a heat gun, you can use a blow dryer on its highest setting. Make sure the area is well-ventilated and take frequent breaks. Once the adhesive is softened, you can scrape it off with a putty knife or other scraping tool. Remember to be gentle and not gouge into the surface of the countertop.

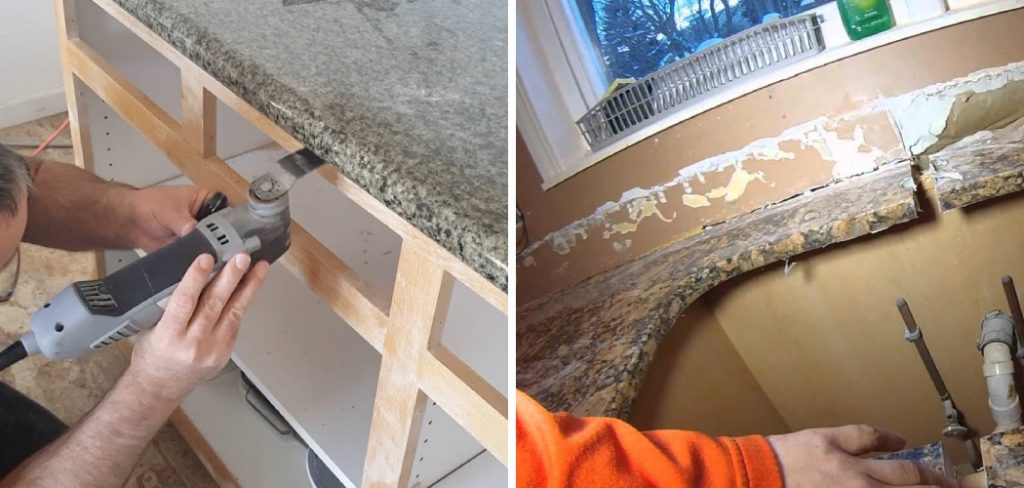
7. Cut Through Adhesive with an Angle Grinder:
An angle grinder with a diamond-tipped blade is perfect for cutting through tough spots of adhesive that won’t come loose with other methods. Be sure to wear safety gear when using power tools on your project. Try to make shallow cuts and work slowly to help prevent any damage to the material underneath. Once you’ve made a few passes with the grinder, you should be able to peel away the adhesive with a putty knife or other flat-edge tool. Be sure to clean up any particles created by the grinder with a vacuum before continuing on your project.
8. Use a Hammer & Chisel:
If you still can’t remove stubborn spots of adhesive, try using a hammer and chisel to gently loosen them up. Take your time and be sure not to apply too much pressure, as this could damage your countertop. However, if you do accidentally chip the countertop, try to fill it in with a few drops of epoxy. This should help to keep any further damage from occurring and will help to restore the original look of your countertop.
9. Fill in Holes:
Once you’ve successfully removed the countertop, fill in any remaining holes with an appropriate patching compound. Be sure to let it dry completely before installing the new countertop. If possible, use a sealant to help protect the patch from future water damage. However, if the hole is too deep or large, you may need to install a new piece of plywood or another type of backing material before proceeding with the installation. Make sure the patch is flush with the surface of the countertop.
10. Wipe Down the Surface:
Finally, use a damp cloth or sponge to wipe down the surface and make sure all of the debris from removal is cleaned up properly. This will help ensure that your newly installed countertop looks its best.
Try to avoid using any abrasive cleaners or harsh chemicals on the surface, as these can cause damage to the countertop material. If you have stubborn stains that need extra attention, consider using a gentle cleanser to remove them. Now that you’ve successfully removed and replaced your countertop, enjoy the results of your hard work!
Following these steps should ensure that you remove your granite countertop without damaging it beyond repair or causing injury to yourself during the process. Be sure to take your time and use the right tools for the job—your efforts will be rewarded with a countertop that looks as good as new.
You Can Check It Out Seal Quartz Countertops
Things to Consider When Removing a Granite Countertop:
Once you’ve decided to remove your granite countertop and replace it with a new one, there are several things to keep in mind.
1. Assess the Damage:
Before you begin removing the countertop, assess any existing damage it may have. If there are cracks, chips, or other damage, you may need to take extra steps during the removal process.
2. Gather the Right Tools:
Gather the right tools for removing a granite countertop. This includes safety gear such as goggles and gloves, a hammer and chisel, a flathead screwdriver, and a caulk remover tool. You may also need to rent special equipment such as jackhammers or power saws.
3. Disconnect Fixtures:
Disconnect any fixtures attached to the countertop, such as sinks and faucets, before you begin work on it. This will reduce the risk of damaging them while attempting to remove the granite slab itself.
4. Turn off Water Supply:
Make sure you turn off the water supply for the sink or faucet before you begin work. This will prevent any flooding if you accidentally break a connection while removing the countertop.
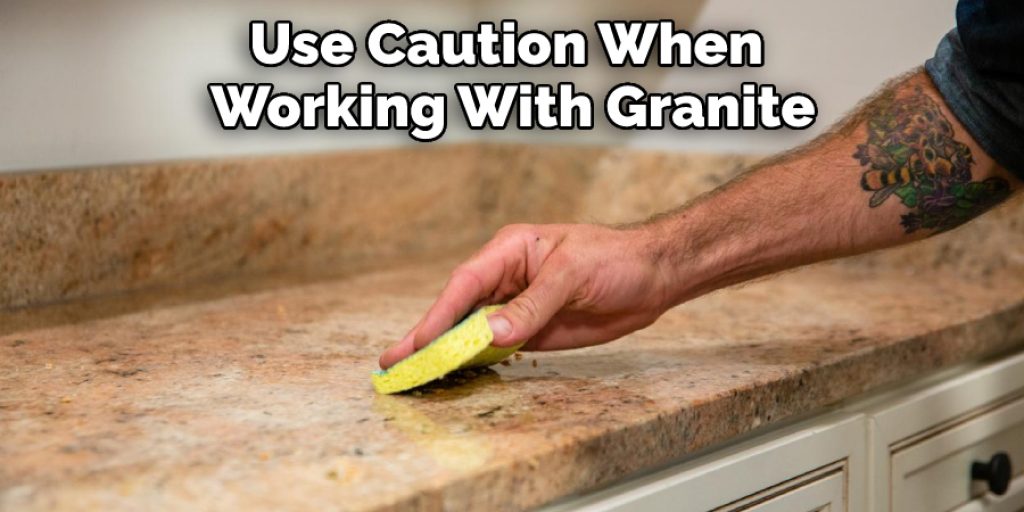
5. Use Caution:
Always use caution when working with granite countertops to avoid injury. Be sure to wear gloves and goggles, and take proper safety precautions, such as wearing a dust mask and protective clothing when dealing with power tools or chemicals that could be hazardous to your health.
6. Dispose of Garbage Properly:
Once your countertop is removed, make sure to dispose of it environmentally friendly, such as through local recycling centers or donating it to a building materials reuse center. Additionally, look into ways you can repurpose the granite creatively, such as turning it into garden stepping stones.
You Can Check It Out Paint Granite Countertops White
Conclusion
Removing a granite countertop may seem like a daunting task, but with the right tools and some care, it can be done relatively easily. Be sure to take your time and work carefully to avoid damaging your cabinets or floors. With a little patience, you’ll have that old countertop out in no time. Now that you know how to remove a granite countertop be sure to take the proper safety precautions and have all of the necessary tools. With a little time and effort, you’ll have your old countertop out in no time.
Angela Ervin
Angela is the executive editor of DIY quickly. She began her career as an interior designer before applying her strategic and creative passion to lifestyle and home. She has close to 15 years of experience in creative writing and online content strategy for housekeeping, home decorations as well as other niche efforts. She loves her job and has the privilege of working with an extraordinary team. She lives with her husband, two sons, and daughter in Petersburg. When she's not busy working she spent time with her family.