
How to Remove a Push Nut
The manufacturer of cars doesn’t put the car parts as they should be; this will be the first thing hitting your brain when you are about to fix something in your car. The manufacturer usually bolted the things under the assumption. That’s why you will face numerous complications when you are about to replace the parts or repair something.
Among its several tricky joints, Push nuts are one of the popular ones that have reduced the manufacturing cost dramatically. They work like glue when holding any attachment, and that’s why removing a push nut is a kinda challenging task. Don’t worry; I am here to show you how to remove a push nut in the simplest ways. So, without any delay, let’s dive in!
How to Remove a Push Nut
Step 1
You will need a nose vice grip and a pick set to remove a push nut. Start by removing the plastic cover on the push nut. Pry off the cover gently by using a flathead screwdriver. Once you can expose the push nut, use the screwdriver to pry it off completely from the surface. Next, clamp vice grips onto the center of the retainer. The vice grips should be placed in a slightly distorted shape of the retainer. This will require a perfect combination of effort and skill of prying with the screwdriver and pulling with the vice grips.
Step 2
Insert the sharp flathead of the screwdriver and push it between the teeth of the nuts and the bolt. The process is to pry the teeth until they bend or break down. It is the best removal method if you don’t want to put any scratch marks on the bolt.
Work on the tip of the pick into one of the slots that are between the teeth. The goal is to lift one of the teeth or tabs out. Use the vice grips as a pry or leverage point. You will notice that the tab is bending away from the post at this stage.
With vice grip distortion and just one tab bent out of the way, the retainer will now come off easily. The process is completed.
Make sure to use adequate protection while you are applying the process. The broken pieces can easily slip on your face and wound you. Ensure a clear area to view the bolt and the nut properly. If necessary, remove the additional components from the bolt to get a clear view, and none of the parts get damaged. If you want to reuse the bolts, you just have to use your hammer on them and bring it back to their original shape. Hopefully, this process is going to help you to sort things out.
you may also read now
1.How to Tighten Kitchen Faucet Nut under Sink
How to Remove Push Nuts From Weber Logo?
Removing push nuts from the Weber logo may seem like a daunting task, but with the right tools and technique, it can be easily accomplished. Push nuts are small metal clips that are used to secure objects in place, and they can be difficult to remove without the proper tools.
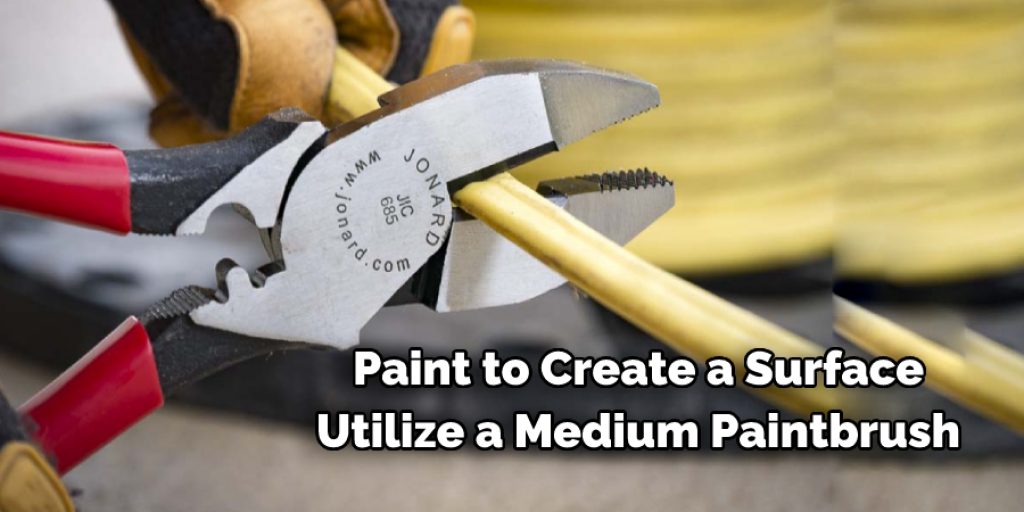
The first step is to procure a pair of pliers or a screwdriver with a flat head. Next, gently position the tool under the lip of the push nut and pry it up. Be careful not to apply too much force, as this can damage the Weber logo or the surface it’s attached to.
Once the push nut is slightly raised, use the pliers or screwdriver to grip it firmly and pull it out. If the push nut is stubborn, use a pair of needle-nose pliers to twist it back and forth until it loosens carefully. With a little patience and the right tools, removing push nuts from the Weber logo can be done smoothly and effectively.
Pushnuts & Push-on Fixes: What’s the Difference?
Push nuts and push-on fixes are both types of fasteners used to secure parts in place. However, there are some differences between the two.
Push nuts are circular fasteners that are designed to be pressed onto a shaft or stud. They are most commonly used in applications where the nut needs to be easily removable, such as in automotive and electronic equipment. Push nuts have a series of raised teeth that grip onto the shaft or stud, providing a secure hold.
Push-on fixes, on the other hand, are square or rectangular-shaped fasteners that are pressed onto a panel or frame. They are commonly used in applications where a quick and easy permanent fix is needed, such as in furniture assembly or automotive trim. Push-on fixes have barbs or ridges that press into the material they are being attached to, providing a secure hold.


