
How to Remove Cellulose Insulation
Cellulose insulation is a green alternative to fiberglass and other synthetic insulations. It consists of recycled newspaper, cardboard, and office paper that is treated with fire-retardant chemicals. A chemical blowing agent is also added to the mix, which makes it expand as it dries. Once dried, cellulose insulation can be installed between studs or joists in your home’s walls or ceiling cavities using a blower machine. In the blog post, we will go over the techniques of how to remove cellulose insulation.
Removing cellulose insulation can be a daunting task, but with the proper safety equipment, it can be done easily and eco-friendly. Made of recycled newspaper, cellulose insulation is a great choice for those looking to be more environmentally conscious. Some homeowners choose to remove this type of insulation themselves, but for those who are not comfortable doing so, read on for more information.
Things and Materials You’ll Need:
- One can of spray foam insulation (high density)
- Wire brush
- Screwdriver
- Gloves
- Protective eyewear
- Bucket or wastebasket
Instructions: How to Remove Cellulose Insulation
Step 1:
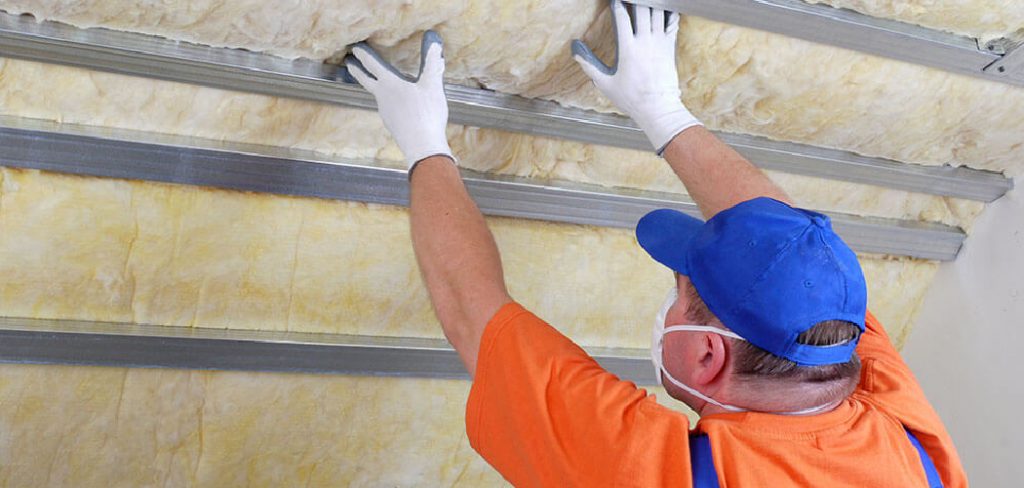
If you have a flat ceiling, you will need to cut the insulation to make it fit. To do this, turn off the light and remove the light fixture from the center of the ceiling. Make sure not to touch any of the wires with your hands. Instead, a screwdriver should be used to detach the light bulb and wiring from the metal wire hanger (this is usually found coming down through the center of your flat ceiling).
Step 2:
You can use a screwdriver to pry the edges of the light fixture up and pull the insulation back down over the opening in your flat ceiling. If there’s some extra insulation in spots where you can’t get at it, then you can cut it with a wire brush.
Step 3:
You will need to cut through the metal wires that are holding up the flat ceiling in order to install a light fixture in a room with a slanted ceiling. If you don’t have a portable saw, you can cut the ceiling out in sections and remove it piece by piece.
Step 4:
Whichever way you decide to get access to your flat insulation (cutting or opening up an entire section), do that same for all parts of your ceiling that you need to remove the insulation from. If you’re cutting, you should focus on getting rid of the parts in your way and go over everything with a wire brush to get rid of any loose pieces of cellulose. If you’re opening up the entire section, then remove all the insulation in your ceiling to make sure that you get rid of everything.
Step 5:
Once you’ve removed any loose insulation, the next step is to put up a barrier to protect your spray foam insulation. The can should come with instructions on how much you’ll need to use and what it’s for. For example, even though cellulose insulation is often thought to be as effective as fiberglass, spray foam insulation will be more effective.
Step 6:
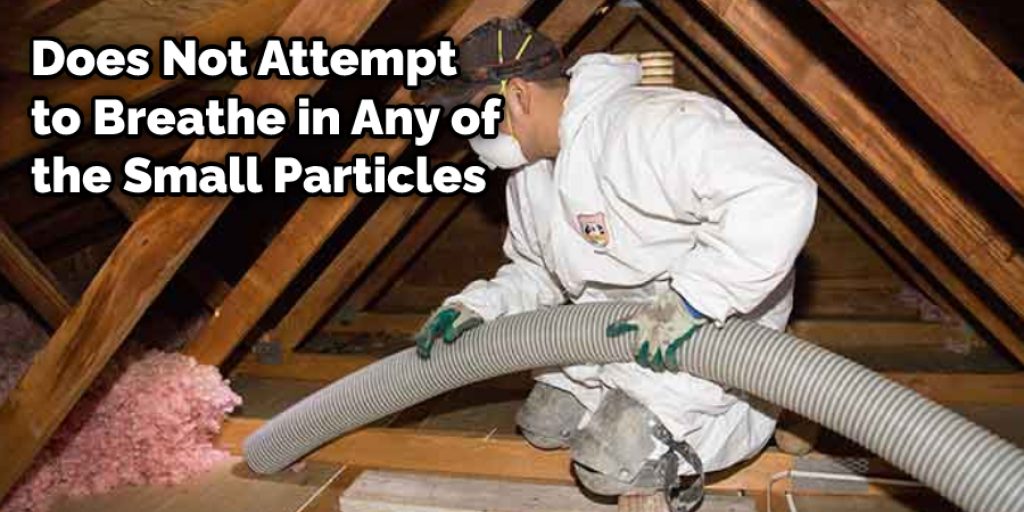
One can of spray insulation is enough for small rooms or ceilings that are flat. However, if the room is large, then you may need to buy an extra can. Spray all around the barrier set up and does not attempt to breathe in any of the small particles emitted from the insulation.
Step 7:
Once you have finished putting up your spray foam insulation, leave it to dry for about an hour or so before attempting to clean up any excess particles of insulation. An air compressor should be able to suck up all of the pieces off of the floor and out of any other crevice that’s still open (one of the reasons why some professional companies use them while removing insulation).
Step 8:
When you’re finished suctioning off any loose insulation particles, it’ll be time to plug in the light fixture. This will make it easier for you to go around cleaning up any dust on all of your furniture and on any other fixtures that you might have. If it’s a large room that took more than one can of insulation to spray, then there may be some time in between spraying and cleaning before you can finally turn the light on.
Once you have cleaned up and put the light fixture back in place, you can turn on the light to see if it is working properly. If everything comes on, that means you have successfully removed all of the cellulose insulation from your flat ceiling or room.
Some Tips and Suggestions:
1) It is good to wear a face mask and glasses, etc. when performing this task.
2) Do not cut the insulation with a knife or other sharp object to create airborne particles. Also, do not use compressed air (e.g., from an air compressor).
3) Spray the insulation with a bit of bit of water from a spray bottle when you’re cutting it. This will prevent the insulation from coming apart and going everywhere.
4) If the insulation starts to break apart when you remove it, stop what you are doing and wait until there is an even layer over the area being worked on. Then, you can resume what you were doing. You will likely need to wait for the air inside to heat up for this to work.
5) When removing insulation from a wall, remove it from all sides of the wall. Don’t forget about the top and bottom.
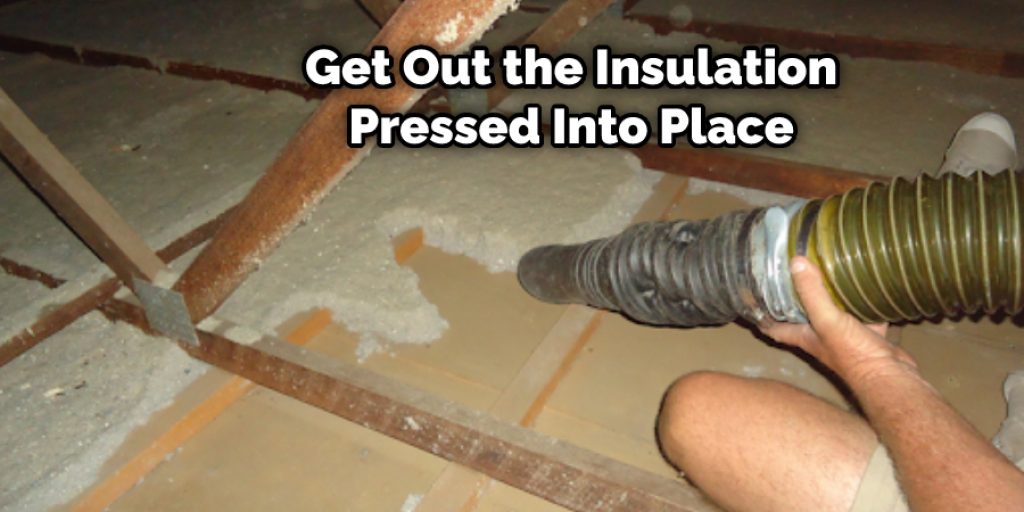
6) If your insulation is pressed into place (i.e., not blown in), try to get it out.
7) If your insulation is stuck in between two machines (e.g., window AC unit and an exterior wall, etc.), you can use luke-warm water or mineral spirits on the machine. This will help the insulation to come out easier.
8) If you need to replace some of your insulation, try using cellulose insulation. It is very easy to work with and is not flammable like fiberglass.
Safety Measures and Precautions:
1. Wear protective gear such as heavy-duty work gloves, eye protection, and a dust mask.
2. Do not use compressed air or vacuum to remove insulation. Although this reduces the amount of loose material in the air, it can cause serious respiratory injury if inhaled.
3. Do not attempt to remove more than a board’s width of insulation at a time.
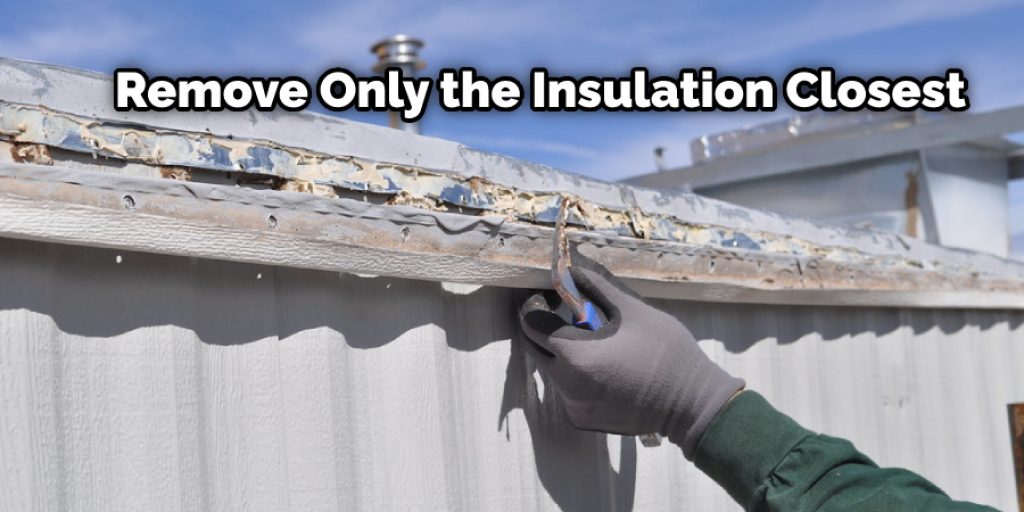
4.You should only remove the insulation closest to the pipe or duct that you’re working on. This might mean removing a few boards to get to the one you need.
5. When possible, avoid working below knee level (i.e., working above your head). This reduces the time you are exposed to falling insulation.
6. Remove only the insulation closest to the pipe or duct that is being worked on. This may mean removing several boards to get to the one you need. To make your job easier, try to remove as many boards as possible so you can access the one you need more easily.
Conclusion:
After reading this blog post, you will have a better understanding of how to remove cellulose insulation. The information we provided is valuable and will help save you time when removing cellulose insulation from any building or structure. If you need more advice on anything related to removal, don’t hesitate to contact us today!
The best way to remove cellulose insulation is by carefully cutting it into pieces, then spraying them with a chemical that will dissolve the material. If you cannot get rid of all of the fiberglasses yourself, then let us know for assistance!


