How to Remove Circlips Without Pliers
Circlips are small metal rings with a spring-loaded center that can be found on various components of a vehicle’s engine. They’re usually located where two pieces of metal meet and hold the piece together, such as between a bearing and an axle shaft. In this blog post, we will discuss how to remove circlips without pliers.
Circlips come in different shapes, sizes, and materials, depending on their application. Therefore, it is often necessary to remove circlips from one part for another to be installed or replaced. Many people try to use pliers when removing circlips because they may not have the right tools at home, but this method is hazardous because it could lead to serious injury if you slip up while trying to remove them from your engine parts with pliers. Read on to know more!
What is a Circlip?
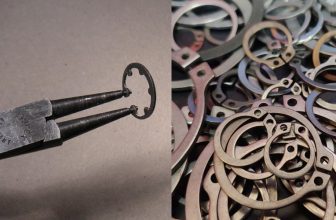
A circlip, also known as a C-clip, snap ring or Jesus clip, is a type of fastener that holds components together but allows movement. They are typically made from hardened steel and have two ends with small gaps to allow them to expand and fit into grooves on the component. Circlips are commonly used in automotive engines, transmissions, and axles.
It is important to know that the circlip can be removed without pliers, although it may require some patience and careful handling. Below are three methods you can use to remove circlips without the use of pliers.
Why Use Alternative Methods?
Although pliers may seem like the easiest and most obvious choice for removing circlips, there are a few reasons why you might want to consider alternative methods.
- Pliers can damage or deform the circlip if not used correctly, making it unusable.
- Pliers may not have enough grip to remove stubborn or rusted circlips.
- Using pliers requires a certain level of skill and precision, which may not be suitable for those without experience.
- Alternative methods can be safer and more efficient.
- Not everyone has pliers readily available, so alternative methods are necessary.
- Using alternative methods can help prevent injury and damage to the engine components.
Needed Materials:
Flathead Screwdriver:
A flathead screwdriver with a small and thin edge is the most commonly used tool for removing circlips without pliers. Its slim design makes it easy to slip under the circlip and pry it up.
Needle-nose Pliers:
Although we are discussing how to remove circlips without pliers, having needle-nose pliers can be helpful in some situations. The long and thin jaws of needle-nose pliers can reach deep into tight spaces to remove circlips.
Snap Ring Pliers:
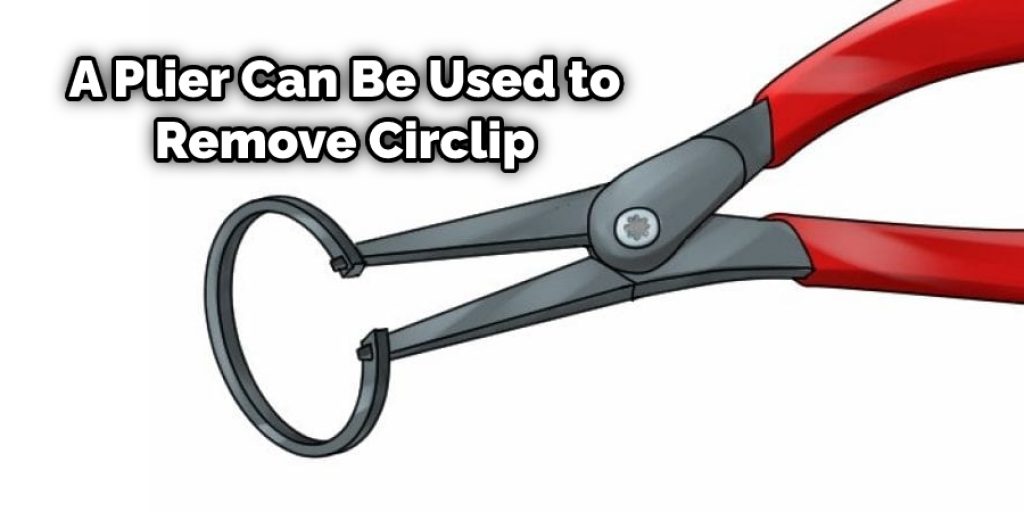
Snap ring pliers are specifically designed to remove circlips and other types of snap rings. They have short, angled jaws that make it easier to grip onto the circlip and remove it without causing any damage.
11 Ways on How to Remove Circlips Without Pliers:
1. Use a Hammer:
If you have a circlip with protruding ends, you can use a hammer to knock it out. First, place the clip so that the protruding ends are on either side of an anvil or other hard surface and strike it sharply with a hammer. This will quickly and easily remove the circlip. The downside to this method is that it can potentially damage the circlip, making it unusable. It is also not recommended for delicate or small circlips. The hammer method is best suited for larger or sturdier circlips that are difficult to remove with other methods.
But, if you do not have a hammer available, here are nine other methods that can be used to remove circlips without pliers. It is always best to have multiple methods on hand, just in case.
2. Use a Screwdriver:
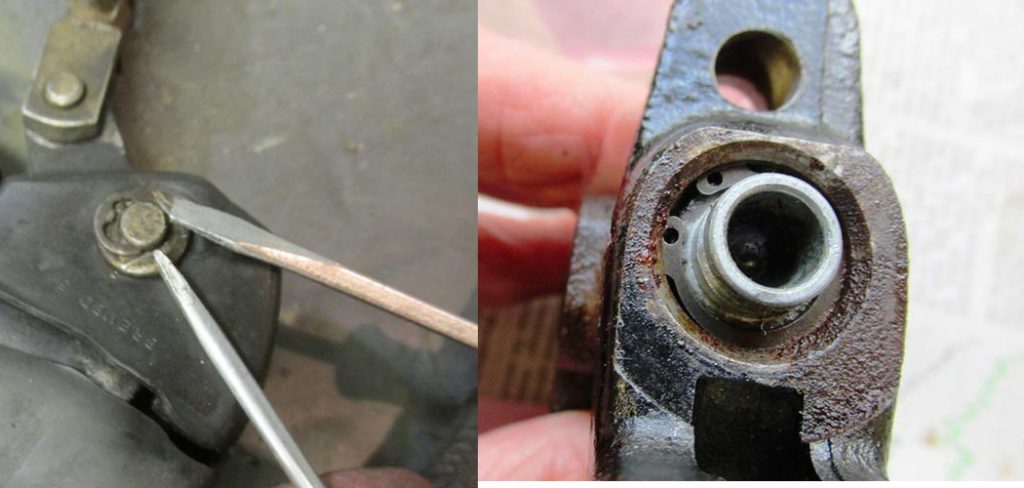
If you have a circlip with a round hole in the center, you can use a screwdriver to knock it out. Place the clip so that the round hole is over a protruding shaft on either side of an anvil or other hard surface, and strike it sharply with a hammer. This method is also not recommended for delicate or small circlips as it can cause damage. You can also use a flathead screwdriver to wedge in between the circlip and the groove it’s sitting in, gently prying up until it comes off.
You can also use a small flathead screwdriver to push the ends of the circlip outwards, releasing it from the groove and allowing you to easily remove it. This method is best suited for smaller circlips and is less likely to cause damage.
3. Use Vice Grips:
Place the circlip in the vice grips so that one opening of the vice grips lines up with the end of one leg of the clip. The opening should be facing so that it is perpendicular to the circlip. Squeeze the vice grips shut until the circlip breaks free. This method is best suited for larger or stronger circlips. You can also use this method for stubborn or rusted circlips that may be difficult to remove with other methods.
The downside to using vice grips is that it can potentially damage or deform the circlip, making it unusable. It is also not recommended for delicate or small circlips.
4. Use Pliers:
If you have a circlip with two protruding ends, you can use pliers to remove it. Place the pliers so that the two protruding ends are on either side of an anvil or other hard surface, and squeeze them shut until the circlip breaks free. This method can be challenging and requires a lot of strength, so it is not recommended for those without experience.
You can also use needle-nose pliers to grip onto the ends of the circlip and pull it out. However, this method is not suitable for delicate or small circlips as it can cause damage. It is best used for larger or sturdier circlips.
5. Use a Knife:
Circlips are generally not a big problem if you have the right tool, but in some situations, it can be challenging to get a circlip plier around them, or they can be located in a place that makes using a circlip plier impossible. In these cases, a knife may do the trick. You can use a pocket knife or other small knife to gently pry the circlip out of its groove. Be careful not to damage the circlip or surrounding components.
You can also use a knife to cut into the circlip and release it from its groove. However, this method can potentially damage or deform the circlip, making it unusable. It is best suited for larger or sturdier circlips.
6. Use a Dental Pick:
A dental pick is a small, pointed piece of metal with one straight end and one curved end. They are often used by mechanics to get something out of a tight space or to start an oil change on some foreign cars, but they can also be used to remove circlips. Stick the straight part under the circlip slightly at an angle and pull it out. The curved end can work as a fulcrum to wiggle the circlip out, but be gentle if you break the metal tab; you’ll have to purchase another fan!
However, this method is not suitable for delicate or small circlips as it can cause damage. It is best used for larger or sturdier circlips. The downside to using a dental pick is that it can be time-consuming and requires precision.
7. Use Needle Nose Pliers:
It’s not pretty, but it works. Sometimes, getting the right tool for the job isn’t possible, so you have to settle for something else. Sometimes, it’s impossible to get the circlip pliers on the right side of an object, or they will damage something important by opening too wide, so you need something smaller and more precise. While still being careful not to scar anything up to around it, use needle-nose pliers to grab the protruding ends of the clip and pry it out.
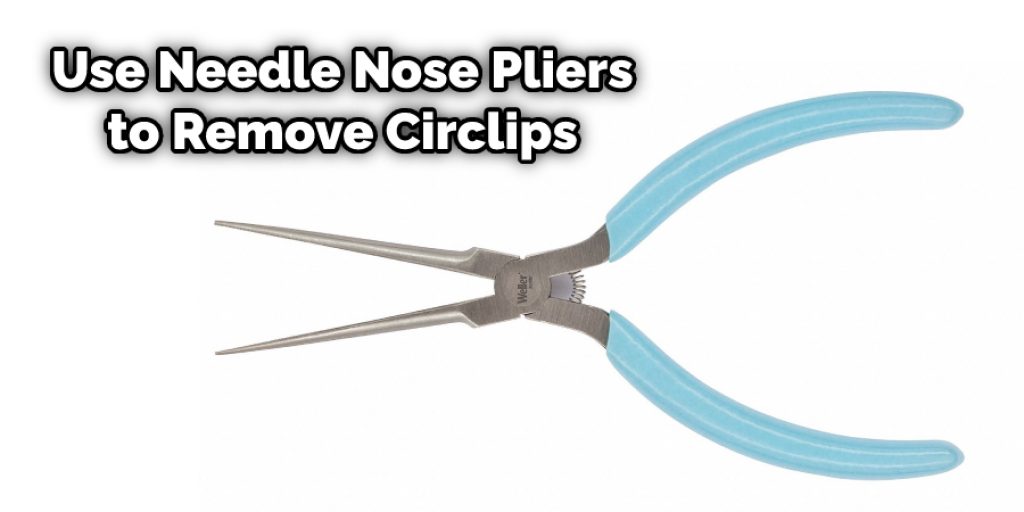
It is not recommended to use this method for delicate or small circlips as it can cause damage. It is best used for larger or sturdier circlips. It requires precision, and you must be careful not to damage the surrounding components.
8. Use a Saw:
If you have a circlip with protruding ends, you can use a saw to remove it. Place the circlip so that the ends are protruding next to an edge of metal or wood and move the saw up and down through the center of the clip until it breaks free. For this method, it is best to use a saw with fine teeth. The downside to using a saw is that it can potentially damage or deform the circlip, making it unusable.
You must be careful when using this method as it requires precision, and you can easily damage the surrounding components. It is best used for larger or sturdier circlips.
9. Use a Soldering Iron:
If you have a circlip with protruding ends, you can use a soldering iron to remove it. Place the clip so that the ends protrude next to an edge of metal or wood and touch the soldering iron to the end of the clip. Hold it there until the clip melts and falls off. This method is not recommended for delicate or small circlips as it can cause damage. It is best used for larger or sturdier circlips.
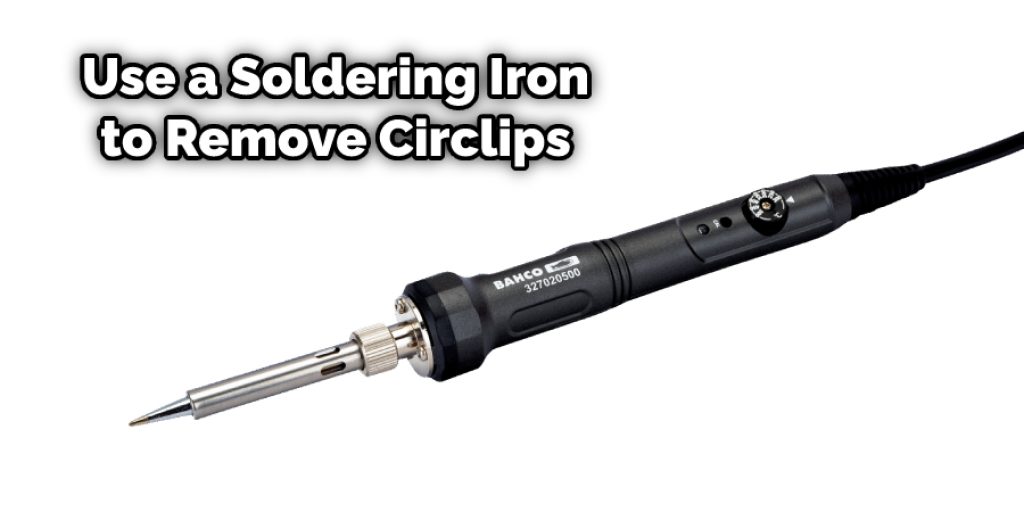
The downside to using a soldering iron is that it can potentially damage the surrounding components if not done carefully. It also requires precision and can be time-consuming. Additionally, it is not suitable for circlips in hard-to-reach areas.
10. Use a Heating Gun:
If you have a heating gun, you can heat the circlip. The heat will cause the metal to expand, making it easier to remove. However, be careful when using a heating gun, as it can easily cause burns. This method is best used for larger or sturdier circlips.
It is not recommended to use this method for delicate or small circlips as it can cause damage. Additionally, it requires precision and can be time-consuming. It may also not be suitable for circlips in hard-to-reach areas.
11. Lubricate the Circlip:
If you are having trouble removing a circlip, lubricating it may help. The lubricant will reduce friction and make it easier to remove the circlip. You can use any type of oil or grease as a lubricant, but be careful not to get any on surrounding components.
This method is best used for stubborn or rusted circlips that may be difficult to remove with other methods. It is not recommended for delicate or small circlips as it can cause damage. You may also need to combine this method with another removal method for best results.
Following these methods should make removing circlips a less daunting task. However, if you are not confident in your abilities or do not have the proper tools, it is best to seek professional help. Attempting to remove a circlip without the proper knowledge and tools can cause damage to the circlip and surrounding components. Remember to always use caution and precision when working with circlips.
Some Tips and Suggestions:
1. Using the right tool saves time and energy. For example, using a circlip plier is the easiest way to remove a circlip. Using anything else results in wasted time and energy unless you have a lot of strength or are very patient.
2. Make sure that the circlip has been slid onto the shaft all of one side to be removed from the other side by sliding it off.
3. Circlips can get stuck easily, but they’re straightforward to remove when your know-how. The key is not to panic and keep a cool head: if you keep calm and take your time, chances are the circlip will come out eventually.
4. Be aware that the circlip might break when coming out, especially if it is rusted or has been in place for a long time. This happens most often if you try to remove the circlip without using a plier.
5. If it comes to the point where you’re almost breaking the circlip and the plier and still can’t pull it out, then give up. It’s best to buy a new one and put that in place of the broken one: if you keep trying, you might break even more parts of your car, which will cost a lot more than a new circlip.
Note: Removing a circlip without pliers can be daunting, but it’s not impossible. By following these simple tips, you’ll be able to remove the circlip without any trouble at all. Just make sure that you’re patient and take your time: if you try to rush things, you might end up breaking the circlip and having to spend a lot more money on new parts.
Frequently Asked Questions:
Q: Can I Use Any Type of Pliers to Remove a Circlip?
A: While it is possible to use other types of pliers, such as needle-nose or regular pliers, it is not recommended. Using the proper circlip plier will make the task much easier and reduce the risk of damaging the circlip or surrounding components. It is best to invest in a circlip plier for this task.
Q: Can I Reuse a Circlip Once It Has Been Removed?
A: Yes, circlips can be reused if they are not damaged in the removal process. However, it is recommended that they be replaced with new ones as they can become weak and fail over time. Additionally, once a circlip has been removed, it may not fit as securely as before and could potentially cause issues down the line.
Q: What Should I Do If I Don’t Have the Proper Tools to Remove a Circlip?
A: If you do not have the proper tools or are not confident in your abilities, it is best to seek professional help. Attempting to remove a circlip without the proper knowledge and tools can cause damage to the circlip and surrounding components. It is better to spend a bit of money on professional help than risk causing more damage and spending more money in the long run.
Q: Is It Safe to Use Heat on a Circlip?
A: Using heat can be an effective method for removing a circlip, but it also comes with risks. Excessive heat can damage the surrounding components and potentially cause injury. It is important to use caution and follow safety guidelines when using heat to remove a circlip. If you are unsure or uncomfortable using this method, it is best to seek professional help.
Overall, removing a circlip can be a tricky task, but with the right tools and knowledge, it can be done safely and effectively. Remember to always use caution and take your time when working with circlips to avoid any potential damage or injuries. So, go ahead and confidently tackle those pesky circlips with these tips and suggestions in mind!
Conclusion:
It’s not always easy to remove circlips without pliers, but it can be done if you have the right tools and know-how. The steps below will show you how to do this job safely and efficiently. These are some of the most common types of circlip removers that work well on various sizes of clips.
Each has its unique features for removing different size clips so take a look at what might work best for your situation before making any purchases. We hope that these tips on how to remove circlips without pliers help make your life easier! If you have any questions or want to know more, then feel free to comment below!

