
How to Remove Denim Stains From Leather Seats
If you have a leather car seat, you know the importance of keeping it looking clean. Not only do stains detract from the appearance of your seats, but they can also be challenging to remove. Denim is one of the most common types of fabric found on clothing, and it can be tough to get out of leather seats. In this article, we’ll show you how to remove denim stains from Leather seats. Let’s get started!
Denim is a sturdy fabric that is often used in clothing and upholstery. Unfortunately, it’s made of cotton, which means it’s susceptible to staining. When denim comes into contact with leather, it can leave a dark stain. The good news is that you can remove these stains with some simple household cleaners. Many people think that leather is a delicate material, but it’s quite challenging. You can use some strong cleaning solutions without damaging the surface.
What You’ll Need
- Leather cleaner
- Vacuum cleaner with a soft brush attachment
- Bucket of warm water
- Mild liquid dish soap
- Sponge
- White vinegar
- Soft cloths
A Step by Step Guide on How to Remove Denim Stains From Leather Seats
Step 1: Check How Severe the Stain is
Before attempting to remove any denim stains from your leather seats, it’s essential to check the severity of the stain. If there is an obvious mark or discoloration left on the seats, you will likely need a specialized leather cleaner to clean your seats effectively.
Step 2: Vacuuming Up Loose Dirt
Before you start to clean your leather seats, it’s essential to remove any loose dirt and debris that may be present on the surface. To do this, use a vacuum cleaner with a soft brush attachment. Move the brush in small circular motions over the stained area to get rid of any grime or dust.
Step 3: Mixing Your Cleaning Solution
In a bucket of warm water, mix a few drops of mild liquid dish soap and some white vinegar. These ingredients will work together to lift out any stubborn denim stains from your leather seats.
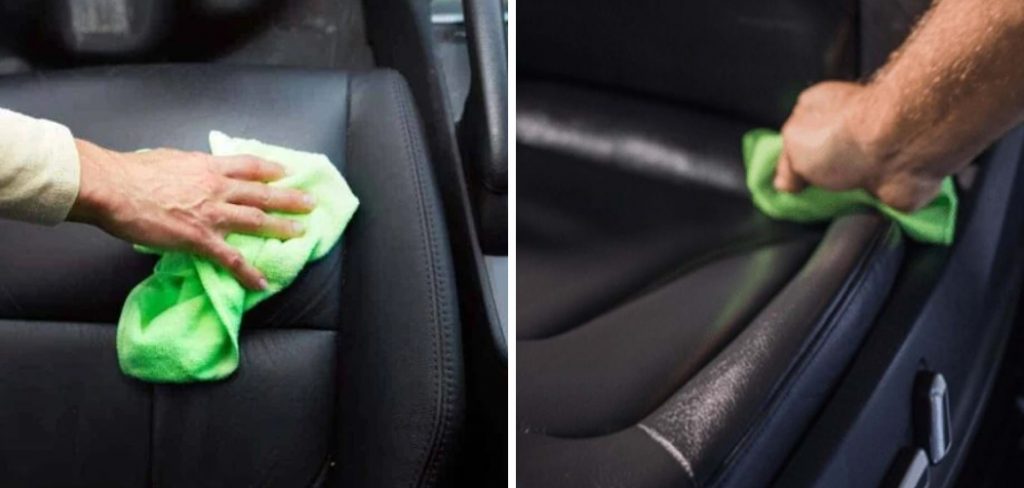
Step 4: Applying the Cleaning Solution
Next, use a sponge or soft cloth to apply the cleaning solution to your leather seats. Gently rub it into the stained area, working in small circular motions until the stain is gone.
Step 5: Drying Your Seats
Once you have removed the stain from your leather seats, it’s essential to dry them thoroughly. Start by using a vacuum cleaner with a soft brush attachment to remove any excess moisture from the surface. Then, lay down some clean towels on top of your seats and allow them to air dry completely.
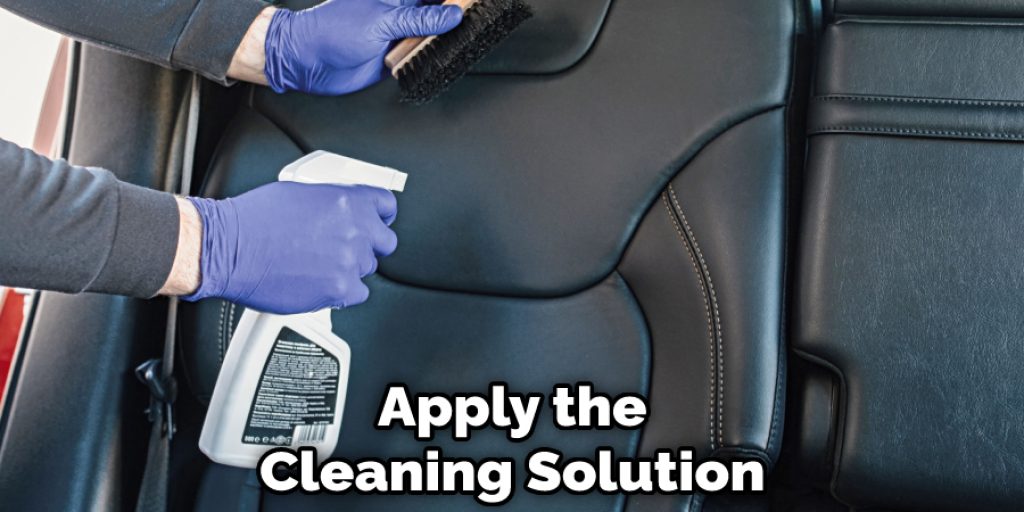
Step 6: Choose Your Leather Cleaner
Not all leather cleaners are created equal. To get the best results, you’ll want to choose a cleaner specifically designed for use on leather. You can find these cleaners at most home improvement or auto stores.
When selecting a cleaner, always look for one that is labeled “non-toxic” and “pH balanced.” These cleaners are safe to use on your leather seats and won’t damage the material.
Step 7: Apply the Cleaner to the Stain
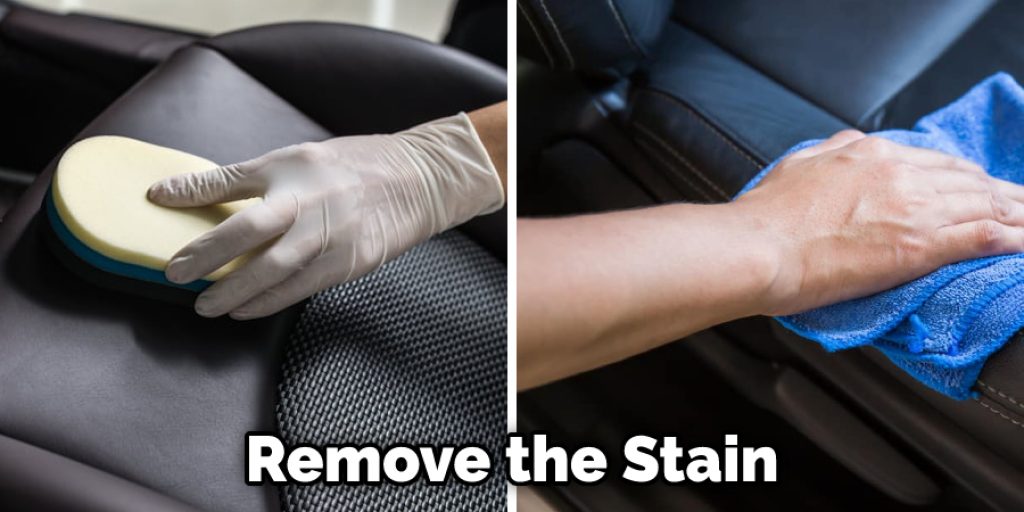
Once you’ve selected an appropriate cleaner, it’s time to apply it to the stain. To do this, dispense a small amount of cleaner onto a clean cloth or sponge. Then, rub the cloth or sponge over the stained area circular.
Continue rubbing until the stain has been lifted and is no longer visible.
Step 8: Wipe Away Excess Cleaner
After you’ve removed the stain, you’ll need to wipe away any excess cleaner that is still on the surface of the leather. Then, simply take a clean, dry cloth and wipe over the area where you applied the cleaner.
If there is any stubborn residue left behind, you can remove it by dabbing a small amount of rubbing alcohol onto a clean cloth and then wiping it over the area.
Step 9: Condition the Leather
Once you’ve removed the stain and wiped away any excess cleaner, it’s essential to condition the leather. This will help to restore moisture and protect the material from future damage.
Simply apply a small amount of leather conditioner to a clean cloth or sponge to condition the leather. Then, rub the conditioner into the leather in a circular motion. Allow the conditioner to soak in for several minutes before wiping away any excess.
You Can Check It Out To Remove Sticky Residue From Leather Car Seat
Tips and Warnings
Tips:
- Always start by testing a small, inconspicuous leather area first to ensure that any cleaning solution or solvent you use will not damage or discolor the surface.
- When working on the stain, be sure to work quickly and efficiently, as denim can set into the leather over time if left untreated.
- After removing the denim stains from your leather seats, give them a thorough cleaning with a gentle leather-safe cleaner, such as saddle soap. This will help restore the leather’s natural oils and protect it from future stains.
Warnings:
- Do not use any harsh chemicals, such as ammonia or bleach, to clean leather, as this can damage the surface.
- Do not scrub the leather too vigorously, as this can also damage the surface.
Preventing Future Stains
To prevent future denim stains, there are a few things you can do:
- Wash your jeans before getting in the car. This will remove any loose pigment that could rub off on the seats.
- Use a lint roller on your jeans before getting in the car. This will help remove any small particles of denim that could rub off on the seats.
- Be careful when getting in and out of the car. Avoid sliding across the seats or resting your jeans on the leather.

By following these simple tips, you can help keep your leather seats looking new.
Conclusion
If you have denim stains on your leather seats, don’t worry. There is a way to remove them without damaging the leather. All you need is a few simple supplies that you probably already have in your home. Follow these steps on how to remove denim stains from leather seats, and your seats will be looking good as new in no time!


