
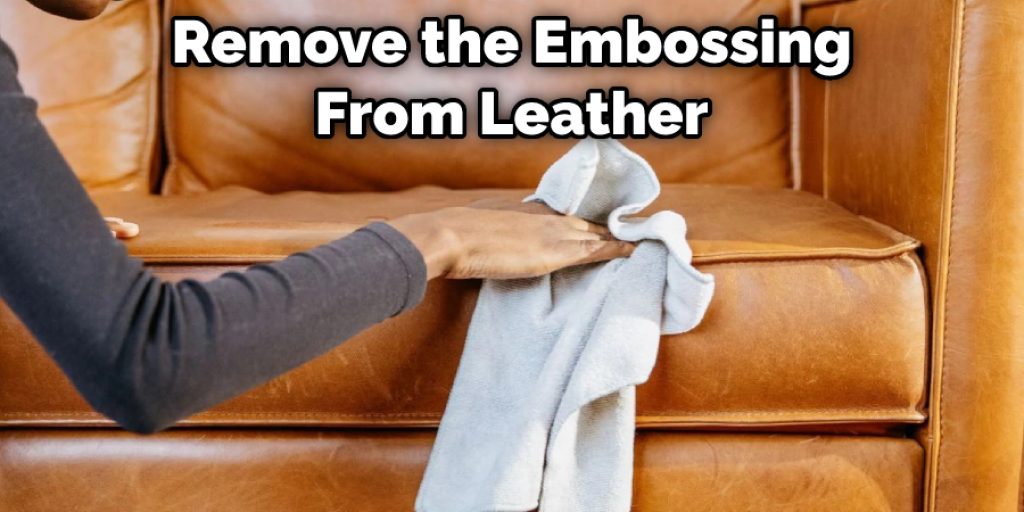
How to Remove Embossing From Leather
Embossing is a great way to add extra style and personality to your leather projects, but sometimes you may want to remove it. In this article, we’ll show you how to easily remove embossing from leather using just a few simple tools. So whether you’ve decided that you don’t like the embossing anymore or need to remove it for a project, follow along with us, and we’ll have you remove embossing in no time!
Many people think that removing embossing from leather will be a difficult and time-consuming task, but it’s quite easy! All you need are a few simple tools and a little bit of patience. Of course, the essential tool that you’ll need is a scoring knife. This is a special type of knife that has a very sharp blade, and it’s designed for scoring leather. You can find one at any craft or hobby store or even online.
Summary: If you are looking to remove embossing from leather, there are a few different ways you can go about it. One option is to use a solvent such as acetone or denatured alcohol. Another option is to use a leather conditioning agent such as Safetynail.
What You’ll Need
- Leather cleaner
- Baby Lotion
- Leather Moisturizer
- A damp cloth
- An eraser
- Glycerin
- A bowl
- A toothbrush
- A soft cloth
- Toothpick
A Step by Step Guide on How to Remove Embossing From Leather
Step 1: Determine the Type of Leather
The first step is to identify the type of leather you’re working with. This will determine the best way to clean it.
There are three main types of leather: aniline, semi-aniline, and pigmented. Aniline leather is the most natural and expensive type. It’s made from pure animal hide and soft, buttery texture. Semi-aniline leather is a mid-priced option that’s slightly processed, making it more durable than aniline leather. Finally, pigmented leather is the most affordable and the least breathable option.
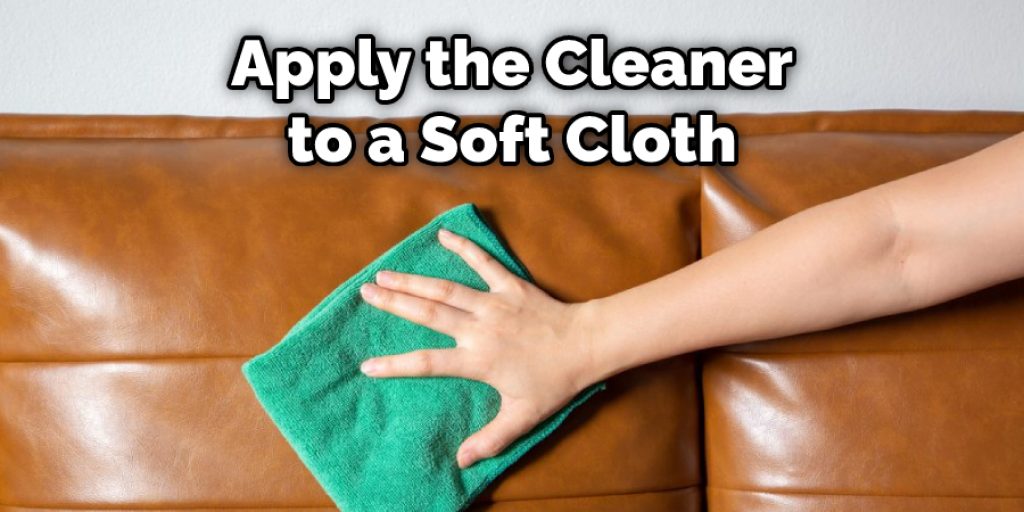
Step 2: Cleaning the Leather
Once you’ve determined the type of leather, you can start cleaning it. If your leather is aniline or semi-aniline, you’ll need to use a leather cleaner. These can be purchased online or at a local hardware store.
Simply apply the cleaner to a soft cloth and gently rub it into the leather in a circular motion. Avoid getting any cleaner on the surrounding material, as this could cause damage.
If your leather is pigmented, you can use either a leather cleaner or baby lotion. Baby lotion is a gentler option that won’t strip away the pigment from the leather.
To clean with baby lotion, apply it to a soft cloth and rub it into the leather in a circular motion.
Step 3: Moisturizing the Leather
After you’ve cleaned the leather, it’s essential to moisturize it. This will help prevent cracking and keep the leather looking its best.
To moisturize, apply a small amount of leather moisturizer to a soft cloth and rub it into the leather in a circular motion. Avoid getting any moisturizer on the surrounding material, as this could cause damage.
Step 4: Drying the Leather
Once you’ve cleaned and moisturized the leather, you’ll need to dry it. To do this, use a damp cloth to wipe away any excess cleaner or moisturizer. Then, use an eraser to remove any residual moisture.
Step 5: Removing the Embossing
Once the leather is dry, you can start removing the embossing. To do this, you’ll need to use a product called glycerin. Glycerin is a natural solvent that will break down the embossing without damaging the leather.
To use glycerin, apply it to a soft cloth and rub it into the embossed area in a circular motion. Avoid getting any glycerin on the surrounding material, as this could cause damage.
After a few minutes, the glycerin should loosen the embossing. You can then use a toothbrush to remove it gently.
If the embossing is still difficult to remove, you can try using a toothpick. Insert the toothpick into the embossed area and twist it back and forth.
Step 6: Conditioning the Leather
Once you’ve removed the embossing, you’ll need to condition the leather. This will help restore its natural oils and prevent them from drying out.
To condition, the leather, apply a small amount of glycerin to a soft cloth and rub it into the leather in a circular motion. Avoid getting any glycerin on the surrounding material, as this could cause damage.
After a few minutes, you can use a soft cloth to wipe away any excess glycerin.
Step 7: Finishing Up
Once you’ve conditioned the leather, you can finish by applying a small amount of leather polish. This will help protect the leather and keep it looking its best.
To apply the polish, put a small amount on a soft cloth and rub it into the leather in a circular motion. Avoid getting any polish on the surrounding material, as this could cause damage.
After a few minutes, you can use a soft cloth to wipe away any excess polish.
Now that you know how to remove embossing from leather, you can keep your furniture and accessories looking their best. Be sure to follow these steps carefully and always test a small area first before proceeding. If you have any questions or concerns, please contact a professional for assistance.
Tips:
- Use a leather conditioner or cream to help lubricate the surface and make it easier to remove the embossing.

- You can also try using a hairdryer to heat the surface of the leather, which will make it easier to remove the embossing.
- If you’re having trouble removing the embossing with your fingers, you can try using a soft cloth or brush to help scrub it off.
- Be sure to clean the leather afterward to remove any residue from the embossing. You can use a mild soap and water or a leather cleaner explicitly designed.
- Be careful not to damage the leather while removing the embossing.
- If you’re using any chemicals or cleaners on the leather, be sure to test them on a small area first to ensure they won’t damage the surface.
With these tips, you should be able to remove embossing from leather easily and without damaging the material. Be sure to take your time and be gentle when scrubbing, as you don’t want to damage the leather. If you have any questions or concerns, please contact a professional for assistance.
Common Issues When Removing Embossing From Leather
If you’re looking to remove embossing from leather, you may encounter a few common issues. Here are some tips on how to deal with them:
1. The most common issue is that the embossing is too deep to remove without damaging the leather. If this is the case, your best bet is to fill in the embossed area with a new piece of leather or fabric.
2. Another common issue is that the leather has been treated with a sealant or coating that makes it difficult to remove the embossing. In this case, you’ll need to use a strong solvent such as acetone or alcohol to break down the barrier and allow you to remove the embossing.
3. Finally, you may encounter leather that is too tough to remove the embossing from. In this case, your best bet is to use a power tool such as a rotary tool or sandpaper to remove the embossing. Be sure to go slowly and carefully not to damage the leather.
Conclusion
Removing embossing from leather is a process that can be done with some simple supplies and a bit of patience. Follow the steps outlined in this article on how to remove embossing from leather, and you should have no trouble restoring your leather piece to its former glory.


