How to Remove Embroidery Patch
Embroidery patches can bring character and style to your clothing, bags, and accessories. However, there are times when you might want to remove an embroidery patch, whether it’s for updating your look, repurposing the item, or making way for a new design. Learning how to safely and effectively remove an embroidery patch is essential to avoid damaging the fabric or leaving unsightly residue behind.
In this guide, we’ll explore step-by-step methods and techniques on how to remove embroidery patch from different types of materials. From heat and steam methods to using adhesive removers, understanding these approaches will empower you to refresh your items while preserving their quality and appearance.
Whether you’re a fashion enthusiast, DIY enthusiast, or simply seeking a change, mastering the art of patch removal ensures you can confidently update your belongings with minimal fuss.
Importance of Removing Embroidery Patches
Removing embroidery patches can be an important part of maintaining the quality and appearance of your garments. Whether it’s a dress, blouse, or jeans, having a patch that is tightly secured and neatly placed will ensure that your clothing looks professional and well-kept.
It is also beneficial to remove old patches in order to give way for new ones, so you can always have fresh, modern designs to showcase. As such, it’s important to know how to properly remove and replace embroidery patches. With the steps outlined below, you’ll be able to safely and efficiently swap out existing patches for new ones in no time!
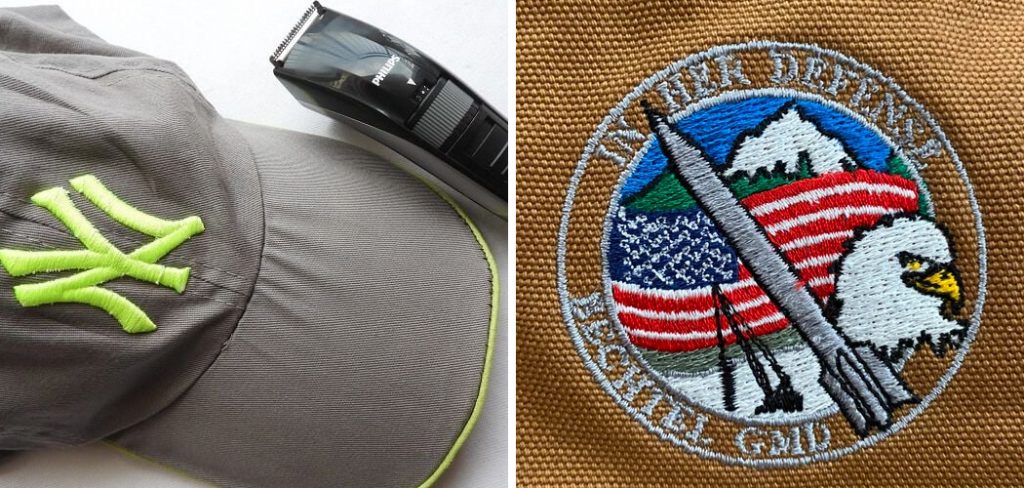
The Type of Fabric the Patch Is Attached to
One of the most important factors to consider when removing an embroidery patch is the type of fabric it’s attached to. Certain fabrics, such as denim or wool, may require more time and effort than others. For these materials, you’ll need a few more supplies like an iron and some needle-nosed pliers.
If the patch is on a cotton fabric, it can be easily removed with some simple household items like tweezers and a blunt knife. Begin by gently easing the tweezers into the edges of the patch to loosen the threads that hold it in place. Once the initial thread has been loosened up, you can use your fingers to slowly start peeling away at the embroidery patch until it’s completely removed.
If the fabric is a synthetic material like nylon or polyester, you can use an iron and some water to help lift off the patch. Start by dampening a cloth with some warm water and place it over the area where the patch is located. Then turn on your iron to its lowest setting before carefully pressing it onto the cloth. The heat will help to loosen the threads and allow you to easily peel away at the patch with your fingers or tweezers.
10 Steps How to Remove Embroidery Patch
Step 1: Assess the Patch and Fabric
Before removing an embroidery patch, carefully assess both the patch and the fabric it’s attached to. Consider the type of fabric, its delicacy, and the stitching used to attach the patch. Delicate fabrics like silk or lace require extra caution to prevent damage.
Step 2: Check for Permanence
Determine whether the patch was sewn on, ironed on, or attached using adhesive. This information will guide your approach for removal. Sewn-on patches generally require different techniques compared to ironed-on or adhesive-backed patches.
Step 3: Gather Tools
For removal, you’ll need tools such as a seam ripper, tweezers, an iron (if it’s an iron-on patch), an adhesive remover, and a clean cloth. Have these tools ready to ensure a smooth removal process.
Step 4: For Sewn-On Patches:
a. Locate Stitches: Carefully inspect the back of the fabric to identify the stitches used to attach the patch. Note how the stitches are secured and the thread color used.
b. Cut Stitches: Gently cut the stitches one by one using a seam ripper or small scissors. Be cautious not to cut the fabric. Take your time to avoid creating holes or damaging the material.
Step 5: For Iron-On Patches:
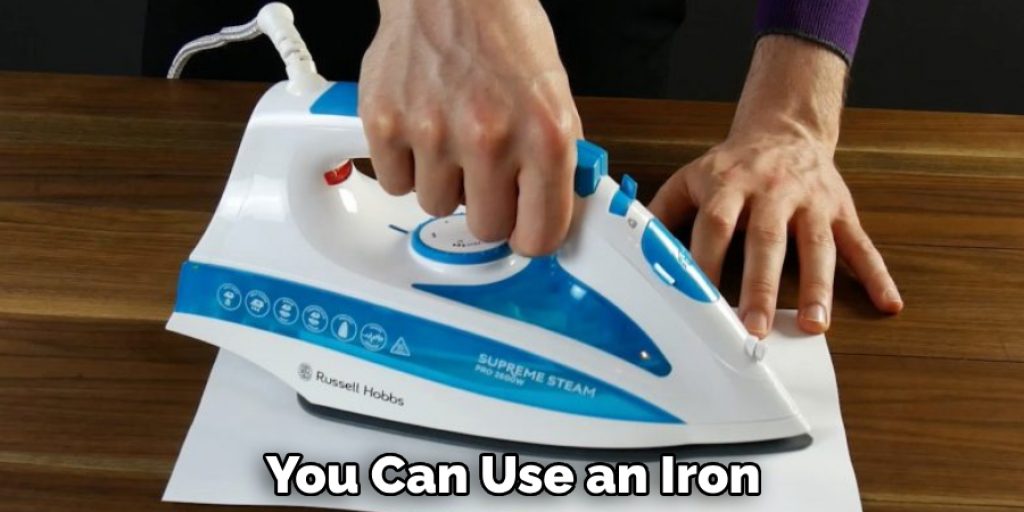
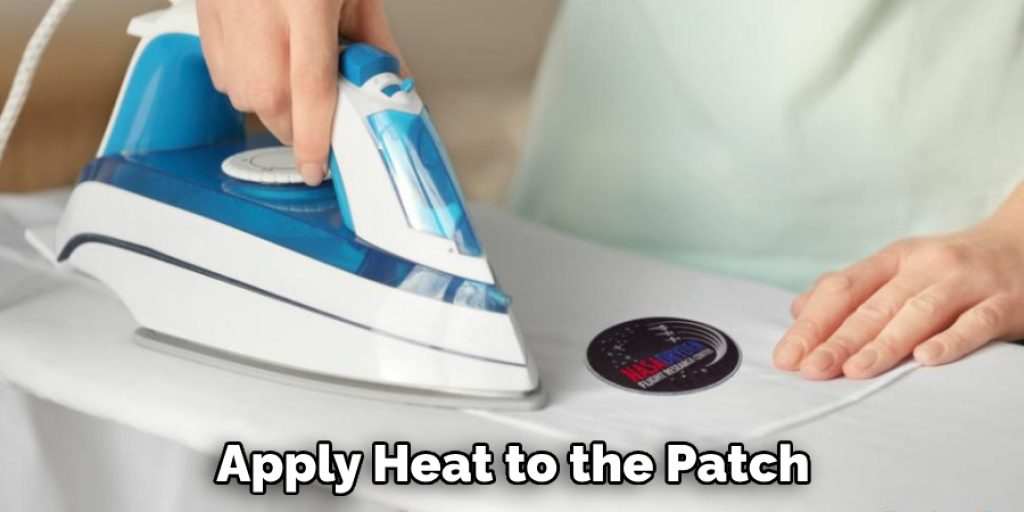
a. Heat Application: Place a clean cloth over the patch and use a warm iron to heat the area. The heat will help loosen the adhesive. Don’t use excessive heat, as it can damage the fabric.
b. Peel Carefully: Once the adhesive is heated, use the edge of the seam ripper or tweezers to gently lift the patch. Slowly peel it off, applying minimal pressure to avoid tearing the fabric.
Step 6: For Adhesive-Backed Patches:
a. Heat Application: Similar to iron-on patches, apply heat to the patch using a cloth and warm iron. Heating the adhesive will soften it, making removal easier.
b. Peel and Adhesive Remover: After heating, gently peel off the patch using a seam ripper or tweezers. If adhesive residue remains, use an adhesive remover according to the manufacturer’s instructions to dissolve the residue.
Step 7: Remove Residue and Clean
Once the patch is removed, inspect the fabric for any adhesive residue or stitching remnants. Gently scrape off residue using a seam ripper or your fingernail. Be cautious not to damage the fabric. Use a fabric-safe adhesive remover or rubbing alcohol on a clean cloth to clean any remaining residue.
Step 8: Wash and Dry
After removing the patch and residue, launder the fabric according to the care instructions. This will help eliminate any leftover adhesive, cleaner residue, or markings left by the patch. Allow the fabric to air dry or tumble dry on a low setting.
Step 9: Repair if Necessary
Inspect the area where the patch was removed. If there are small holes or damaged fabric, consider repairing it using basic sewing techniques. Patching the area or adding decorative stitches can help restore the fabric’s appearance.
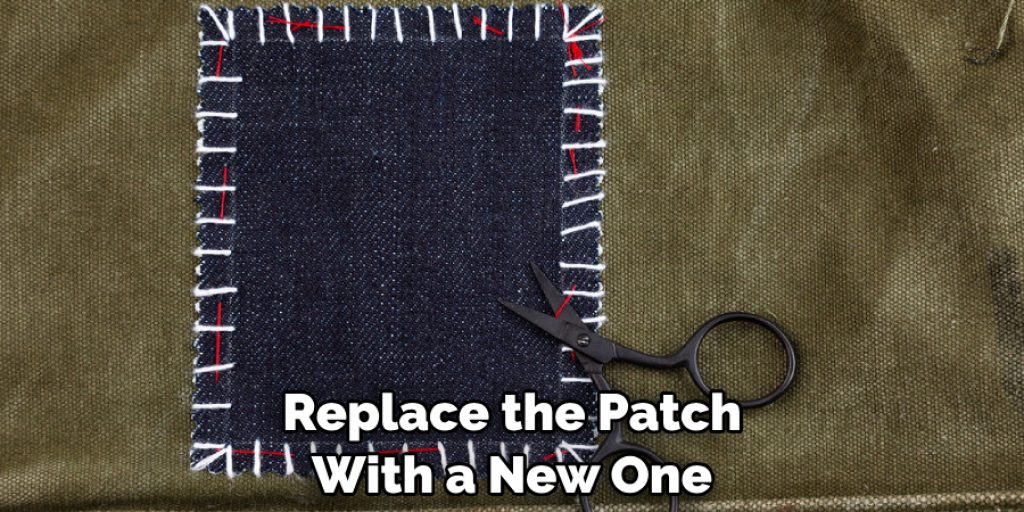
Step 10: Customize or Replace
With the patch removed and the fabric cleaned, you have a fresh canvas. Decide whether you want to leave the area as is, replace the patch with a new one, or explore other customization options like embroidery, fabric paint, or additional embellishments.
Things to Consider When Removing Embroidery Patch
When it comes to removing an embroidery patch, there are a few things you should keep in mind. Here are some tips to consider when removing a patch:
- Be sure that the fabric on which the patch is applied can withstand the removal process. If it is delicate or fragile, be extra careful and use gentler methods for removal.
- Use a scrap piece of cloth to cover the patch while you’re removing it. This will help protect the fabric from damage due to stretching or abrasion.
- If using heat, start with low temperatures and gradually increase until the patch can be removed without damaging the surface fabric.
- Use a spatula to gently scrape away any adhesive residue that is left behind. This will help prevent any discoloration or staining of the fabric.
- For stubborn patches, use a solvent to break down the adhesive bond and allow for easy removal.
- Once you’ve removed the patch, be sure to inspect both sides of the fabric for any damage that may have occurred while removing it.
Some Common Mistakes to Avoid When Removing Embroidery Patch
Removing an embroidery patch is not a difficult task, but it does take some caution to get the job done correctly. Here are some common mistakes that you should avoid when removing your embroidery patch:
- Don’t rush the process. It might be tempting to yank off the embroidery patch as soon as possible, but this can cause the patch to tear and become ruined. Take your time when removing patches, using a steady hand and a careful approach.
- Don’t use scissors or knives to cut away the embroidery patch from its substrate. Even if you have sharp blades, there is still a risk of damaging the fabric and leaving behind jagged edges.
- Avoid using heat or steam to remove the patch. Heat can damage both the substrate and the embroidery thread, and could make it harder to cleanly remove the patch from its substrate.
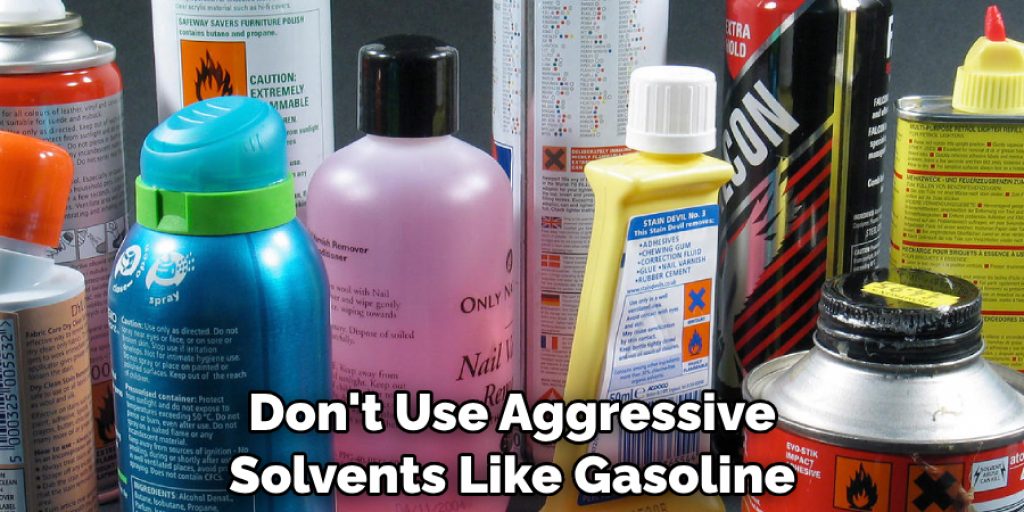
- Don’t use aggressive solvents like gasoline or paint thinner to remove an embroidery patch; these chemicals are too strong for fabric, and may cause permanent discoloration.
Conclusion
Our journey into the world of removing embroidery patch has come to an end. Whether this is your first time or you are a seasoned veteran, these four steps should help you obtain the desired results. Remember, when it comes to patches, do not underestimate their adhesion; if necessary apply some steam for better results. Although it’s a simple process, the type of glue and fabric used can present unique challenges.
Be sure to stay patient and do your research prior to removal. Your patience will pay off in the end with minimal fraying, tears or other undesired outcomes. Now that you know how to remove embroidery patch safely and efficiently, be sure to share this post with others who may find themselves in need of such knowledge!
Nancy Behan
Nancy is an embroidery artist, fashion blogger and a full time editor at DIY quickly. Nancy edits the fashion section on DIY quickly, focusing on the embroidery and cross stitch articles, alongside with fabric and other costume design elements. She graduated from the University of Michigan with a Bachelor of Arts in Art History. She loves to work on her own projects, read books and watch romantic movies in her spare time.