How to Remove Haze From Engineered Hardwood Floors
Hardwood floors are a great way to give any room an elegant and classic look. However, due to sunlight or high humidity exposure, engineered hardwood can sometimes become hazy and lose its natural beauty. If your wood flooring has developed a haze, don’t despair!
There are several steps to remove haze from engineered hardwood floors with minimal effort. You can always call a professional, but you can also try the following steps for an easy fix. It is really easy to do, and you can save a lot of money by doing it yourself. In this blog post, we’ll go over the essential steps on how to remove haze from engineered hardwood floors.
5 Reasons Why Hazy Residue Forms on Hardwood Floors
1. Uneven Cleaning
When mopping and cleaning engineered hardwood floors, it is important to ensure that the water used is not too wet or too dry, as this can cause a hazy film to form on the surface.
2. Improper Care:
Using harsh abrasives or chemical cleaners that are not designed for hardwood floors can leave behind a residue that builds up and forms an opaque haze.
3. Fighting Humidity:
If the humidity in your home is too high, it can create an environment where moisture collects on the surface of the wood and causes a hazy film to develop over time.
4. Sunlight Exposure:
Prolonged exposure to ultraviolet light can cause hazing on engineered hardwood floors. So remember to use blinds and curtains to reduce the amount of sunlight that streams into your home.
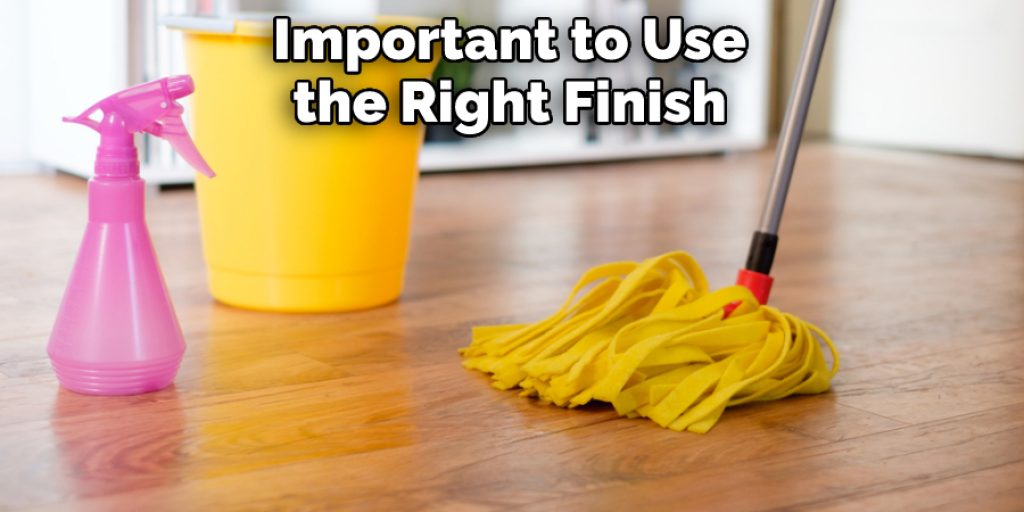
5. Improper Finish:
If the finish used on the hardwood floor is incompatible with the type of wood or if applied too heavily, it can lead to a haze forming over time. That’s why it is important to use the right finish and always follow the manufacturer’s instructions.
Now that you know why the haze forms on engineered hardwood, let’s see how to remove it.
10 Steps on How to Remove Haze From Engineered Hardwood Floors
Step 1: Vacuum the Floor
Vacuum the flooring to remove any dirt or debris that may be causing the haze. Then it will be easier to see the affected areas.
Step 2: Prepare a Cleaning Solution.
Mix together a gallon of warm water and 1/4 cup of white vinegar in a bucket. This is the best cleaning solution for engineered hardwood floors as it will not damage the finish or leave behind any residue. Remember that you should never use detergents, waxes, or other types of abrasives on wood floors.
Step 3: Apply the Cleaning Solution
Dip a clean mop into the bucket with the cleaning solution. Use this to mop the affected area in a gentle back-and-forth motion. Make sure to get all corners and crevices. The cleaning solution wil help to break down the haze and make it easier to remove.
Step 4: Rinse the Area
Once you are finished mopping, take a clean mop or rag and rinse the area with warm water. Make sure to remove any remaining cleaning solution as this can cause residue to form on the flooring. Rinsing would definitely help in removing any remaining haze.
Step 5: Dry the Area
Use a soft cloth or mop to dry the area. If you notice any water spots, gently remove them with a hairdryer set to low heat. A hairdryer will also help to prevent the water from seeping into any cracks or crevices in the flooring. Drying will also help to ensure that any remaining cleaning solution is removed.
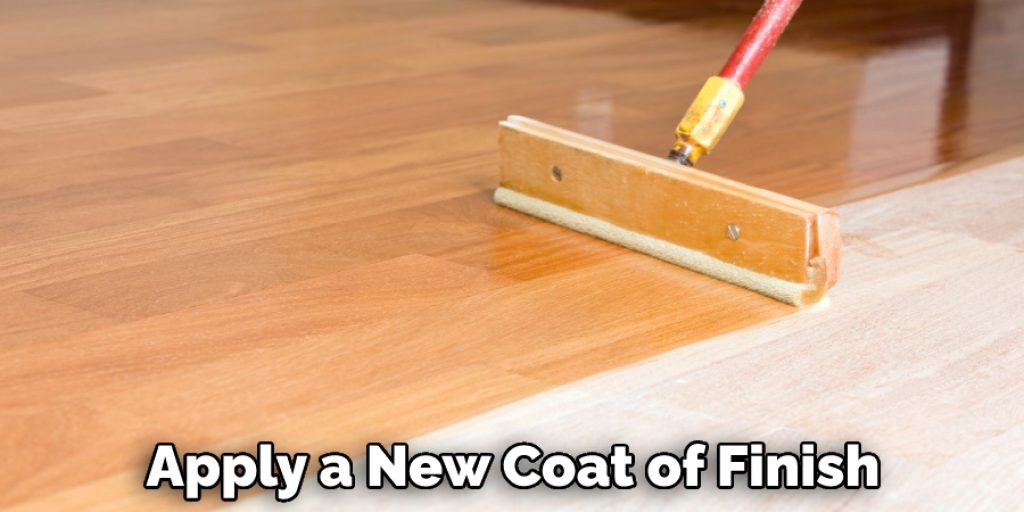
Step 6: Apply a New Finish
Once the area is completely dry, you can apply a new coat of finish to protect the flooring and restore its shine. Make sure to use a finish compatible with engineered hardwood floors and follow all manufacturer’s instructions for application.
Step 7: Buff the Area
Using a soft cloth, buff the flooring in a circular motion to help blend in the new finish and bring out its natural beauty. The soft cloth will also help to remove any remaining residue that may have been left behind. Make sure to keep buffing until you achieve your desired shine.
Step 8: Apply Protectant
Once you are finished buffing, apply a protectant to the flooring. This will help to repel dirt and dust and protect your floors from future damage. Remember to follow all manufacturer’s instructions for the product you are using.
Step 9: Let Dry
Finally, let the protectant dry completely before walking on it or placing the furniture back. You must also remember to avoid exposing the floors to water or moisture for at least 24 hours. Don’t forget to apply a new coat of protectant every few months to help keep your flooring looking beautiful for years to come.
Step 10: Maintain Regular
Remember to clean and maintain your hardwood flooring regularly to prevent future buildup. Vacuum once a week and mop with a damp cloth or mop every two weeks. You can also use a wood-safe cleaner every couple of months to help keep the floors looking their best.
By following these steps and taking care of your engineered hardwood floors, you can prevent hazing and restore the natural beauty of your flooring in no time!
5 Safety and Precautions of How to Remove Haze From Engineered Hardwood Floors
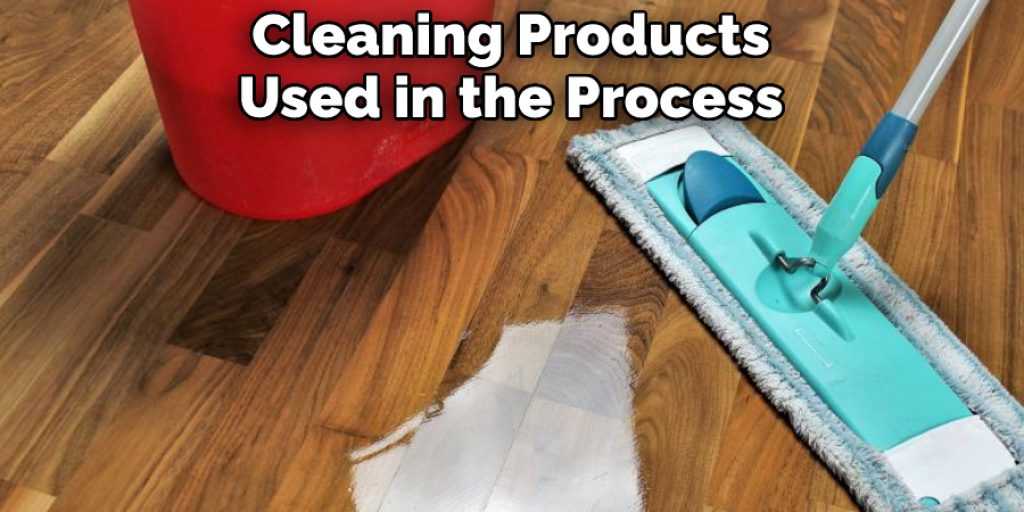
1. Ensure Proper Ventilation:
Before starting the haze removal process, ensure the room is properly ventilated to reduce fumes and airborne particles caused by the cleaning products used in the process.
2. Wear Protective Gear:
It’s important to wear protective gear when cleaning hardwood floors, like rubber gloves and eye protection. It’s also a good idea to wear a dust mask, which will help prevent you from inhaling any fumes or particles that could be present in the room.
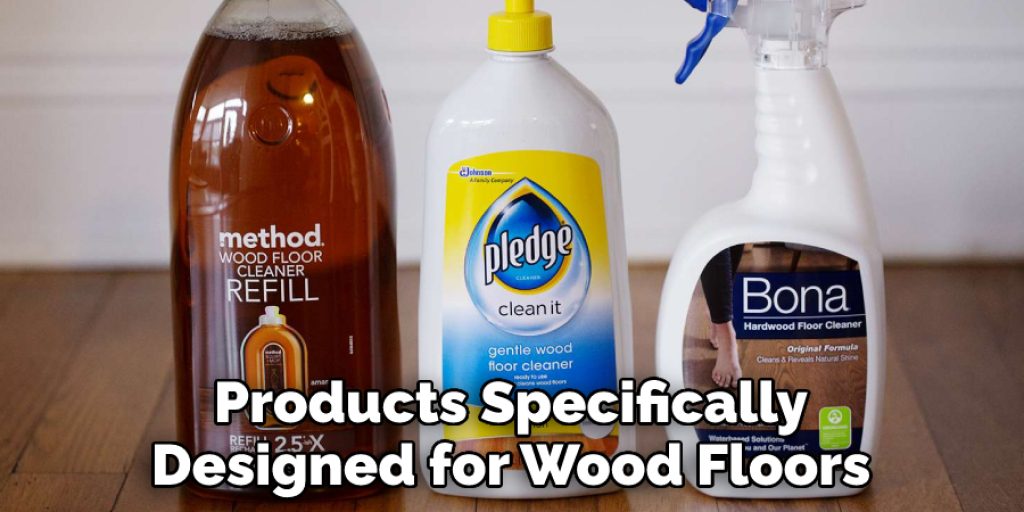
3. Use the Right Cleaning Products:
When it comes to removing haze from hardwood floors, the best way is with a gentle cleaner specifically designed for wood. Be sure to read the instructions on the product label before using it, as some products may cause damage to your hardwood floors if used improperly.
4. Test in a Small Area First:
Before applying a cleaning product to your entire floor, make sure to test it in an inconspicuous area first. This will help ensure you do not damage the floor and that the product works as expected.
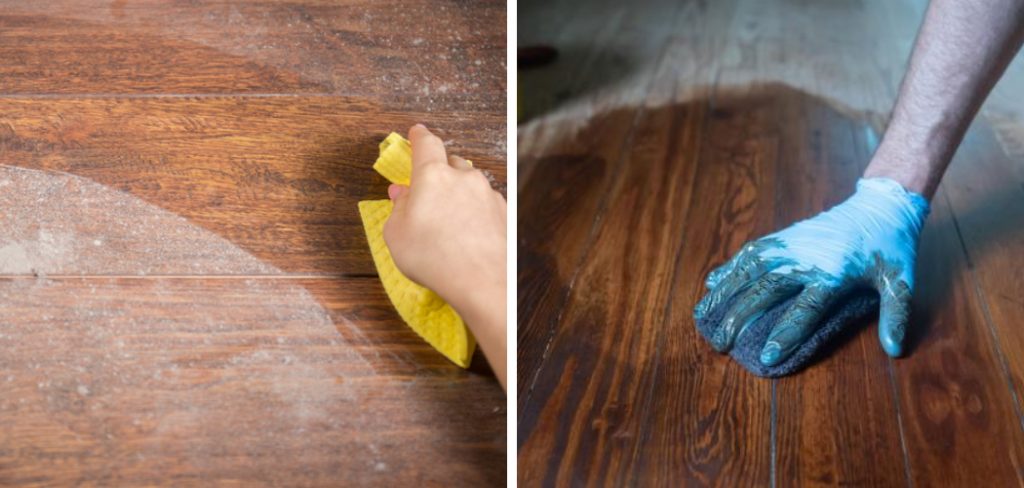
5. Wipe Away the Haze With a Damp Cloth:
Once the cleaner has been applied, use a slightly damp cloth to wipe away any remaining haze on the floor. Be sure to rinse off the cloth often during this process so that you do not leave any residue or streaks on the floor. Afterward, dry the area with a clean cloth or towel.
6 Tips to Avoid Floor Haze in Future
1. Use Mats and Rugs:
To help prevent floor haze from occurring in the future, use mats and rugs near entrances to your home. This will help reduce dirt, dust, and other debris accumulating on your hardwood floors.
2. Vacuum Regularly:
Vacating your hardwood floors regularly is important to remove dust and dirt particles. This will help reduce the chances of floor haze forming over time. Regular vacuuming will also help extend the life of your floors.
3. Dust Mop Often:
In addition to vacuuming, you should also dust mop your hardwood floors frequently. This will help pick up fine particles that a vacuum may miss and keep your floors looking their best.
4. Use a Damp Mop:
Occasionally use a damp mop to clean your hardwood floors. This will help remove any residue or buildup that can cause floor haze and keep your floors looking great. The damp mop will also help seal moisture and protect your floors.
5. Avoid Acidic Cleaners:
Avoid using acidic cleaners that could cause discoloration or haze formation when cleaning hardwood floors. Instead, stick with gentle products specifically designed for wood floors.
6. Use a Sealant:
Once your floors are clean, use a sealant to protect them. This will help prevent dirt and dust from getting trapped in the wood and causing future discoloration or haze. Applying a sealant every few years is recommended to keep your hardwood floors looking their best.
Conclusion
It is important to remove haze from your engineered hardwood floors so that they look their best. There are a few different ways to remove haze, depending on what material you have and what your goals are. Haze on hardwood floors can be a difficult and time-consuming problem to fix.
However, by following the afore mentioned steps on how to remove haze from engineered hardwood floors and taking some precautionary measures, you should be able to prevent floor haze from forming in the future and keep your hardwood floors looking beautiful for years to come.
With regular maintenance, you can keep them looking their best for years to come! And also enjoy the ambiance of a clean, haze-free wood floor. It would be best if you could contact a professional flooring specialist for further advice if you have any doubts. You can also try to do it yourself if you feel comfortable. Good luck!
Angela Ervin
Angela is the executive editor of DIY quickly. She began her career as an interior designer before applying her strategic and creative passion to lifestyle and home. She has close to 15 years of experience in creative writing and online content strategy for housekeeping, home decorations as well as other niche efforts. She loves her job and has the privilege of working with an extraordinary team. She lives with her husband, two sons, and daughter in Petersburg. When she's not busy working she spent time with her family.