How to Remove Kitchen Faucet Handle Without Screws
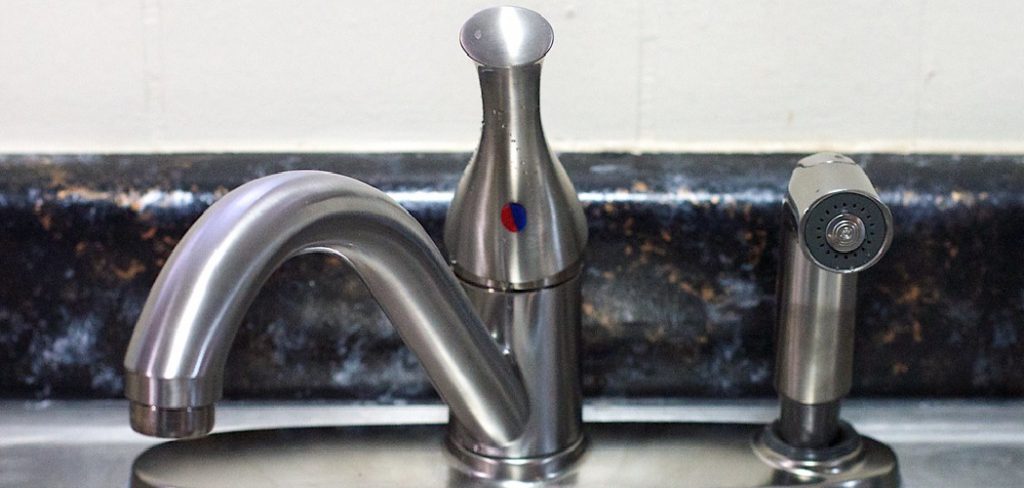
There are plenty of kitchen faucets with some insane features in the present market. Maybe you have bought one for upgrading your kitchen and enabling it with an enhanced look. But before installing the new faucet, you have to first remove the old one. So, how have you planned to remove that? Honestly, it can be a bit complicated process if you are unknown with an accurate approach. Most of the time, an old faucet gets stuck, which makes the entire process an annoying thing. This may require you to look for an expert and spend some more money. But don’t worry, we are here to offer you some simple steps with which you won’t even need to remove the screws for removing the faucet. So, let’s see how to remove kitchen faucet handle without screws.

There are several tactics for accomplishing the process. You just have to select the right one according to your situation. Even though there are numerous ways, we have selected a few only. These processes are the simplest ones, and anyone can accomplish this process with a breeze. As you are not an expert, you will definitely prefer the easiest way to get rid of the annoying problem.
Before diving into deep, make sure to remove the cartridge of your faucet. Without removing it, you won’t be able to take out the handle. So, make sure to do that first. Once you have completed removing the valve, follow these steps below.
Things You Will Need
- Allen wrench
- Philips head screwdriver
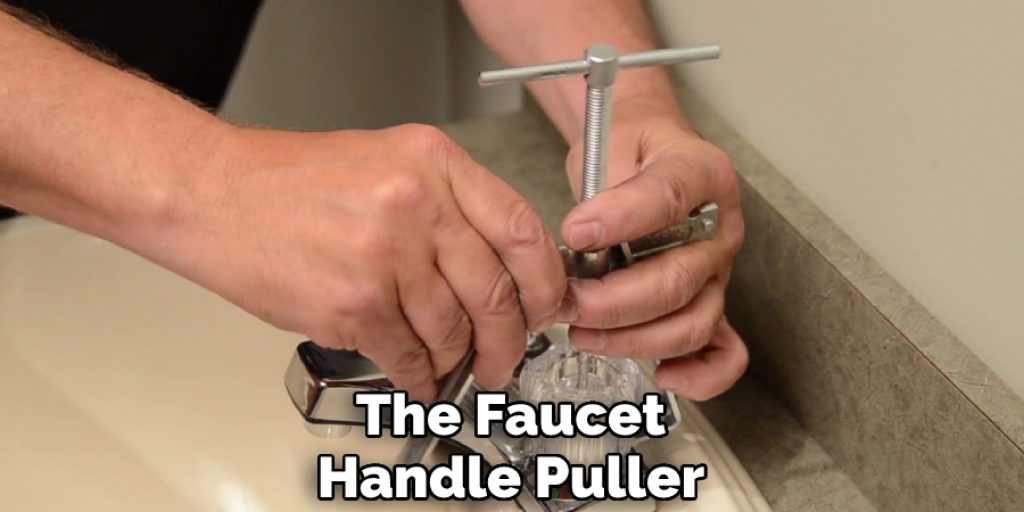
- The faucet handle puller or pairs of pilers
- Needle nosed pliers
- Flat-head screwdriver
- Old towel
- Distilled white vinegar

How to Remove Kitchen Faucet Handle Without Screws
Actually, there are three types of faucets, which are commonly found in almost every kitchen. So, we were going to finish these processes one by one.
Removing the Handles of a Double-Handled Faucet
Step 1
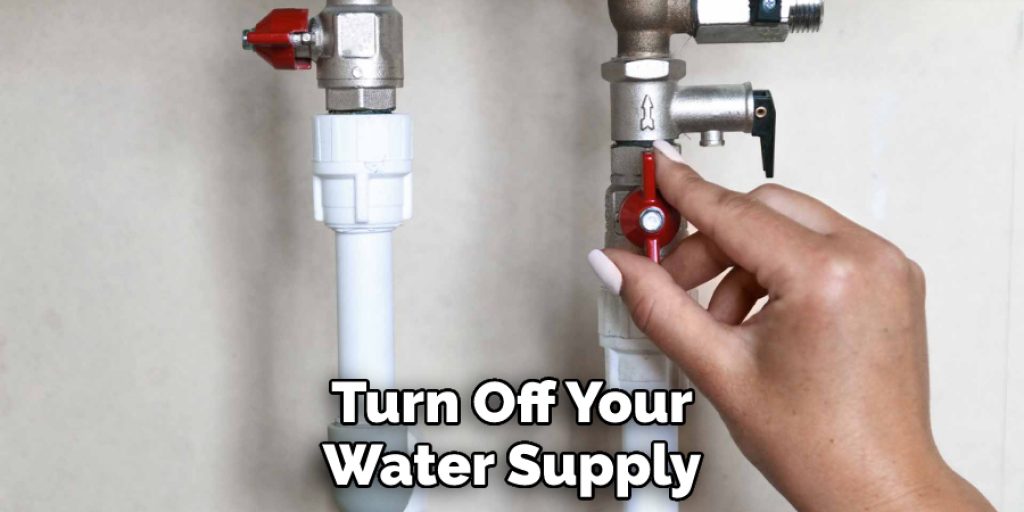
First of all, you have to turn off your water supply. You will definitely not prefer additional messes while removing the handles but if you turn the water supply on the entire floor will be flooded within seconds. So, save some water in your bucket for any urgency and find the valve of your water supply to shut it off.

Step 2
Now hold the handle of the faucet with the utmost care and then twist the body of the faucet. Make sure to twist it counterclockwise.
Step 3
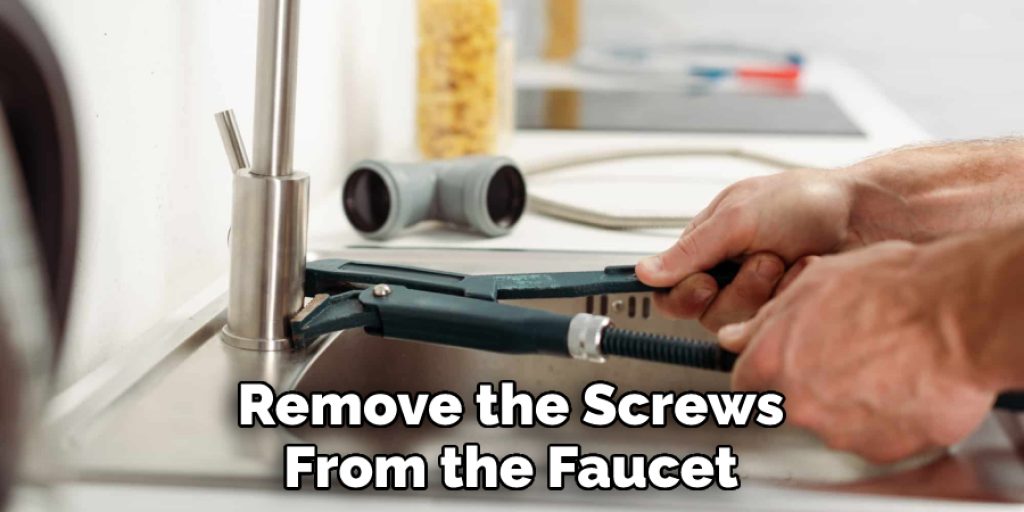
The faucet will now become loosen. Once you reach that point, you have to now remove the screws from the faucet. In this case, you will need a Phillips head screwdriver.

Step 4
Under the handle of the faucet, you will notice a white cartridge; you have to pull it out. For doing that, you are going to need needle-nosed piler.
Step 5
Thus, you are done. Your faucet will now be able to remove your faucet’s handle easily.
Removing Lever Handle Faucets Without Screws
Step 1
As always, turn off the water supply. You have to locate the valve from where the water comes into your faucets line.
Step 2
Once you have turned that off, you have to now use a flat head screwdriver. Locate the hot or cold button on the front handle and then put the screwdriver through that point.
Step 3
When you are taking the little things out, you have to pay proper attention to them. These tiny things can get lost while doing this process, and they are hard to find in the market. So, it will be better if you cover your drain first. Otherwise, these things can easily slip off your hand and fall in the drain.
Step 4
This type of faucet doesn’t contain outer screws. Instead of them, you will get an Allen Key behind the faucet. In order to remove that, you will need Allen Wrench. So, take your Allen Wrench and start taking it out.
Step 5
After removing the Allen Key, you will get to the screws. So, take your screwdriver and move them from your faucet.
Step 6
Now that you removed the Allen Keys, it will be easier for you to pull the handle. If your faucet contains any sorts of cartridges, make sure to unscrew the top piece first. If it doesn’t have any types of cartridges, then you have reached from where you can remove the handle of your faucet.
Step 7
Once you have completed the above process, you will notice a small gold-colored piece. You can easily remove it by your hand; in case if it is stuck, you can use your towel too. Use your wrench and unscrew it. After changing your faucets handle, attach the cartridge, where it was set appropriately. It will be better if you do not try to change the cartridge by yourself. Doing that can cause malfunctioning to the faucets. So, avoid that part.
Removing the Handle of a Capped Faucet
Step 1
You have to first turn off the water supply. Most often, you will find the valve underneath the sink; you have to figure out the exact location.
Step 2
Now, locate the cap of your faucet. This thing is generally found at the side of the faucet or at the base section.
Step 3
Once you have located your faucet’s cap, you have to now use a flat-head screwdriver to pry it out. Grab your faucet with the screwdriver, and then start working with it slowly. Make sure to put it into the gap and do not put much pressure while you are grabbing it. By tightening it or putting more pressure can damage the screwdriver significantly.
Step 4
Now you have to remove the screw one by one. These are a bit invisible, so you have to work a bit to find them out. In this case, you can use your Allen wrench to take the screws out.
Step 5
Make sure to cover the drain while you are removing the screws. These tiny items can easily go through the drain, and you may have to buy a new set of them. It is literally hard to find an accurate set.
Step 6
Once you have removed all the screws, use the faucet handle puller and then pull out the handle of the faucet.
Step 7
In order to avoid the scratches due to the additional pressure of the pliers, you can wrap the faucet with your old towel. It will prevent direct pressure from reaching your faucet.
Conclusion
Removing the handle of a faucet sometimes become extremely necessary. Your faucet may require some weekly or monthly cleaning, and without opening it properly, you won’t be able to ensure proper cleaning of the faucet. No matters what you have intended to do with your faucet, if you don’t utilize the correct methods, you will be the one responsible for ruining your faucet. It is recommended to use a cloth or your old towel while holding the faucet. It will prevent unwanted scratches or any other damages on its surfaces.
Hopefully, you have understood the above facts, and from now on, you won’t have to ask anyone how to remove kitchen faucet handle without screws. If you are still confused or have got something more enhanced, let us know through the comment section.


