
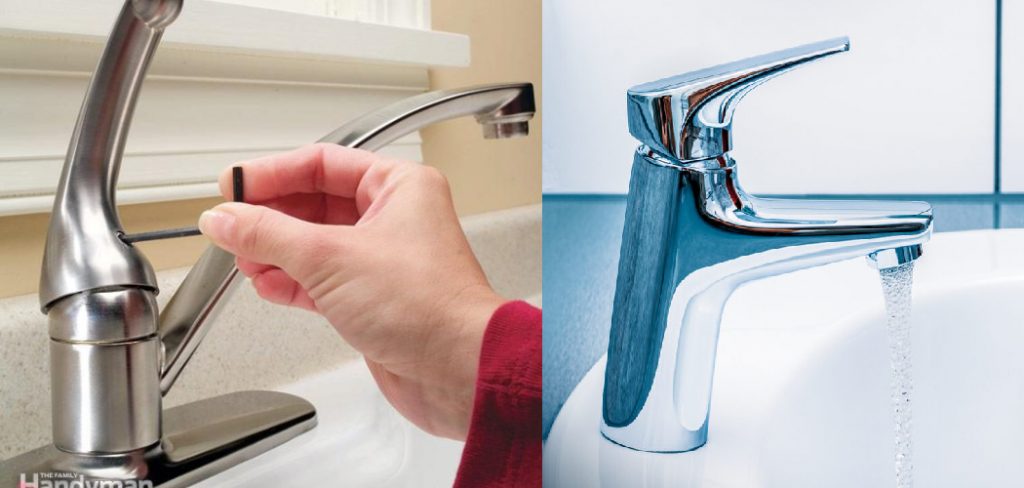
How to Remove Moen Faucet Handle Without Screws
In this article, we’re going to talk about how to remove the Moen faucet handle without screws. This can be done by carefully twisting the entire spout length from the faucet’s body. You’ll need some pliers or channel lock pliers for this process. If you don’t have them on hand, try using a hammer and screwdriver instead! Of course, your hands must be clean before starting any project like this.
If they’re not, use some soap and water first. Next, use your pliers to detach the pieces still connected to the faucet via wires or pipes. Finally, pull up on each side of the faucet until it slides out of its hole to complete installation. Read this full blog post to know in detail.
10 Ways on How to Remove Moen Faucet Handle Without Screws:
1. Wrench:
If your Moen faucet handle is still in place and relatively intact, you can use a wrench to get it off. The best bet would be to get the most significant wrench that will fit on the base of the faucet stem, which runs into the wall through an access hole known as an escutcheon plate. It is a good idea to use a pair of pliers or vise grips as a backup in case the wrench slips off.
2. Vise Grip Pliers:
Don’t have an adjustable wrench at your disposal? Try using vise grip pliers instead. First, place the pliers’ jaws around the handle, pulling it toward you to break the hold free from its base. After that, rotate the faucet’s head once or twice to ensure that it has been completely removed.
3. Burnishing Rod:
If your faucet handle is stuck, use a burnishing rod to loosen it. Insert the rod into the keyhole at the center of the handle until you hear a clicking sound. This means the rod has reached the faucet’s internal mechanism and loosened it.
4. Hammer:
The next time your Moen handle is stuck and won’t budge, give a quick tap on its side using a hammer. If this doesn’t work, wrap the jaw of a pair of pliers with electrical tape before hitting it against the handle.
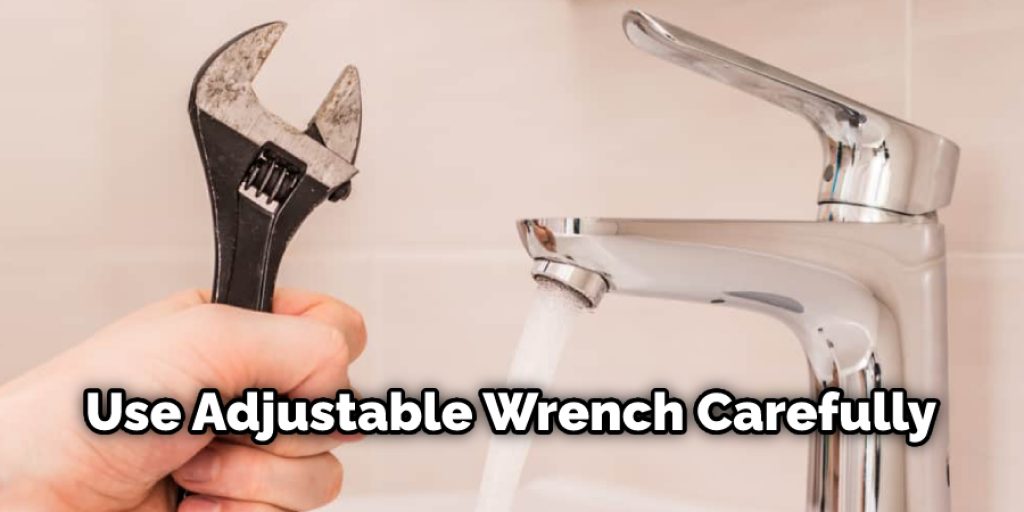
5. Adjustable Wrench:
Place the adjustable wrench on the stem running to the wall, turn counter-clockwise to loosen the handle’s base. The only downside is that this could cause some damage to walls if not done carefully.
6. Chisel:
Get a wood chisel and run it behind the handle to break the seal. This method requires a steady hand to avoid damaging other parts of your faucet. You can also try using a chisel to pry the handle off. Spray the outside of the handle with penetrating oil and wait for it to soak in. This method takes a long time, so if you are in a hurry, this might not be the best option.
Remove the screw that holds the handle on. If the screw can’t be removed, use a flathead screwdriver to remove it by prying up from underneath.
7. String and Plunger:
Make your own plunger using a string and a rubber band. Wrap one end of the string around the handle, run it through the other end to create a “noose,” and pull it outwards so that you can tie another rubber band on end to keep it taut.
8. Paper Clip and Rubber Band:
Remove your faucet handle using a simple paper clip. Poke its end into the hole at the center of the faucet. Turn it clockwise to loosen it further, then pull outwards to remove it altogether. Make sure that you are gripping the entire knob tightly before rotating, or else they could break off easily, which means replacing them entirely.
9. Hacksaw:
Your last resort is to use a hacksaw with fine-toothed blades to avoid damaging the handle. Place the blade at the base of the handle and see through it until you hear a crack sound. This should loosen it enough for you to remove by hand or else use a pair of pliers.
10. Drill:
Using a drill with a small bit, insert it through the center of the faucet knob until you feel some resistance. Next, apply some pressure and turn clockwise to loosen it further. You can then use a pair of pliers to completely grip and remove the handle from its base.
Tips and Suggestions:
- In this case, you should remove the handle from the stem to avoid the loss of water from inside your faucet.
- You need to have a towel nearby because things get wet when you do this type of repair.
- Leave enough room for your hand to fit in the faucet.
- It is recommended to wear rubber gloves to avoid germs from the old handle on your hand.
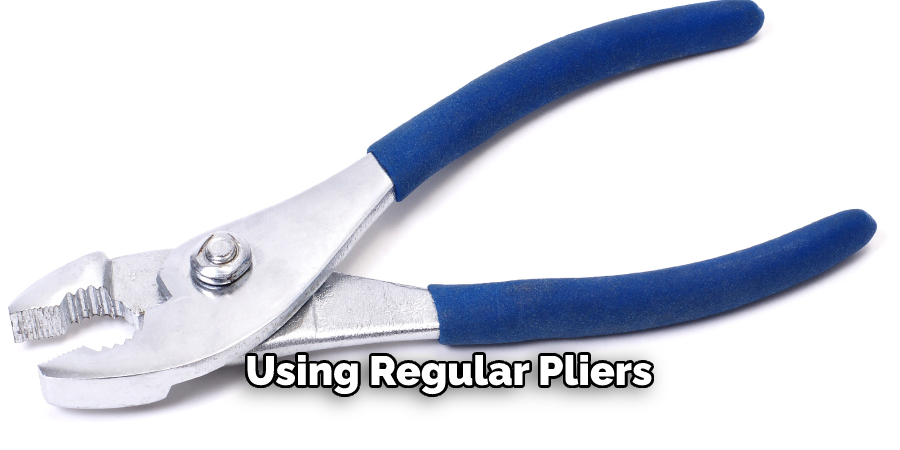
- If there are any screws, remove them with a screwdriver or slotted screw head so you can easily grip the handle using regular pliers or vice grips.
- You have to be careful when you remove the screw not to damage the faucet stem.
- If your Moen faucet is old, it may have a metal ball in the center of the stem because it uses a linkage system to open and close water flow.
Things to Consider When Removing Moen Faucet Handle Without Screws:
- If the Moen faucet has been previously installed, make sure to turn off the water supply.
- One of the most important things to consider when removing a Moen faucet handle without screws is to make sure you keep calm and don’t be hasty, either in forcing out the old grub screw or putting in a new one.
- A bath or kitchen faucet is made of many different parts that work together to get hot and cold water into your home. The style of your faucet can range from an older style with separate handles for hot and cold water to a newer tap with only one handle.
- Removing the Moen faucet handle without screws will reveal a cartridge inside of your fixtures, which the handle may have previously covered. Again, if this is not something you know how to do, you might want to call a plumber.
- When removing the Moen faucet handle without screws, use caution when removing plastic parts inside your fixture. These parts are delicate and could break if forced out too quickly.
- Doing this project yourself can save you a great deal of money because it will prevent the need for a plumber.
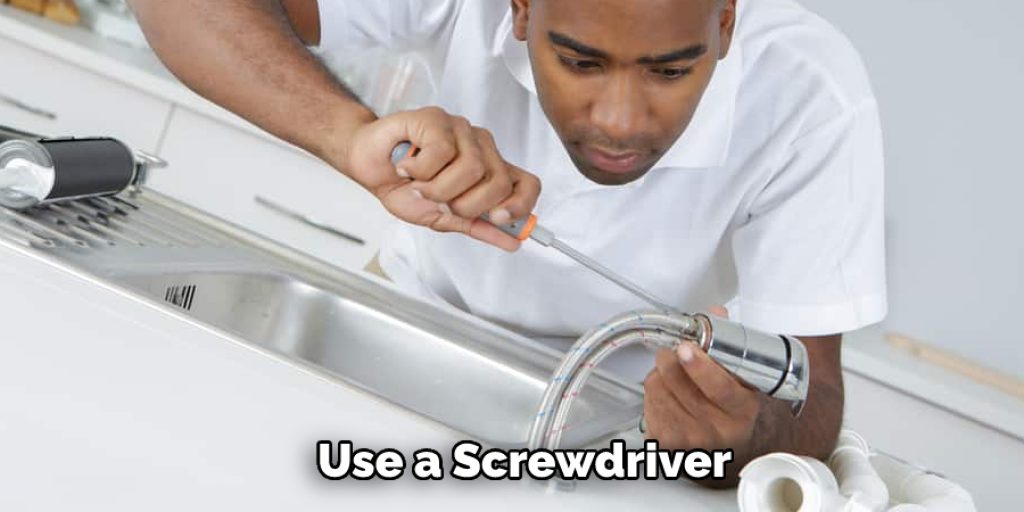
How Do You Loosen a Moen Bathroom Faucet Handle?
Loosen a Moen faucet handle by using a screwdriver. Search for a small screw located on the underside of the handle. Once removed, pull off the handle and replace it with another trim kit or complete faucet. There is no need to remove the handles completely; use an adjustable wrench to loosen them before replacing them.
What is the Reason for Replacing a Faucet Handle?

Replace the Moen faucet handle if it has become too worn or damaged. If you are selling your home, you may choose to replace all of your hardware. If you have purchased a new style of faucet, the old handles will often not fit. You can also upgrade the look of your bathroom by replacing an old handle with a new one.
How Do You Remove a Universal Faucet Handle?
There are a few simple steps to follow to remove a universal faucet handle. The first step is to turn off the water supply under the sink to prevent water from spraying everywhere while working on the faucet. The second step involves examining the handle to locate a small cap or cover at the base.
You may need a flathead screwdriver to pry it off. Once you uncover the screw, use a screwdriver to remove it, making sure to keep the screw in a safe place so that it is not lost. The fourth step is to grip the faucet handle with both hands and pull it straight back towards you to remove it.
You may have to unscrew the retainer nut to access the faucet cartridge. Afterward, replace the O-ring or faucet assembly according to the manufacturer’s instructions. Finally, reassemble the faucet by replacing the retainer nut and tightening it. Ensure that there are no leakages by turning on the water supply and testing the faucet. By following these steps, one should be able to remove a universal faucet handle quickly and easily.
Conclusion:
The Moen faucet handle is likely to be the most expensive part of your kitchen sink. If you’re having trouble removing it, don’t worry! There are a few ways that will help, and we’re going to take a look at them in this blog post. We have already covered some tips for how to remove Moen faucet handle without screws.
Since this is an issue that many people may encounter at some point in their life, we wanted to share with our readers a few tips on how they could get the job done. We hope these instructions have been helpful and informative!
Angela Ervin
Angela is the executive editor of DIY quickly. She began her career as an interior designer before applying her strategic and creative passion to lifestyle and home. She has close to 15 years of experience in creative writing and online content strategy for housekeeping, home decorations as well as other niche efforts. She loves her job and has the privilege of working with an extraordinary team. She lives with her husband, two sons, and daughter in Petersburg. When she's not busy working she spent time with her family.


