
How to Remove Oil Filter Cap Without Tool
Many things can go wrong when trying to remove an oil filter cap without a tool. For example, you might get your hands dirty, the cap can slip out of your fingers and fall into the engine bay, or worse yet, it could fly off and hit someone in the head!
Removing the filter cap from your car’s engine can be a pain without the right tools. Here are some quick and easy ways how to remove oil filter cap without tool in a pinch!
Why You Have to Remove Oil Filter Cap?
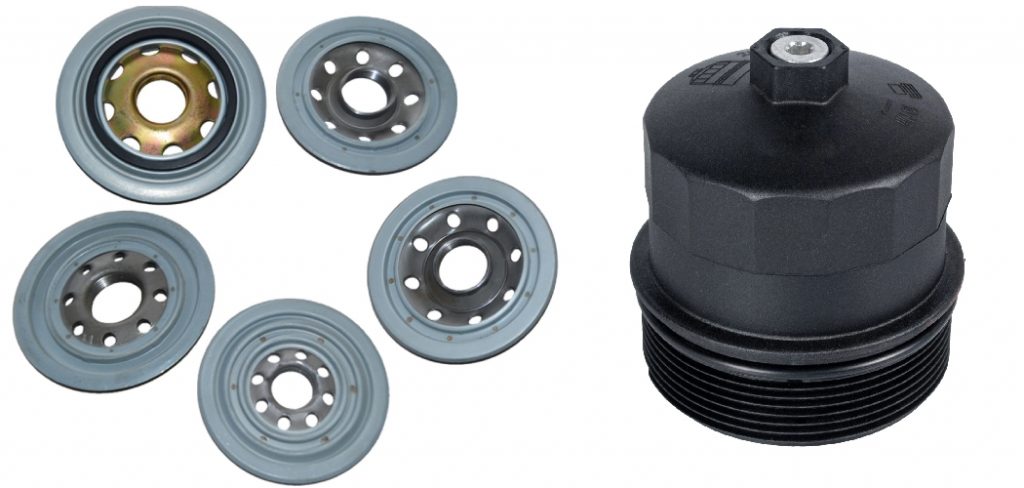
Every vehicle has an oil filter cap that ensures that dirt and dust particles do not get into your car engine. Therefore, it is advisable to replace this component when you require an effective service or after certain milestones have been achieved. Oil filter caps also serve the vital function of acting as pressure relief valves for your engine. The pressure in your engine is controlled by the oil filter cap and if it is not working correctly, it can result in your engine failing. If you want to know how often you should replace your oil filter cap, ask a reliable local car mechanic or look in your car’s owner.
The one major downside to this component is that it can easily be broken or lost, rendering the oil filter itself completely useless. This means that it is essential for car owners to know How to Remove Oil Filter Cap Without Tool in case of emergencies where they are stranded on the road with a busted oil filter cap. Removing the oil filter cap without a tool is a very simple process that can be done in just a few minutes.
A Step by Step Guide on How to Remove Oil Filter Cap Without Tool
Method 1: Use Your Hand
The oil filter cap has a small notch that can be used to remove the oil filter without any tool. All you need to do is stick your fingers in the notch and pull out the oil filter cap.
Step 1:
Pour some engine oil around the rim of the oil filter before unscrewing its retainer bolt using an adjustable wrench or ratchet strap wrench (if using strap wrench, wrap it around the rotating part of the cap). Coat with engine oil just along where it contacts metal on rear cylinder head–don’t go overboard here; too much will make it spill everywhere when you finally get rid of the old cartridge.
Step 2:
Set up an old oil pan or cardboard box to catch the oil that will drain when you remove the filter.
Step 3:
Wedge your fingers into the slight indentation on top of the oil filter cap and unscrew it counterclockwise. It will take a bit of effort, but it can be done by hand. If it’s too tight, use a pipe wrench or strap wrench. If you don’t have either, try wrapping a wrench with duct tape and use it as a strap wrench. Pull the filter off. As soon as you unscrew the cap, the oil filter will come right off. Try not to get your hands too dirty, but if you do, it’s okay.
Step 4:
Clean up any spilled oil from the engine. Use your favorite solvent to wipe off the dirt, and then rinse it away with water. Dry the area before putting in a new oil filter cartridge/oil filter container or reinstalling the old one if that’s what you’re going to do next.
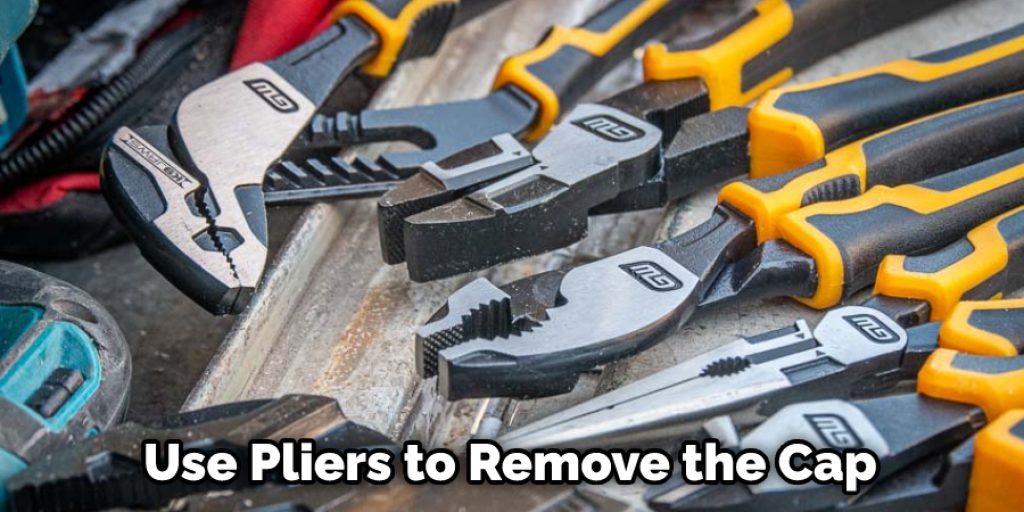
Method 2: Using Pliers
This method is similar to using your hand, except for this time, you will need pliers to remove the cap from the filter so that next time you won’t change the oil on your car, all it takes is just a twist of your wrist! You may not know this, but there is a small notch on the oil filter cap. This notch can be utilized to remove the oil filter without any tool. The only thing you need to do is stick your fingers in it and pull out the oil filter cap.
Step 1:
Pour some engine oil around the rim of the oil filter before unscrewing its retainer bolt using an adjustable wrench or ratchet strap wrench (if using strap wrench, wrap it around the rotating part of the cap). Coat with engine oil just along where it contacts metal on rear cylinder head–don’t go overboard here; too much will make it spill everywhere when you finally get rid of the old cartridge.
Step 2:
Set up an old oil pan or cardboard box to catch the oil that will drain when you remove the filter.
Step 3:
Wedge your pliers into the slight indentation on top of the oil filter cap and unscrew it counterclockwise. It will take effort, but it can be done with pliers. If it’s too tight, use a pipe wrench or strap wrench. If you don’t have either, try wrapping a wrench with duct tape and use it as a strap wrench.
Step 4:
Clean up any spilled oil from the engine. Use your favorite solvent to wipe off the dirt, and then rinse it away with water. Dry the area before putting in a new oil filter cartridge/oil filter container or reinstalling the old one if that’s what you’re going to do next.
Method 2: Use a Belt Strap Wrench
You can also use a sturdy belt strap wrench to remove an old filter cap from your car’s engine. As the name suggests, a belt strap wrench is just a length of metal or nylon stitched into a loop-shaped tool with teeth on the inner circumference. These wrenches are available in various shapes and sizes, so you have to choose one depending on how big or small your oil filter is.
Step 1:
Wrap the ends of the strap around the rim of your oil filter and attach it securely together using either a crescent wrench or pair of pliers for grip support.
Step 2:
Turn it counterclockwise until you feel some resistance as you reach the center part, where it will finally turn off completely.
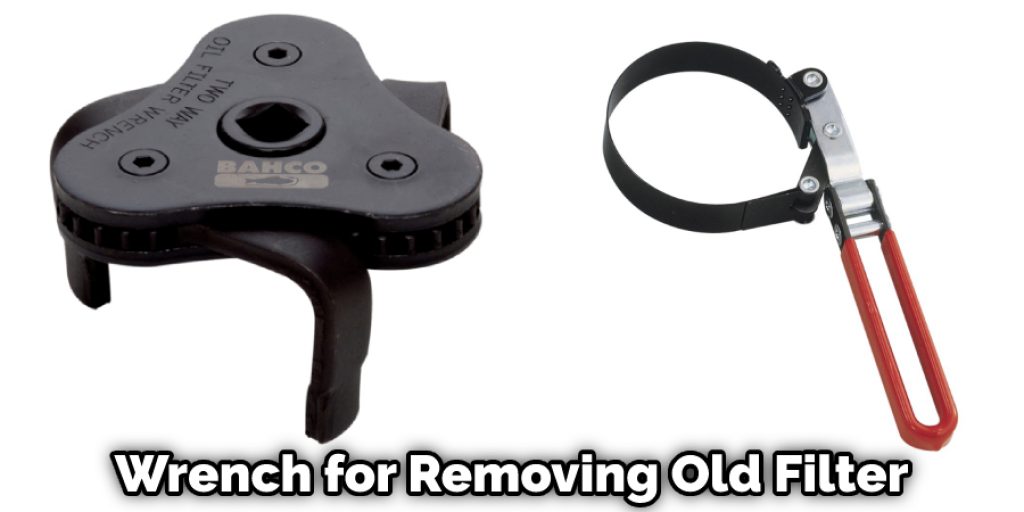
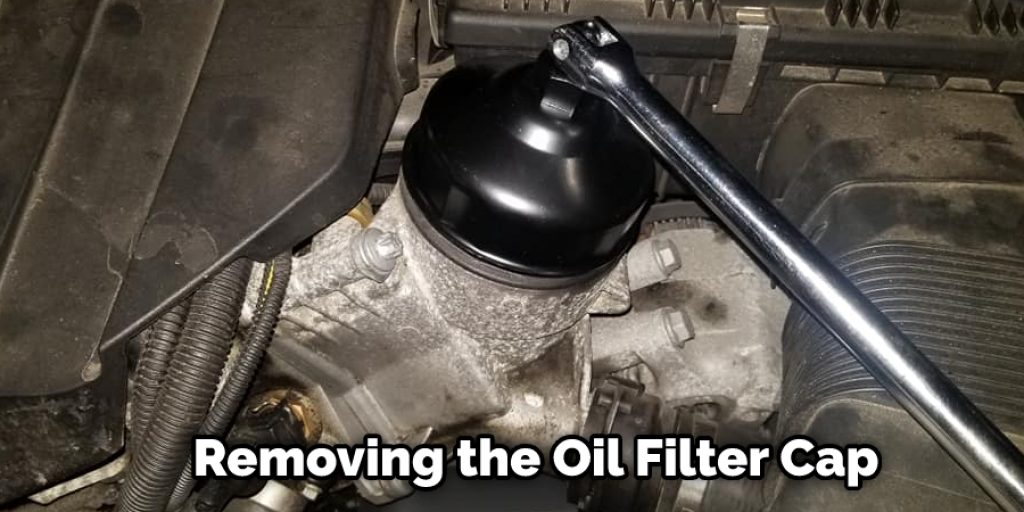
Method 3: Use an Oil Filter Wrench
An oil filter wrench is another tool that can be used in removing your car’s old oil filter cartridge without any problem. It will give you complete control of how much torque you want to be applied to the new cartridge, so there’s no need for guesswork, unlike other tools. The best thing about using an oil filter wrench is that it does not require a lot of time and effort as well as it feels very sturdy and durable, which makes it ideal for jobs with tight space constraints inside your engine bay.
Step 1:
Place the grooved side of the oil filter wrench over the top lip of your car’s old oil filter and make sure that it’s secure.
Step 2:
Twist the wrench clockwise as you apply pressure to remove the oil filter. At first, you will feel some resistance, but it will eventually give in and turn off completely.
Step 3:
Carefully remove the old oil filter cartridge and dispose of it properly. Wipe down the area where the old oil filter was seated to remove any traces of engine oil.
Step 4:
Pour some fresh engine oil around the new oil filter and screw on its retainer bolt by hand until it’s nice and tight.
Method 4: Make an Oil Filter Wrench
If you have a pair of vice grips, a metal saw, and a vise to hold your car’s oil filter still, you can make one yourself with just these few essential tools
Step 1:
Cut out a cross shape from the thin sheet of metal using your hand or power saw. The length should be long enough to fit snugly around the circumference of your filter, while the width must be enough to allow both rows of its teeth to bite into it. Make sure that all four ends are even so that they can meet together perfectly once you connect them.
Step 2:
Use either a vise or wedge-shaped object between the lower jaw and table edge to keep metal steady while cutting out a notch at each end.
Step 3:
Bend each end of the metal strap to form a 90-degree angle and make sure that the notches fit securely around the filter’s circumference.
Step 4: Test how well your oil filter wrench works by removing the cap. If it doesn’t budge, adjust the angle or size of your wrench as needed.
Precautions
When removing the oil filter cap, be sure to use caution. The oil filter is under high pressure and can cause injury if not removed properly.
1. Place a cloth over the top of the oil filter cap. This will help protect your hands from getting oil on them.
2. Use your fingers to twist off the oil filter cap. Be sure to hold onto the cloth to avoid getting any oil on your hands.
3. If the cap does not come off quickly, use a wrench to loosen it. Please do not use excessive force, as this could damage the cap or the filter itself.
4. Once the cap is off, use a clean cloth to wipe any oil from the surface of it. It can be reused as long as there is no damage.
Screwdriver set, suitable for all screws and screw heads, with durable storage case!
Conclusion
In this article, you have read about how to remove an oil filter cap without tool. Removing the oil filter cap is a job that many people find intimidating. It certainly doesn’t help that the most common tool for removing oil filters is a sizeable canister-style wrench that most people don’t own.
A person might be tempted to take it to a mechanic, but there are some methods around this issue if one knows how to remove an oil filter cap without a tool.


