How to Remove Paint From Fireplace
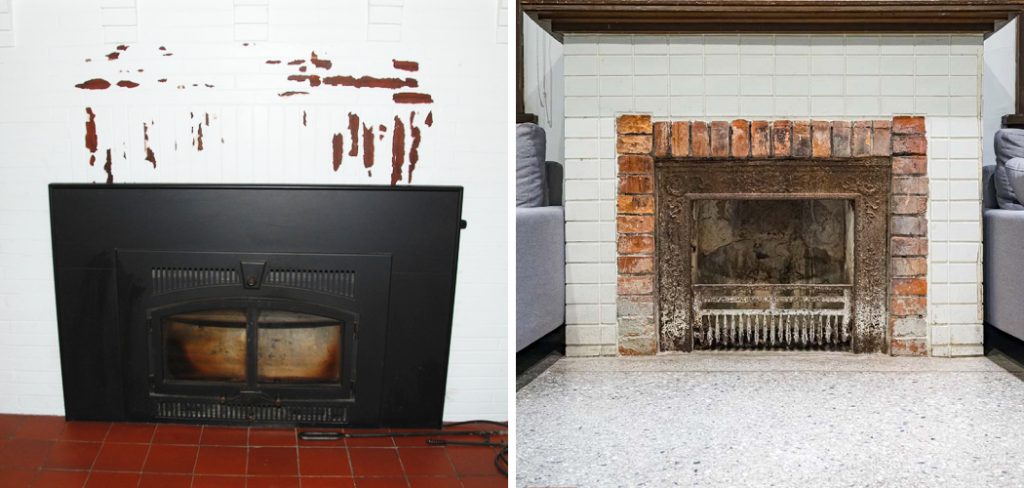
Removing paint from a fireplace can be daunting – paint that has been around for years or decades is often hard to get rid of, and the process of removing it requires a lot of manual labor. But with the right tips and tricks, you can easily tackle this difficult job without much hassle. In this blog post, we’ll take a look at how to remove paint from fireplace efficiently and affordably so that your home’s focal point looks as beautiful as ever!
Needed Tools and Materials
Given below is a list of tools and materials that you will need to remove paint from your fireplace:
- Heat Gun
- Chisel or Putty Knife
- Paint Scraper
- Steel Wool
- Rubber Gloves
- Drop Cloths
- Safety Glasses
- Vacuum Cleaner
- Acetone or Paint Remover
- Bucket
11 Step-by-step Guidelines on How to Remove Paint From Fireplace
Step 1: Prepare the Room
Make sure to wear safety glasses and rubber gloves while working, and lay down a drop cloth or two in the area around the fireplace so that any paint remnants are easy to clean up. Make sure your room is well-ventilated for safety purposes. It is also recommended to use a vacuum cleaner to remove any dirt and debris before you start.
Step 2: Heat the Paint
Using a heat gun, slowly pass it over the paint in order to loosen it up. Move the heat gun around and be careful not to stay in one spot too long or you risk damaging the wall behind the paint. It should only take a few minutes for the paint to become soft and easier to scrape off. But take care not to heat the paint too much or it may cause further damage. If the paint starts to bubble, stop and let it cool down.
Step 3: Scrape Off Paint
Once the paint has been softened by the heat gun, use a chisel or putty knife to gently scrape it off. Make sure not to dig too deep since you might damage the wall behind it. If necessary, use a vacuum cleaner to remove any pieces of paint that may have become stuck in cracks or crevices. You may need to use a steel wool or paint scraper in order to remove any stubborn pieces that don’t want to come off.

Step 4: Clean the Surface
Once you have scraped off as much of the paint as possible, use steel wool to scrub the remaining residue off. If necessary, you can also use a paint remover such as acetone to help break down any stubborn spots. This should only be used as a last resort though, because it is very caustic and can damage the surface of your fireplace. It is also important to make sure the area is completely dry before adding any new paint or sealant.
Step 5: Rinse the Surface
Once you have successfully removed all of the paint, rinse off the surface with warm water and a damp cloth to remove any remaining residue or cleaner. If you plan on painting the fireplace, allow it to dry completely before proceeding. This could take several days. It is also important to make sure the fireplace is completely free of dust and debris before painting.
Step 6: Vacuum the Area
After rinsing, use a vacuum cleaner to get rid of any leftover dust or debris. It’s also a good idea to use a soft brush attachment on the vacuum in order to get into any hard-to-reach areas. But be sure not to use too much force, as this could damage the fireplace. It is also important to make sure the area is completely dry before applying any paint or sealant.
Step 7: Sand the Surface
Once the area has been vacuumed, use fine-grit sandpaper to smooth out any remaining rough patches. Be sure not to sand too harshly as this may damage the surface of the fireplace. This step is important in order to ensure the paint adheres smoothly and evenly. You can use a vacuum cleaner to quickly remove any dust particles created by the sanding.
Step 8: Reapply a Primer
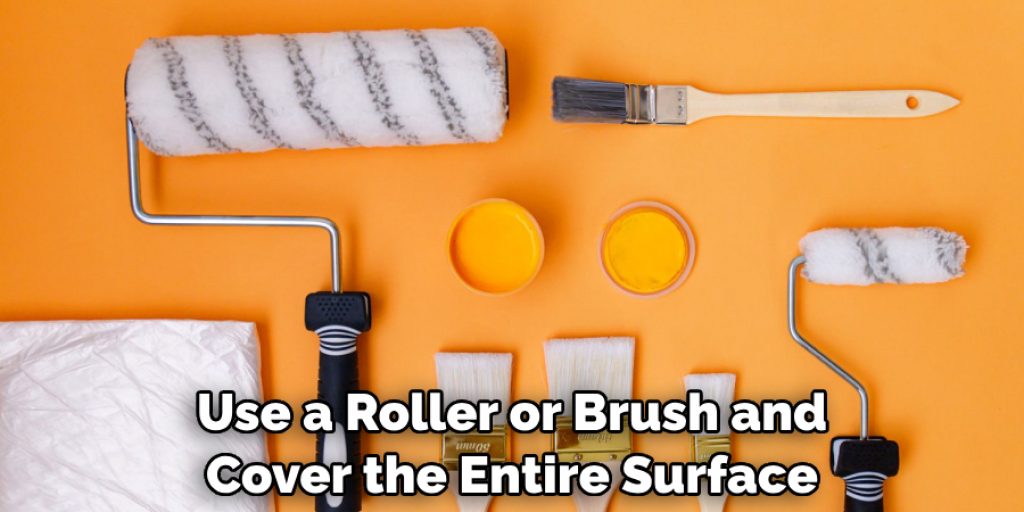
To ensure that the paint adheres well, you will need to apply a primer coat. To do this, use a roller or brush and cover the entire surface evenly with the primer. But note that you should only use a primer designed specifically for the type of fireplace you have. Allow the primer to dry completely before proceeding.
Step 9: Apply Paint
Once the primer is dry (which should only take an hour or two), it’s time to start painting! Use a roller or brush and cover the entire surface evenly with paint. It’s important to use paint designed specifically for fireplaces, otherwise it could be damaged by heat. Allow the paint to dry completely before applying any sealant.
Step 10: Apply Sealant
Once the paint has dried (which should only take a few hours), you can apply a sealant to help protect the paint from dirt and wear and tear. Use a roller or brush to apply the sealant evenly over the surface. Allow it to dry completely before using your fireplace again. It is also important to make sure the sealant adheres well. You can use a soft rag to gently buff the sealant if necessary.
Step 10: Let Dry
Let the paint dry completely before using your fireplace. This may take up to 24 hours, depending on the type of paint you are using. Be sure not to rush this process as it is necessary for proper adhesion. This is also the best time to check for any missed spots or uneven patches and apply more paint if necessary.
Step 11: Enjoy
Once the paint has dried, you can now enjoy your newly painted fireplace! Make sure to use a heat shield if necessary and keep an eye out for any signs of damage or wear. Always use caution when using your fireplace, as it can get very hot and cause burns. With proper care and maintenance, your fireplace should last for many years to come.
By following these 11 steps on how to remove paint from fireplace, you’ll be able to successfully remove paint from the fireplace and restore it to its original beauty. It may take some time and effort, but the end result will be worth it! Good luck!
Do You Need to Use Professionals?
Although this process can be done using the DIY steps outlined above, it’s always better to use professionals for the job. Professional painters will have specialized tools and knowledge that can help make your project go much smoother and quicker than you could do alone.
They are also aware of safety regulations regarding paint removal from a fireplace, so they can ensure that everything is done correctly and safely. If you decide to use professionals, make sure to do your research and hire a reputable company that has experience in this type of job.
Frequently Asked Questions
Q: What Should I Do if the Paint is Too Stubborn to Remove?
A: If the paint is particularly stubborn, you may need to try using a chemical stripper or sandblasting in order to get it off. Be sure to use caution when doing this as these methods can cause damage if not done correctly.
Q: How Long Does it Take to Paint a Fireplace?
A: The amount of time it takes to paint a fireplace depends on the size and condition of the surface, as well as the type of paint being used. Generally, it can take anywhere from a few hours to several days for the entire painting process. Be sure to allow enough time for the paint to dry before using your fireplace.
Q: Can I Use Regular Paint on My Fireplace?
A: It is best to use heat-resistant paint when painting a fireplace in order to ensure that it will remain undamaged by the high temperatures. Heat-resistant paints are designed specifically for this purpose and can be found at most home improvement stores.
Q: What Other Tips Should I Follow While Painting My Fireplace?
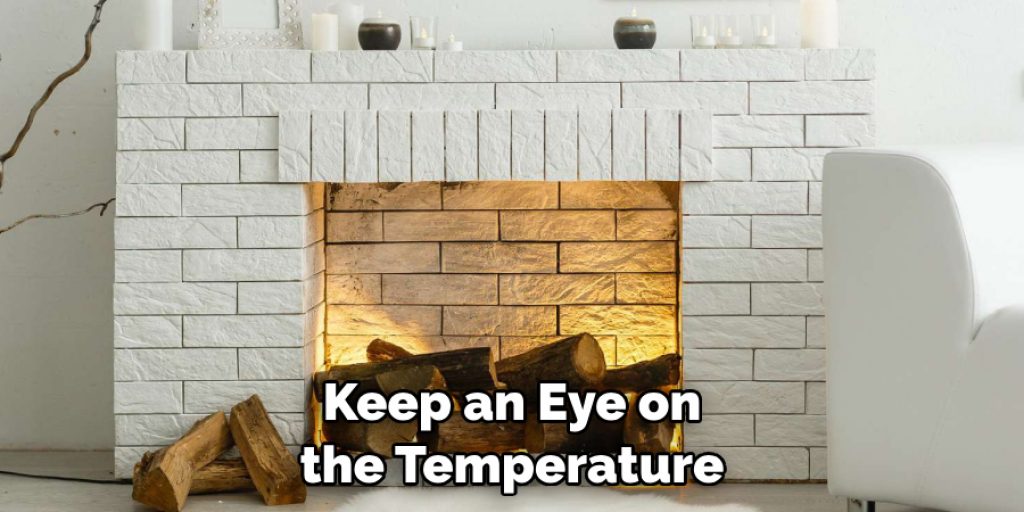
A: Be sure to use drop cloths around the area and wear protective gloves when painting. Also, it is important to apply several thin coats of paint instead of one thick coat in order to ensure that the finish looks smooth and even. Finally, make sure to keep an eye on the temperature of your fireplace while it is in use to avoid any potential damage.
Conclusion
In conclusion, by properly prepping your fireplace and using the right tools, you can manage to remove paint from a fireplace with relative ease. Taking some extra safety precautions, such as wearing protective gear and having adequate ventilation in the room will ensure that you’re able to complete this task safely and without any issues.
Now that you know the process of how to remove paint from fireplace, all that’s left to do is dig in! So don’t be afraid to get out there and tackle this project head-on – you’ll be glad that you did! Good luck!

