
How to Remove Paint From Plastic Car Bumper
Introduction
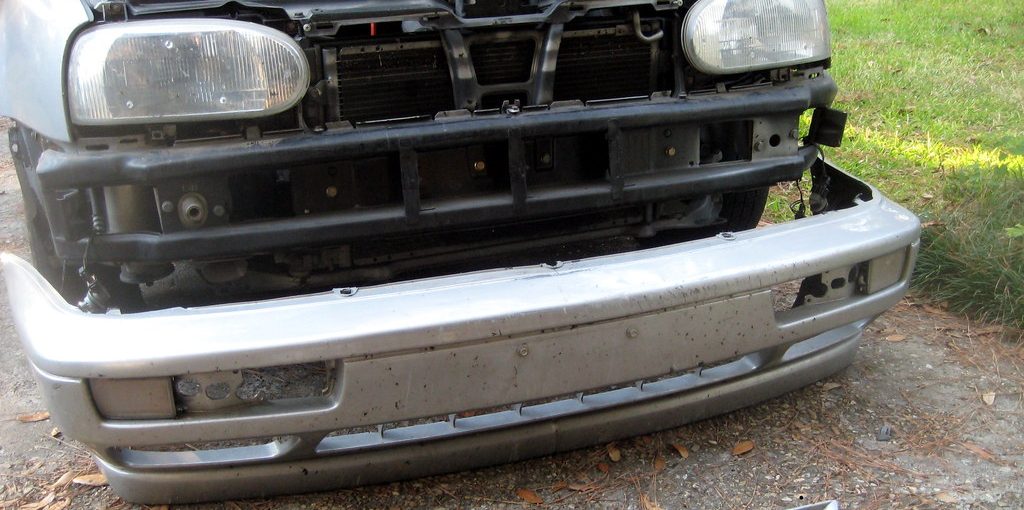
You may have a car with a plastic bumper; you can use some paint to make it looks good and beautiful. What if the paint is not your desired color? You want to remove the picture from the plastic car bumper but do not know how to remove it. For this reason, today, I will discuss a technique to remove paint from a plastic car bumper. So let us get started.
What Are the Main Things to Consider When Removing Paint?
All processes involved in preparing for painting or actual painting must be carried out at room temperature (20-25 degrees). Therefore it is best to start any job after a warm spell or before a cold. This greatly simplifies the subsequent removal of previously painted surfaces that are contraindicated.
If you started painting the car in a cold environment when it becomes warmer and wants to remove paint from the plastic bumper, read further.
To ensure the best results when removing enamel coatings, be sure to use high-quality paints and the following tools: paint thinner, hand cleaner, acetone, naphtha, turpentine, and benzene.
The following products do not allow you to remove the film without completely affecting the appearance of plastic: Lacquer thinner Naphta (Vaska) White spirit Diluted paint remover Solvent-based remover Alcohol-based remover Paint stripper.
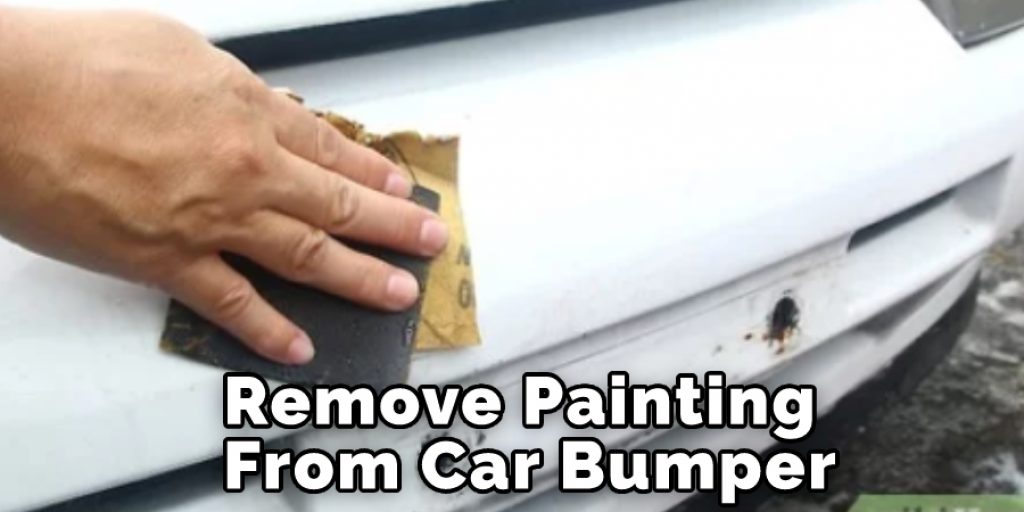
As a result, you will need to resort to mechanical methods. If the first layer of paint has already hardened and fallen off by itself, then do not worry. It is likely that the process begins with the release of the second layer of enamel and endures until the complete removal of paint from the plastic bumper. To improve efficiency during this procedure, ensure that all tools and utensils are absolutely dry (do not use spraying). If it so happens that one or another tool or solvent does not exactly suit your taste, please find for yourself from among what is offered above all suitable in terms of quality for your time and money options.
Step-wise Guide on How to Remove Paint From Plastic Car Bumper
Plastic car bumpers are always sensitive to scratches and paint removal. Therefore, proper care must be taken if you want to remove paint from a plastic car bumper. The first step to removing paint from your plastic car bumper is to clean the area properly with an appropriate cleaner product or solution.
Here are some of the tips to remove paint from plastic bumpers:
Rubbing Alcohol as a Removing Paint From Plastic Car Bumper Solution:
The rubbing alcohol acts as a solvent for some of the paints on the market, which reduces their viscosity to be removed from surfaces by thoroughly washing with water. This also cleans any oil or grease on your existing surface and leaves no residue.
Rinse the area thoroughly with water to remove all traces of alcohol to avoid any reaction.
TIP:
Paint remover can be used as an alternative to rubbing alcohol if required.
TIP:
You can also use a hairdryer to dry the surface after cleaning is done quickly.
Alternate Blowing or Vacuum Suction Method:
Blow away all loose paint particles using a vacuum suction cleaner or similar instrument to clean up your plastic car bumper completely from paint residues and other dust particles, which may result in further damage by scratching them over time while driving the vehicle. Once you are satisfied, start the washing process.
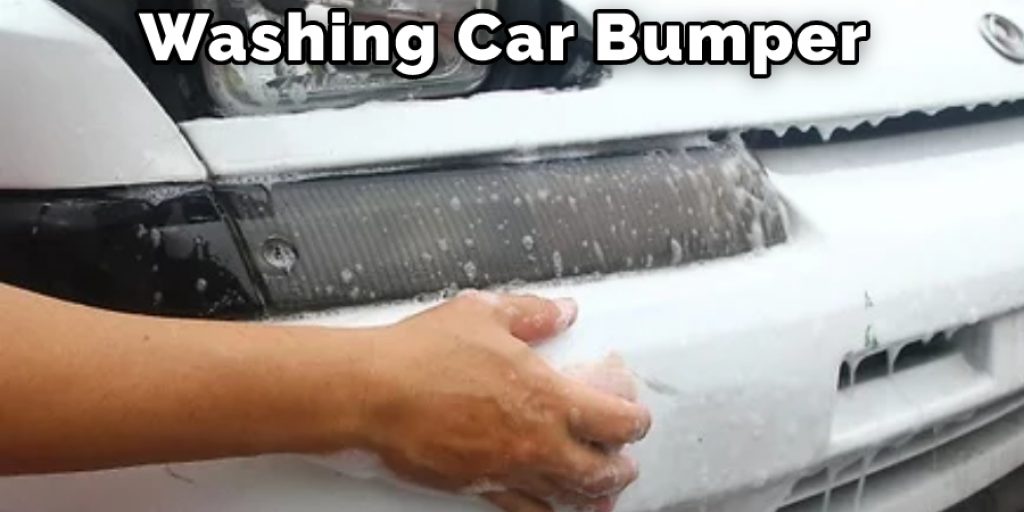
Washing Your Plastic Car Bumper Area With Clean Water:
Once the surface is cleaned, you can wash it with clean water to remove any traces of cleaning solution and other particles on your car’s plastic bumper. It also helps to reduce the chances of further scratching by removing loose paint particles. Blowing air or using a dry cloth may help to accelerate the drying process, provided that no paint residue is left behind for further damage.
TIP:
If required, you can also wash your wheels at a similar time so that all dust particles are removed from their surface thoroughly before washing the car body.
Dry Your Plastic Car Bumper Using Towel: Once you feel satisfied after the washing process, a proper towel must be used for drying in case of any wetness. You can also use a hair dryer for faster drying if your surface is still damp with water.
After removing paint from the plastic bumper, be sure to follow all the steps mentioned above, and allow the surface to dry completely before driving on the road again.
Following these simple car body repair tips will help you save time and money rather than repainting your damaged plastic car bumper directly by professional painters/body shop guys or nearby parking lot facilities to get it repaired at once.
Precautions While Performing How to Remove Paint From Plastic Car Bumper
- Before starting the paint removal process, ensure you are working in a well-ventilated area, covering your nose and mouth with a mask or breathing filter. Paint fumes are hazardous to your health.
- Ensure you wear chemical protection gloves for protection against chemicals that may cause burns or rashes on your hands.
- Make sure that isopropyl alcohol is safe enough for the plastic materials of your car bumper before using it as an effective solvent in the paint removal process. Isopropyl alcohol can be really destructive to auto-trim parts made from vinyl, rubber, molded plastics, or other organic materials like wood and cloth. When mixed with this compound, they have different chemical reactions [my personal experiences have verified this point].
- When removing paint from the plastic car bumper, it is imperative to know the paint’s chemical composition so that your solvent does not react negatively and possibly damage your car bumper’s color coat.
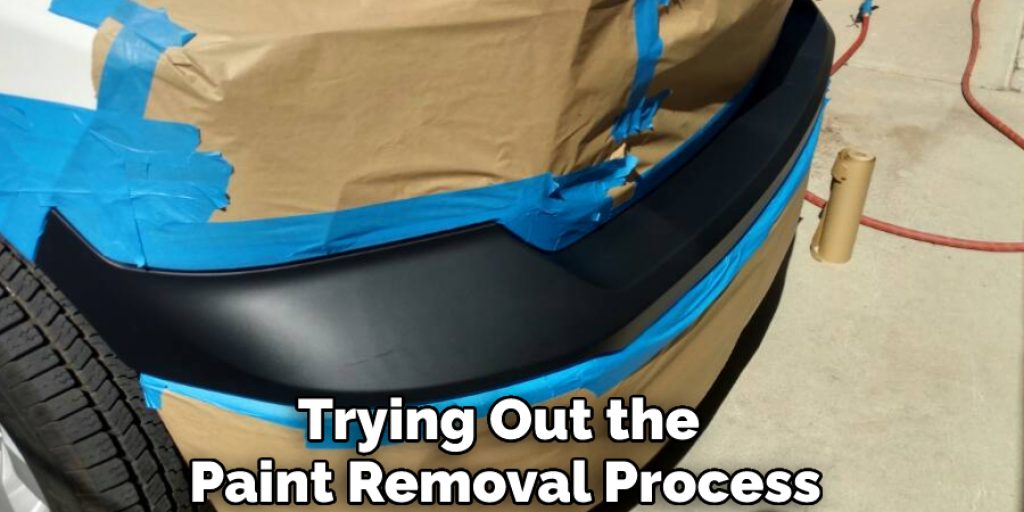
- Always give a test spot to the area you intend to use for this purpose before actually applying it on the part where you wish to remove paint, just in case chemicals present in the substance used may lead to discoloration or any other kind of alteration on parts that are meant to be preserved looking new always like bumpers, mirrors, chrome trims, etc.
- If the above step doesn’t work out as planned or if no proper results have been observed after a few attempts, then contact a professional who knows what he is doing and does not take your chances at the expense of your vehicle’s car bumper.
- It is also a good idea to consider replacing the damaged part instead of risking it all just trying out the paint removal process on it.
- Always read instructions carefully before starting! The process that we have outlined in this article for removing paint from plastic car bumpers may need you a couple of tries even if you follow some precautions mentioned here above but do not get disappointed and give up. It will eventually work out for best results if used with patience and care.
You Can Check It Out To Clean Egg Off Car Windshield
Conclusion:
The paint removal process is straightforward to perform on plastic bumpers. You do not get impatient and don’t mind wasting or possibly damaging your car if something goes wrong during the process. Once done properly, it will look just like new once again after some care and detailing from professional car repairers in a body shop. I hope you have learned the process of how to remove paint from plastic car bumper properly. Thank you, and have a good day!
Louis Wein
Louis has always been fascinated by cars. He loves the way they look, the sound of the engine, and how they make him feel when he's driving. He is always keen to learn more about different mechanics of cars and how the engine contributes to other aspects of the car. As an automotive technician with over 10 years of experience, he knew how they worked and loved taking them apart to see how they went back together. He was especially interested in the mechanics of combustion engines and loved finding ways to make them more efficient. He loves to work on cars and help people keep their vehicles running smoothly. As a senior editor, he enjoys contributing to Diy quickly because it allows him to share his knowledge and expertise with others.


