
How to Remove Pencil Marks From Embroidery
Introduction:
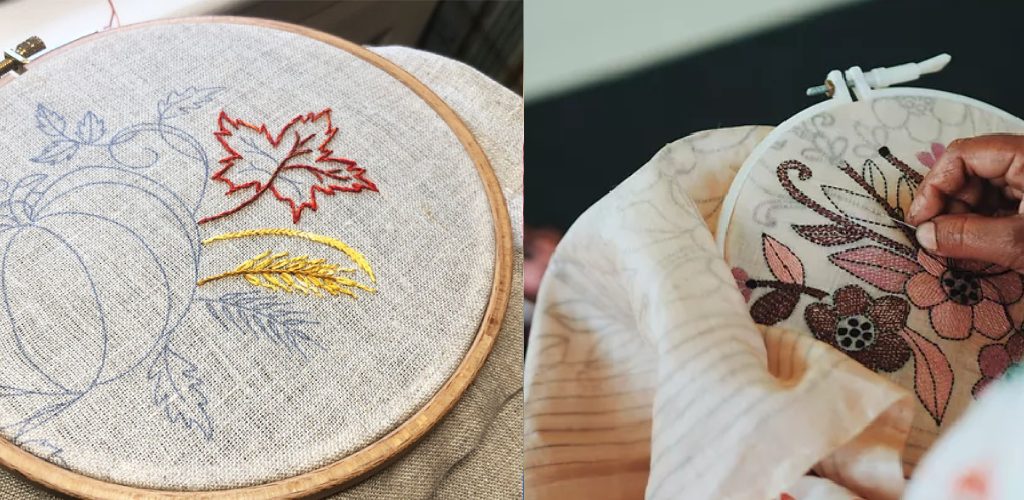
Embroidery is a decorative handicraft of decorative art or fine art, in which designs are created stitchery. So it’s not just normal needlework but stitching with thread, metal wire, or wool on the fabric. And embroidery means you can decorate the cloth, fragments of clothes, and other items from common use to gifts and souvenirs. Unfortunately, sometimes due to carelessness, pencil marks can form on embroideries. For this reason, today, I am going to discuss how to remove pencil marks from embroidery. So let us get started.
A Guide on How to Remove Pencil Marks From Embroidery:
For Small Marks:
Rub the mark on your embroidery with firm strokes using a pencil eraser. If the fabric is delicate, be careful not to rub too hard, or you can cause more damage than good. Instead, run a steam iron over the area for several seconds to set the eraser’s oils into the fibers.
For Larger Marks:
To clean your embroidery fabric, you can take an old toothbrush and scrub away at it like you would a stain on clothing. Just make sure that you don’t scratch or tear the fabric in the process.
For Even Bigger Marks (Especially Wood Embroidery):
Paint stripper onto each side of the affected area and let it sit for about five minutes (depending upon how thickly they are applied). While waiting, put a towel over the embroidery to protect it from an excess stripper, and don’t let your pet or your kid (yes, really) near it in case they lick it or bite it. Once the time is up, scrub away the pencil marks with an old toothbrush.
To Whiten White Threads That Have Yellowed:
To clean your embroidery, mix one drop of liquid dishwashing detergent (Dawn works well for this) into a cup of hot water and dip an old toothbrush into the solution. Scrub lightly; if needed, add another drop or two of the detergent mixture and continue scrubbing until you see squeaky clean results. Rinse with clean water and lay flat to dry before proceeding with any further steps.
To Prevent Bleeding:
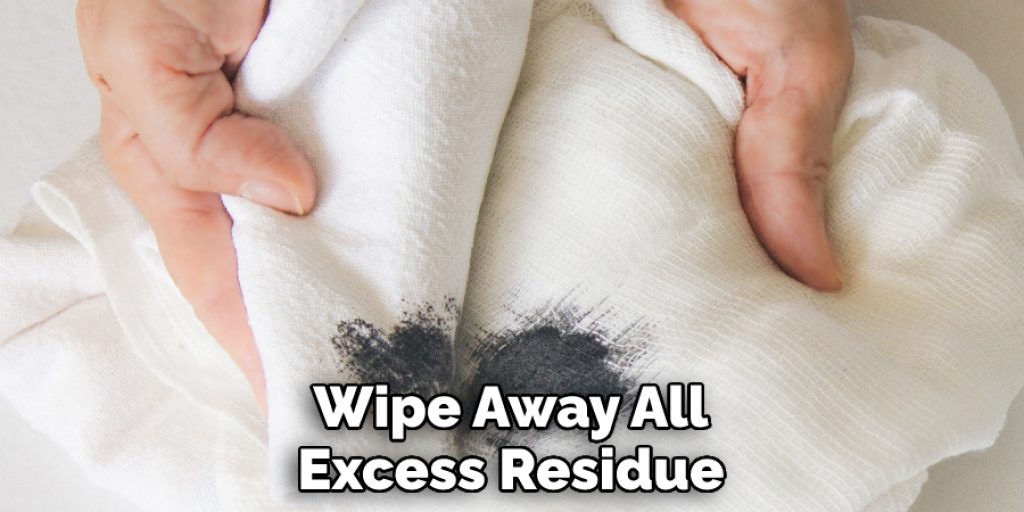
Before using the eraser on your embroidery, coat it with a thin layer of petroleum jelly or clear nail polish and allow it to dry completely. Once you have finished cleaning up your pencil marks, wipe away all excess residue with a clean cloth and proceed with finishing the design as normal.
If you’re worried about losing an important piece of fabric, you can buy some “oops” tape to stick over it. This is probably more suitable for people who are very inexperienced at making their own embroideries. If you’re not very good at sewing in general, you should avoid using pencils until you improve your skills.
If It’s a Small Piece That You Don’t Mind Losing:
Cut out the shape of the mark with a razor blade or embroidery scissors, then either use a seam ripper to carefully pull each stitch or stab into the material as close to the offending area as possible (being careful not to stab yourself, but rather try to stick it through the backside) until you have removed all traces of fabric from around the mark.
To Remove Pencil Lines Left on Your Cutting Mat After Using an Eraser:
Swipe away any excess residue with a cloth dampened in soap and water; rinse again, wring dry, and allow to air-dry completely before slicing away at your design.
If the Mark Is Gone, but You Can Still See a Shadow:
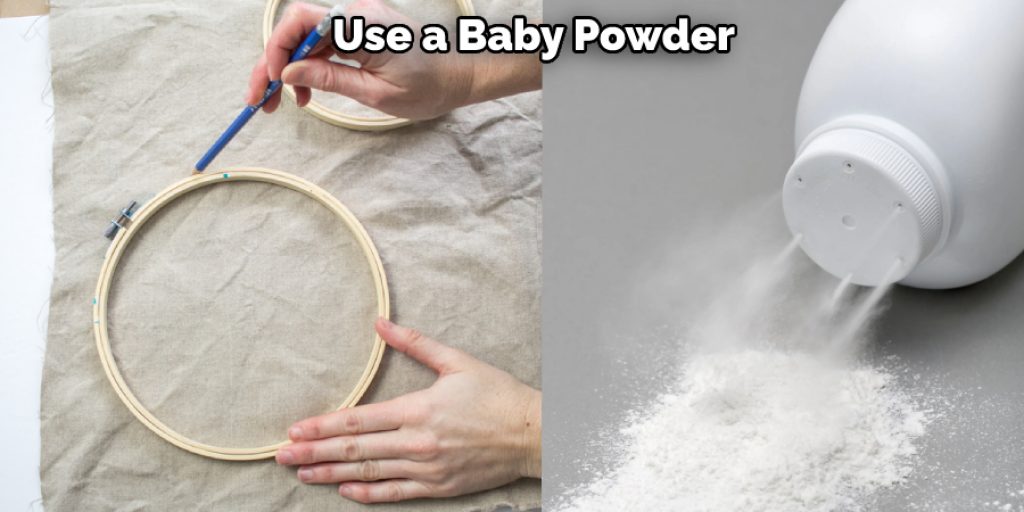
Lightly dust your embroidery with baby powder until all trace of residue has been removed and let it dry completely before proceeding with finishing.
Precautions While Performing How to Remove Pencil Marks From Embroidery:
1. You can get permanent damage to your embroidery if you use the wrong technique while removing them.
2. If you use the wrong products, it could ruin the texture of your fabric and change its color. So, be careful to choose the right product for your embroidery fabric.
3. It may also cause serious damage to your eyesight or skin due to chemicals present in the solvent, so be careful during the cleaning process and follow all safety measures given below properly.
4. This method is not applicable on delicate fabrics like silk, satin, velvet, etc., as they have poor surface strength that will allow only a limited amount of damage when using solvents. Still, for such fabrics, we will suggest another excellent way to use a dry cleaning solvent.
5. Before using any product, please read the instructions carefully and follow all safety measures required. Otherwise, you may ruin your embroidery permanently and harm yourself & others around, so please do not skip anything with care, or else it may cause damage physically and emotionally apart from the financial cost of making it again.
6. Using an improper technique while removing marks from fabric can stain them forever, so be careful while doing it else. There is no chance of removing these stains later from the fabric.
Frequently Asked Questions:
How to Wash Embroidery?
1. Stuff your iron with a clean piece of cloth or bed sheet so that it doesn’t damage the embroidery when you use it to press.
2. Get some water in a bowl and immerse the embroidery for about 20 minutes or more.
3. Take out the embroidered article from water and rub it gently using hand soap lather and then rinse off thoroughly until all soap residue is removed from the fabric. For this purpose, you may also need to repeat this process twice as sometimes even after first wash excess soap residue is left on clothing items which may make them look dirty.
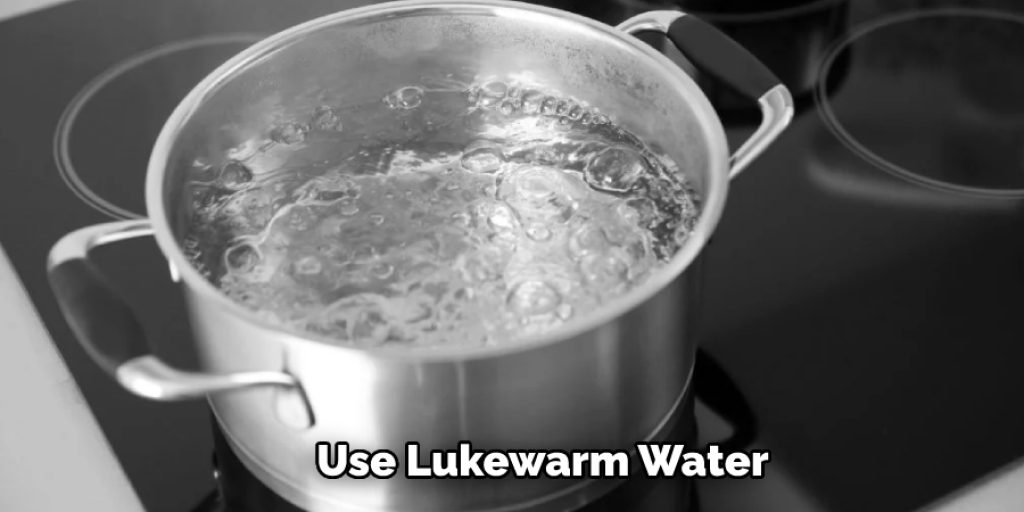
4. Now drip a few drops of bluing into warm water and keep soaking the fabric in this solution for 10-15 minutes. This will help in restoring the color of your embroidery to its original shade.
5. First, you need to mix soap and water together to create a lather. Next, you will want to soak your embroidered article in the soap lather for a bit. After that, you will need to rinse it off until all of the soap residue is gone. Finally, you will want to dry it either on a line or in sunlight.
Note: If you have accidentally used too much detergent/soap by mistake, don’t worry leave the cotton soaked overnight in some warm water and wash again with bluing solution, this can remove most of the stain(s) caused by excess detergents/soaps
How to Remove Paint From Embroidery?
• Eliminate the paint by hand-washing it with a detergent.
• Use a hairdryer to heat the fabric and extract out the paint.
• soak the fabric in an ammonia solution for few hours or overnight, use rubbing alcohol on any stubborn stains.
After removing all of it, wash your embroidery piece immediately using shampoo. Then squeeze out excess water and keep it under shade, patting lightly until it’s completely dried up. It is better to remove ink stains using ice cubes, which act as a blotter for ink removal from the fabric rather than drying up.
Remember that too much heat can damage fibers permanently, so be careful. If the stain has spread over a large area, use a soft toothbrush to scrub the area.
Try to avoid using detergents or bleaches because they can be harmful to your embroidery piece.
Do not soak your embroidery pieces in water for a long time, and it tends to damage the embroidery fabric permanently. And lastly, you should try to wash out stains instantly if possible, then do not wait for drying up before washing it with shampoo and keep it under shade, patting lightly until it’s completely dried up.
A Handful Tips:
1) If the pencil mark is dirty and greasy, then you can use a Clorox Clean-Up wipe to clean it.
2) You can wipe the pencil marks from your clothing with rubbing alcohol or hand sanitizer. However, be careful not to use an excessive amount of either product as they may stain some materials.
3) You also want to be sure that if the item is washed in any manner from here forward, you do NOT put any bleach or laundry detergent on this area as it would permanently set the stain into the material.
4) Sticker residue also falls under this same category, so if a sticker has fallen onto your embroidery – remove it immediately.
5) Acetone is a powerful chemical that will remove permanent marker stains from most surfaces. Take care to protect your hands and work in a well-ventilated area when using this product. The best way to use acetone is by dabbing with a clean cloth or cotton ball, but you can also use a spray bottle filled with the substance if you don’t mind getting messy. However, be sure not to saturate the area as too much may soak into your clothing and cause damage or color loss. If this happens, I would suggest contacting the manufacturer for advice on how to proceed.
6) Cover the surrounding area around where you will be cleaning so that the cleaning solution does not spread onto other parts of your clothing. If this happens, I suggest using a mild bleach water mixture to remove the stain as described below.
7) Use pencil erasers to rub out pencil marks or lead that has been placed on any of your finished pieces and have since transferred from them onto anything else in which you would like it removed. The best way to do this is by rubbing an old pencil eraser over the area until it disappears. Be careful, though, to also avoid smearing the markings around when doing so. If you need more help with this method, please see our article ” How to Remove Embroidery Hoop Markings “.
Conclusion:
I hope this article has been beneficial for learning how to remove pencil marks from embroidery. Thank you and have a nice day!
Check out our article How to Make a Light Fill Stitch Design for Embroidery


