How to Make a Light Fill Stitch Design for Embroidery
Many people around us love stitching, stitching is a kind of art that intrigues the general mass, and the outstanding designs prepared from sewing are much likely to attract people. The persons who are much at home in stitching can easily express their innovative mind though this process. There are varieties of stitches that are followed while performing the task, and all of them possess their own significance. Most of the persons love to prepare a design from their innovative mind, and they choose to follow it in the stitching pattern as well.
The fill stitch is a very popular stitch because it is easy to use and covers a lot of space. This stitch is used in many parts of the world to make designs on fabrics. Today we are going to show you some techniques for making a fill stitch design that is light and easy to learn.

Requirements
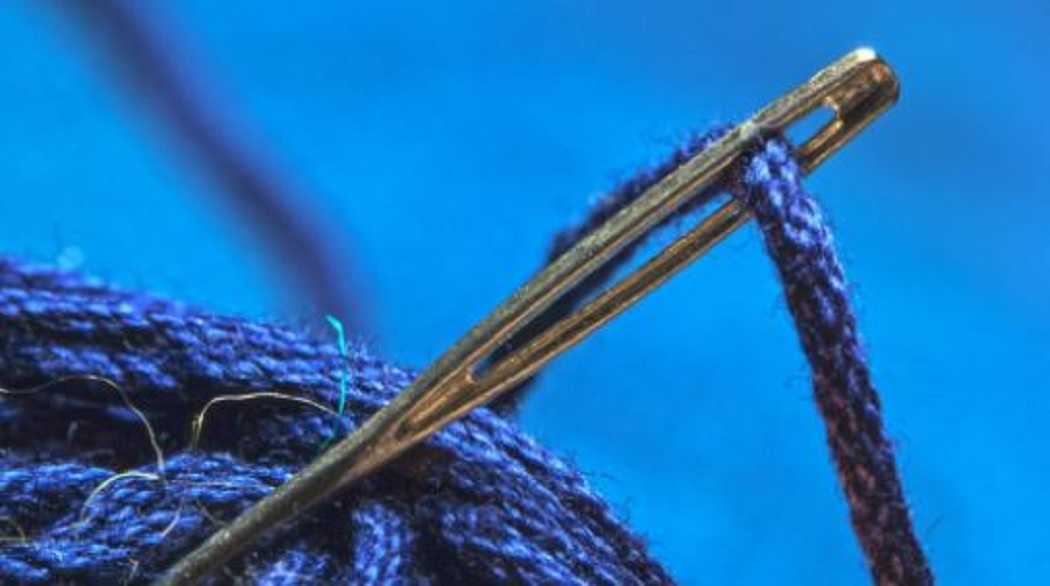
Before beginning the process, you must have the necessary materials on hand, which will enable you to work faster. The first thing you will need is a hoop, which is a circular or oval-shaped device that can be used to keep the fabric tightly attached. Next, you will need an adequate amount of yarn and thread. Lastly, you will need a needle, which you will use throughout the entire process.
Procedure
Many processes can be followed to make filling stitches. All of them are much easy and can be quickly learned. There are simplified ways that can be used to make the beginners get a good hold on these stitches. Some of these filling stitches are stated below.
Satin Stich
This is a process of filling stitch, used to cover some portion of the background stitch. This means you can apply this stitch once you have already done a filling stitch. In this process, we suggest that you use the thinner threads because the stain stitch is done for a small amount of area, and more delicate stitches can be more helpful than thick strands. You can also use the ground fabric for this process.
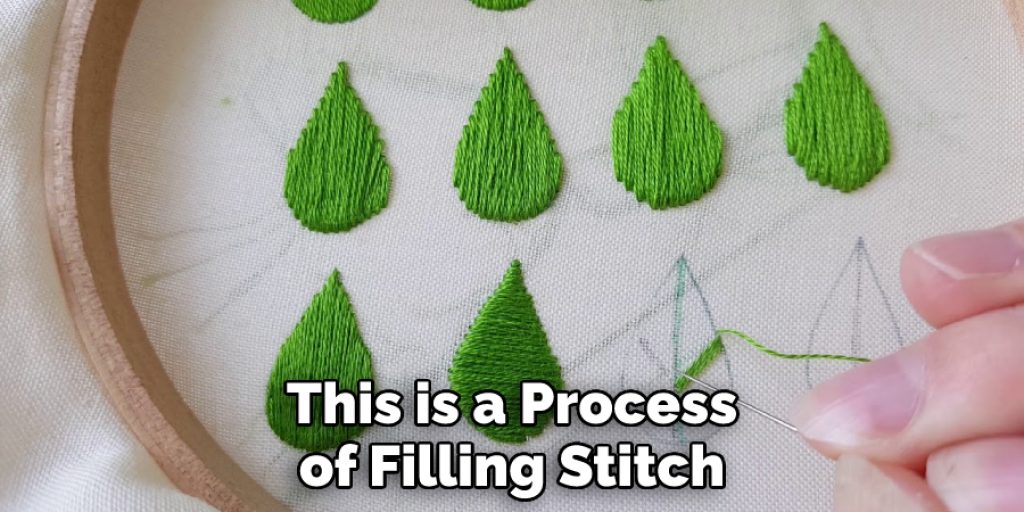
The ground fabric generally contains high count, and there are also many firms in nature, especially the full weave fabrics that will work better in this case. The first step of this process is to make a small circle with the thread. You have to keep it low because this is the essential feature of the stitch, and it is done to provide significance to the smaller details of the design. The next step involves making small chain stitches that are connected with the chain. The first few stitches will be above the ground, but the rest of the stitch should remain below the ground. There is no need to worry about this because the upper stitches will be removed in the end.
Next, you have to start working from the middle, put the needle through the middle of the area, and start working sidewise. This will help you to fill the void quickly. It is better to outline the satin stitch before you begin the central part. This will allow the performer to make the stitch look much beautiful. Once you are done with the first stitch, you will have to pull it through. After that, you have to put the needle on the other side of the fabric and start creating another satin stitch.
Otomi Stitch
This another filling stitch which can be quickly followed for making beautiful designs. The Otomi people of Mexico invent this, and this design is much dependent on the tapered threads. The basis of this design is to produce a herringbone stitch utilizing the barrow threads. For large areas, you can easily use this technique, and you can also make a variation in the colors.
At first, you have to divide the total areas. The division is done to maintain the tension of the threads, and we suggest that you separate the whole part at a distance of two centimeters and then start applying the needle and the yarn. You can use a single color thread to make the separations, and then you can begin to stitching to fill the void by using different colors of threads.
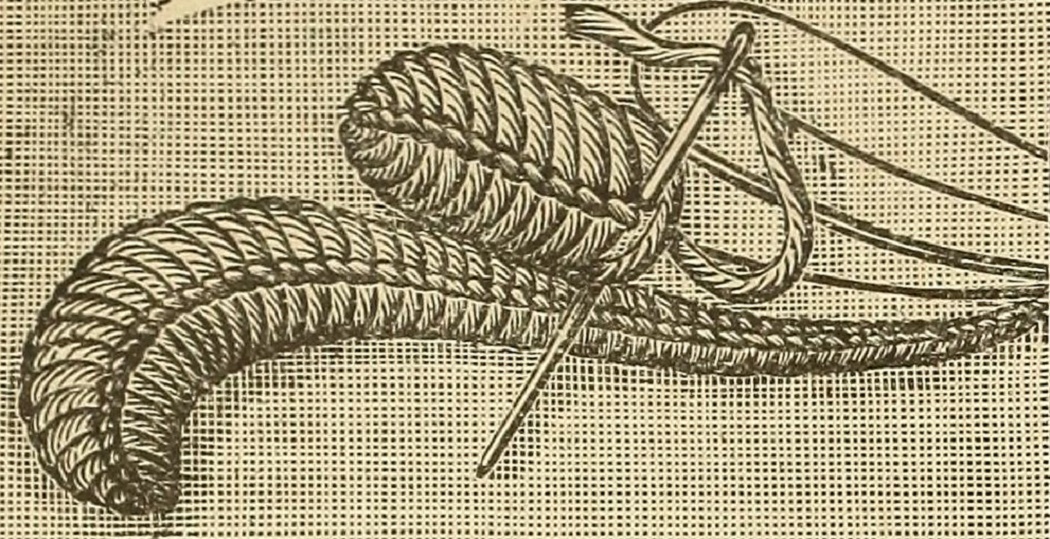
Couching Stitch Filling
This is the technique used to attach the thread into an embroidery surface, and this is much easier to perform than the previously mentioned techniques. The primary process includes making even stitches at regular intervals. You can use this stitch for both the outlines and for filling the areas. In this case, at first, you have to mark the whole area with a thin thread.
This will work as the border for the stitch, and then you have to take a thick yarn and then sew it on along the edge of the area. You have to hold the yarn tightly and then take another needle with small yarns wrapped around and then start sewing the thicker thread. In this manner, the whole process will be continued by sewing the thicker thread using the thinner threads. And you will find that the embroidery will be filled with tight knots.
Precautions
Needle
It is evident that the needle’s continuous use marks the whole process, so the user must be well aware of the technique of using the needle. The user should adequately maintain this, and we prefer that the safety of the hands of the user should be adequately maintained in this case. The needle is quite a sharp element, so while working with it, we suggest that you wear synthetic gloves so that your fingers do not get hurt by any chance.
Sanitizing Iron
Another essential aspect that you should consider while making the embroidery is the state of the needle, as it is an element carved from iron. Hence, we suggest that you should take the properly sanitized needle. You can also use sterilization in this case. You have to wash the metal with an alcoholic solution before you start working with it. In this manner, the needle will get free of any germs, and your hands will also not get infected.
Conclusion
In conclusion, we would like to state that the process that we have stated here will be beneficial for the learners. We have provided our utmost effort to simplify the procedure for the better convenience of our readers and learners. The beginners can easily take a good lesson from this, and the process is a great way to improve the DIY skills of the learners. Happy crafting! Have a good day!!