How to Remove RV Recliners
RV recliners are a popular and comfortable addition to many RVs. They provide a place to relax and unwind after a long day of traveling or exploring. However, there may come a time when you need to remove your RV recliner for various reasons. One of the most common reasons for removing an RV recliner is to create more space in the living area. This can be especially important for smaller RVs where every inch of space counts.

The main advantage of removing an RV recliner is the extra space it creates in your living area. This can make a big difference, especially if you have a small RV or are traveling with a large group of people. Removing an RV recliner also makes it easier to move around and access other areas, such as cabinets and storage compartments. In this blog post, You will learn in detail how to remove rv recliners.
Step by Step Processes for How to Remove RV Recliners
Step 1: Inspect the Recliners
It is necessary to inspect the recliners before starting the removal process. Check if there are any loose screws, bolts or other parts that need to be tightened. Before removing the recliners, make sure you clear out space around it. This will allow enough room for the removal process and ensure safety.
Step 2: Gather Tools and Supplies
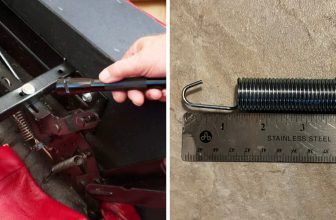
To remove the RV recliners, you will need a few tools and supplies such as screwdrivers, pliers, an adjustable wrenches, and gloves. Make sure to gather all these items before starting the process. If your RV recliner is electronic or has power outlets attached to it, make sure to disconnect the power source before proceeding with removal.
Step 3: Remove Any Obstacles
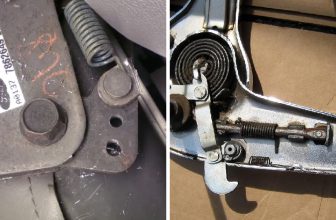
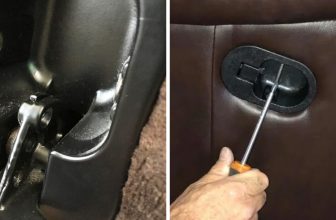
Check if there are any obstacles in the way of removing the recliner, such as furniture or appliances. If so, move them out of the way to make space for smooth removal. The RV recliners are usually attached to the floor with fasteners. Locate these fasteners and use the appropriate tools to unscrew them.

Step 4: Disconnect Wires
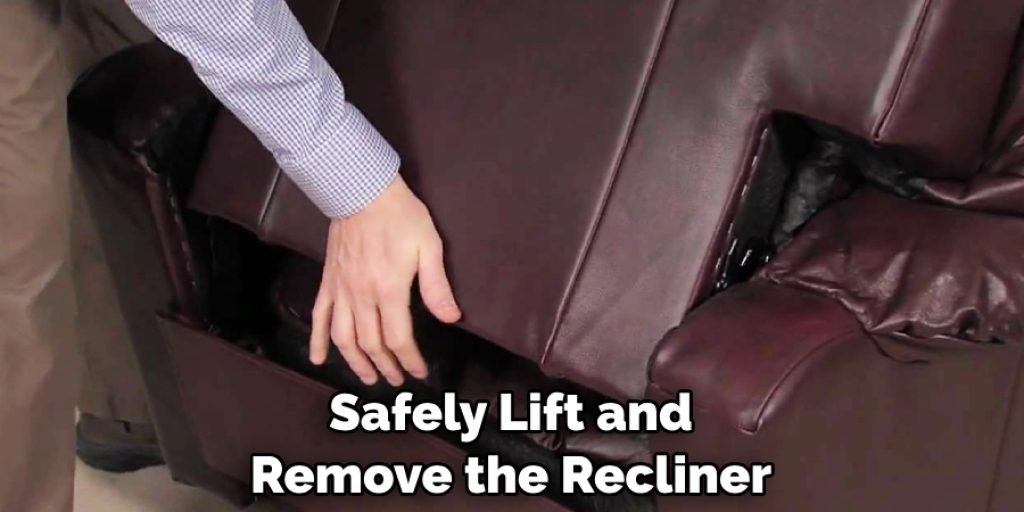
If your RV recliner has any wires connected to it, make sure to disconnect them carefully before removing the recliner from its place. With the help of another person, lift the recliner and carefully remove it from its place. Make sure to lift with your knees and not your back to avoid any injuries.
Step 5: Clean the Area
After removing the recliners, clean up the area and make sure there are no loose screws or other debris left behind. If you plan on using the RV recliners in another location, make sure to store them properly in a safe and secure place to avoid any damage. If not, dispose of them responsibly.
Removing RV recliners may seem like a daunting task, but it’s actually quite simple with the right tools and steps. It is important to follow these steps carefully to ensure safety and avoid any damage to your RV or yourself.
Precautions for How to Remove RV Recliners
- Make sure to turn off all electronics and unplug any power sources before attempting to remove the recliners from your RV.
- Use a tape measure or ruler to accurately measure the dimensions of your RV recliner before trying to remove it. This will help you determine the best way to maneuver it through narrow doorways or tight spaces.
- Have a clear path planned out for removing the recliner. This will prevent any accidents or injuries caused by tripping over furniture or other objects.
- When lifting the recliner, be sure to use proper body mechanics and avoid straining your back. Bend at the knees and keep your back straight as you lift.
- If possible, recruit a partner to help you remove the recliner. This will make the process easier and safer, especially if the recliner is heavy or bulky.
- Use furniture sliders or blankets to protect your floors and walls while moving the recliner out of your RV.
- Lastly, always read the manufacturer’s instructions for removing and reinstalling the recliner properly. Improper removal can result in damage to your RV’s interior or the recliner itself.
With these precautions in mind, you can successfully remove your RV recliners without any accidents or damage. Remember to always prioritize safety when handling heavy or bulky furniture, and seek assistance if needed.

Why is It Important to Remove RV Recliners?
RV recliners are an essential piece of furniture in any recreational vehicle. They provide a comfortable seating option for long road trips and camping adventures. However, there may come a time when you need to remove your RV recliner for various reasons.
One common reason is if the recliner is damaged or needs repair. Removing it will allow you to better access and work on the recliner without any obstructions. Another reason is if you want to replace the recliner with a new one or simply want to change up the interior design of your RV. Whatever the reason may be, it’s essential to know how to properly remove an RV recliner. Doing it incorrectly can cause damage to both the recliner and your RV’s interior.
How Do You Prevent Damage to the RV Floor While Removing the Recliner?
One of the most common and necessary tasks for RV owners is to remove or replace furniture. This can be especially tricky when it comes to removing recliners, as they are typically larger and heavier than other pieces of furniture.
If you’re planning on removing an RV recliner, it’s important to take certain precautions in order to prevent damage to your RV floor. Here are some tips to help you safely and effectively remove your RV recliner without causing any damage.
1. Clear the Area
Before attempting to remove the recliner, make sure to clear the area around it. This includes removing any obstacles or objects that may get in the way during the removal process. Not only will this prevent potential damage to your RV floor, but it will also make the task easier and safer for you.
2. Use Proper Lifting Techniques
When lifting and moving heavy furniture, it’s essential to use proper techniques in order to avoid back strain or injury. It’s important to lift with your legs rather than your back, keeping your back straight and using a wide stance for stability. You may also want to consider enlisting the help of another person to make the task easier and safer.
3. Protect the Floor
To prevent any scratches or damage to your RV floor, it’s a good idea to lay down some protective covering such as a tarp or drop cloth before attempting to remove the recliner. This will provide a barrier between the furniture and the floor, preventing any potential damage.
4. Inspect the Recliner
Before attempting to remove the recliner, carefully inspect it for any screws or bolts that may be holding it in place. It’s important to remove these before attempting to lift or move the recliner.
5. Lift and Remove Carefully
With proper lifting techniques and protective covering in place, you can now safely lift and remove the recliner from your RV. Take your time and move slowly to avoid any accidents or damage.
6. Clean Up Any Debris
After successfully removing the recliner, make sure to clean up any debris or leftover materials from the removal process. This includes screws, bolts, or any other small pieces that may have fallen during the lifting and moving process.
Following these tips will help you safely and effectively remove your RV recliner without causing any damage to your RV floor. Remember to take your time and use proper techniques, and always enlist the help of another person if needed.
Are There Any Potential Risks or Issues to Be Aware of When Removing an RV Recliner?
One of the main risks or issues to be aware of when removing an RV recliner is potential damage to the surrounding furniture and walls. It is important to carefully maneuver the recliner out of its position, being mindful of any obstacles that may get in the way. Additionally, some recliners may have electrical components such as heating or massage features, which will need to be disconnected before removal.
It is important to follow the manufacturer’s instructions or seek professional assistance in removing these components to avoid any potential hazards. Another issue to consider is the weight and size of the recliner.
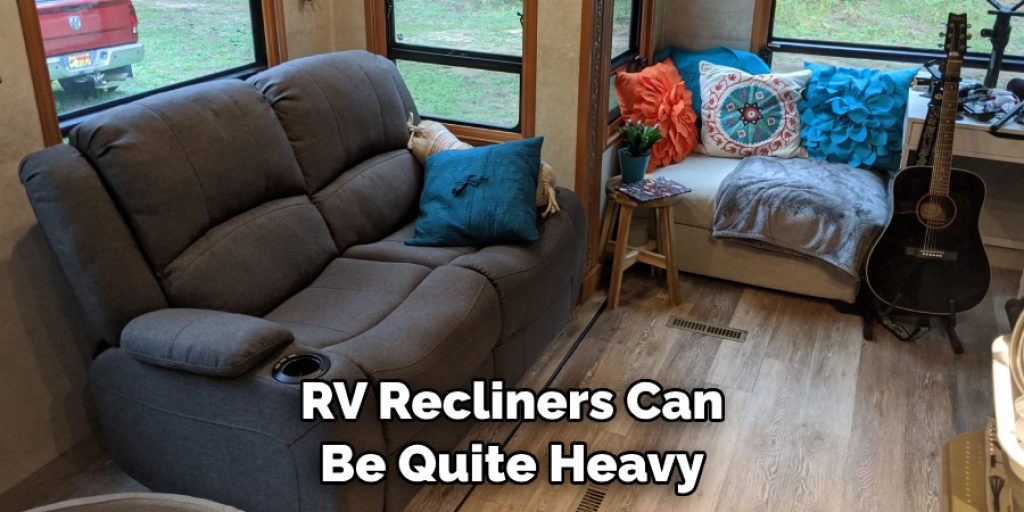
Depending on the make and model, some RV recliners can be quite heavy and bulky, making it difficult to remove without proper equipment or techniques. It is recommended to have at least two people to assist in removing the recliner and using a dolly or straps to safely transport it out of the RV.
Conclusion
In conclusion, removing an RV recliner may seem like a daunting task, but with the right tools and techniques, it can be done efficiently. Whether you are looking to upgrade your recliners or simply need to make space for other furniture, knowing how to remove them properly is important.
Once all the bolts and screws are removed, carefully lift the recliner out of its position. It may require some maneuvering and assistance from another person depending on its size and weight. Be sure to lift from the bottom and avoid putting too much pressure on any one part of the recliner. I hope this article has been beneficial for learning how to remove rv recliners. Make Sure the precautionary measures are followed chronologically.
Angela Ervin
Angela is the executive editor of DIY quickly. She began her career as an interior designer before applying her strategic and creative passion to lifestyle and home. She has close to 15 years of experience in creative writing and online content strategy for housekeeping, home decorations as well as other niche efforts. She loves her job and has the privilege of working with an extraordinary team. She lives with her husband, two sons, and daughter in Petersburg. When she's not busy working she spent time with her family.