
How to Remove Stop Leak From Cooling System
We all know that dreaded engine noise. It’s a signal that something is wrong and needs to be fixed. If you ignore it, the problem will only get worse. One of the most common problems with cars is a coolant leak. If not fixed, it can lead to severe engine damage.
In this article, we’re going to show you how to remove stop leak from cooling system. With just a few simple steps, you can fix the problem and get your car back on the road. So, what are you waiting for? Read on to learn more!
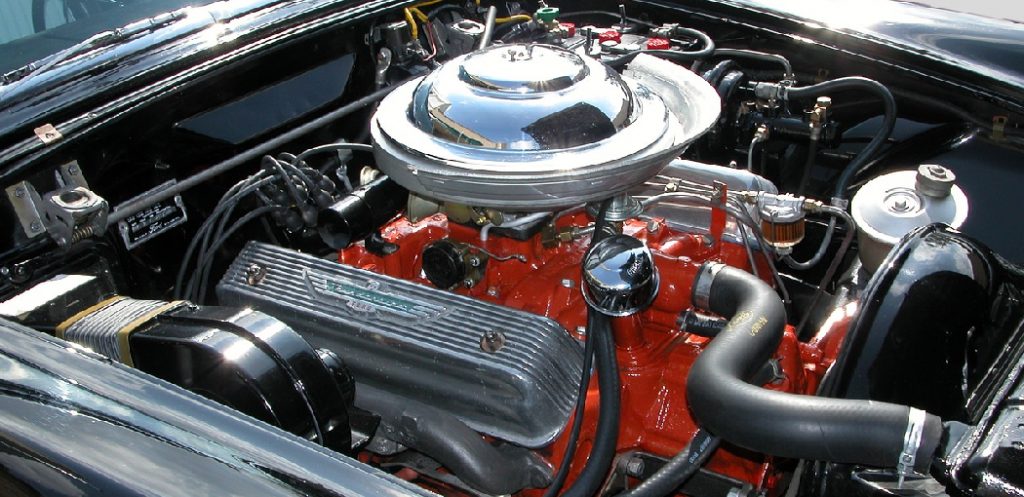
The cooling system is one of the essential parts of your car. It helps to keep the engine running cool and prevents it from overheating. The system comprises several different parts, including the radiator, water pump, and hoses. If one of these parts fails, it can cause a coolant leak.
If you notice a coolant leak, you can do a few things to fix it. First, you can try to repair the leak yourself or take your car to a mechanic. If you decide to repair the leak yourself, use caution. Working on the cooling system can be dangerous if you’re not familiar with it.
Summary: First, make sure your coolant level is correct by checking the dipstick. If the level is low, add more coolant. Next, identify the stop leak. If it’s a hose, remove it and replace it with a new one. If it’s a seal, remove it and replace it. Finally, if the stop leak is a screw, unscrew it and replace it.
Reasons Why Remove Stop Leak From Cooling System is Important
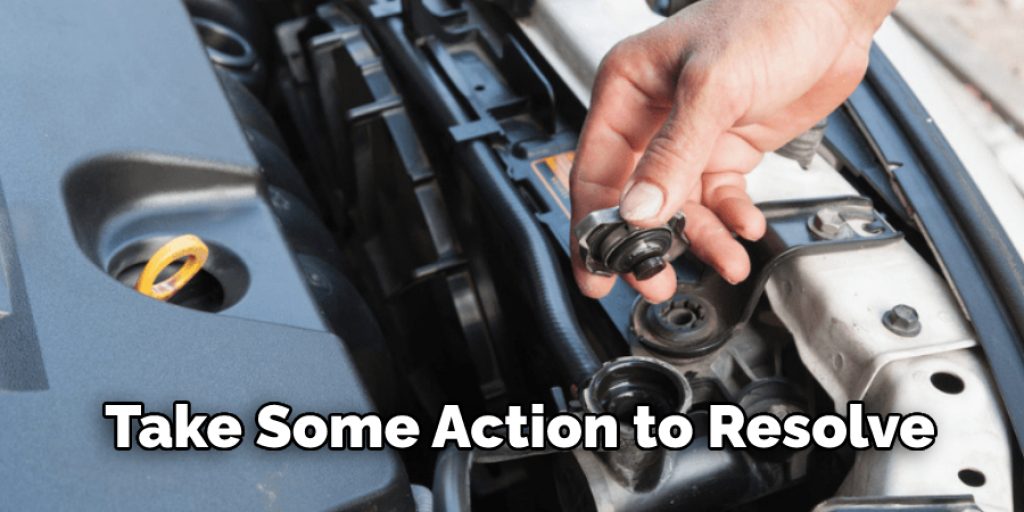
Like most people, you probably don’t overthink about the stop leak in your cooling system until there’s a problem. At that point, it’s usually pretty obvious that you need to take some action to resolve the issue. However, you may not realize that removing stop leaks from your cooling system regularly can help prevent those problems from happening in the first place. Here are just a few of the reasons why:1) It can help prevent leaks from occurring in the first place.
- It can help improve the overall performance of your vehicle’s cooling system.
- It can help reduce the likelihood of corrosion and other types of damage.
- It can help improve the efficiency of your vehicle’s cooling system.
- It can help extend the life of your vehicle’s cooling system.
As you can see, there are several good reasons to remove stop leaks from your cooling system regularly. If you have never done so before, now is an excellent time to start. Just be sure to follow the instructions carefully, and you should have no trouble getting the job done.
What You’ll Need:
- 1 container or bowl
- 2 gallons of water
- ½ cup baking soda
- ¼ cup dishwashing soap
- old towels
- funnel
A Step by Step Guide on How to Remove Stop Leak From Cooling System
Working on your car’s cooling system can be a daunting task. But it’s essential to keep up with regular maintenance to avoid costly repairs. One common issue that many drivers face is a leak in the cooling system. This can cause the engine to overheat and eventually break down. If you’re faced with this problem, don’t worry – there is a solution. You can remove the stop leak from the cooling system using a few simple ingredients.
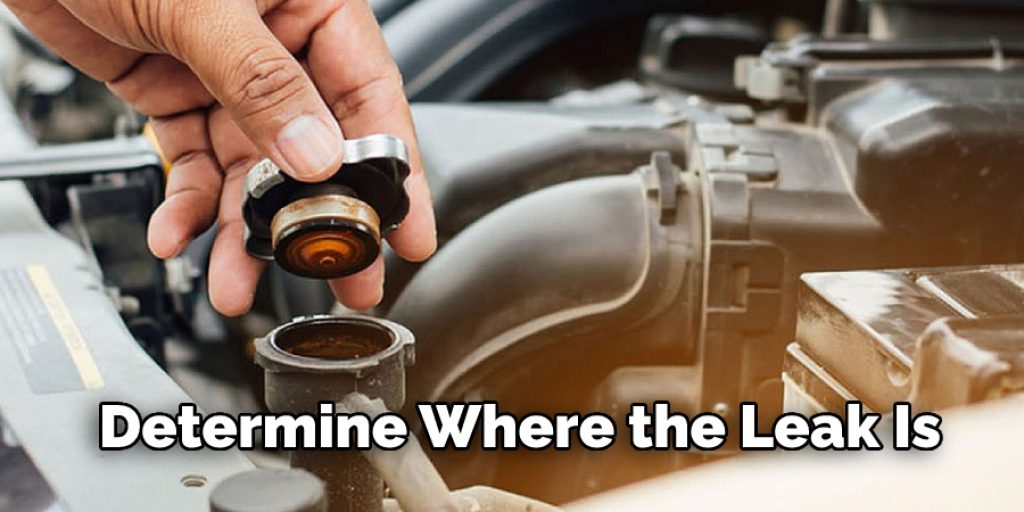
Step 1: Determine Where the Leak Is
The first step is to determine where the leak is. One way to do this is to pour a little water on the ground near the car and watch for it to evaporate. If it does, that’s a good indication that the leak is coming from the cooling system. Another way to determine where the leak is located is to inspect the hoses and belts for damage.
Step 2: Prepare the Car for Repair
Once you have the supplies you need, it’s time to repair your car. The first step is to prepare it for repair. This means removing any items from the area you will be working on and putting down a cloth or tarp to protect the car’s finish. It’s also a good idea to disconnect the battery so that you don’t accidentally short anything out.
Step 3: Prepare to Remove the Radiator Cap.
Now that you have the proper tools, it is time to remove the radiator cap. Gather some rags and place them around the engine so that any coolant spills will be soaked up. Next, place the jack stands under the car and raise it. Finally, locate the radiator cap and twist it off. Be careful as coolant may spurt out. If any does, it will be caught by the rags. Allow the coolant to drain completely before proceeding.
Step 4: Add the Baking Soda and Dishwashing Soap
Once the coolant has drained, it’s time to add the baking soda and dishwashing soap. Pour the baking soda into the container or bowl and add enough water to make a thick paste. Stir until the baking soda is dissolved. Now add the dishwashing soap and stir again.
Step 5: Soak a Cloth in the Mixture
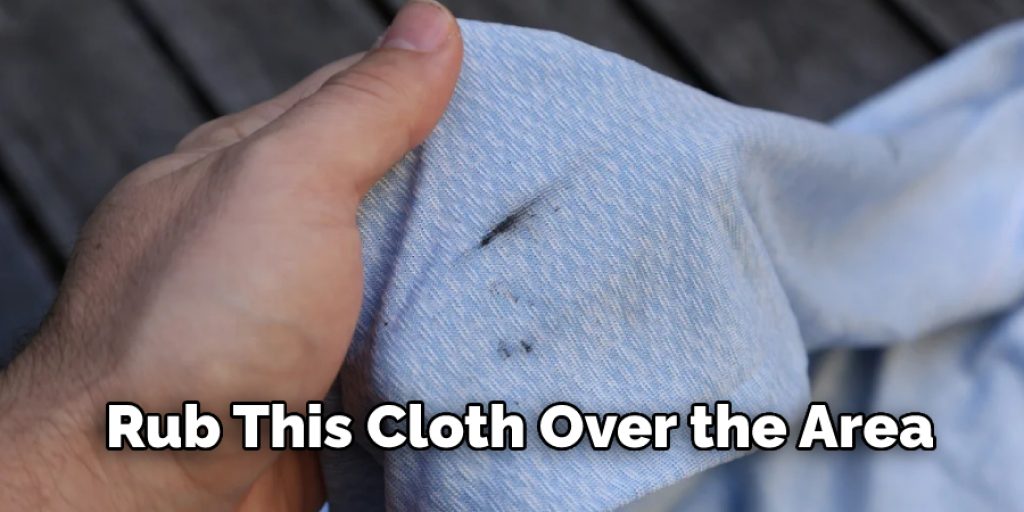
Next, soak a cloth in the mixture and wring it out to not be too wet. Rub this cloth over the area where the leak is located. Be sure to avoid coming into contact with any coolants as they can be harmful. Continue rubbing until the cloth starts to dry out. Then re-soak it and continue rubbing.
Step 6: Rinse the Area With Water
Once you have rubbed the area with the cloth, it’s time to rinse it off with water. Pour a small amount of water over the area and use a sponge or brush to scrub it clean. Rinse until all of the baking soda and dishwashing soap are gone.
Step 7: Inspect the Area for Damage
After cleaning the area, inspect it for damage. If there is any damage, you will need to repair it before putting the radiator cap back on. Reattach the radiator cap once the site is repaired and lower the car back to the ground. Be sure to dispose of any rags used in this process properly as they may contain harmful chemicals.
Step 8: Remove the Radiator.
With the radiator cap removed, the next step is to remove the radiator. Several bolts hold it in place. Loosen them all and pull the radiator free from the car. Be prepared for more coolant to spill out, so have your rags ready. If there is any debris or gunk on the radiator, clean it off with a soft brush before setting it aside.
Step 9: Add Stop Leak to the Cooling System.
Now that the radiator has been removed, it is time to add the stop leak. Pour it into one of the corners of the radiator and let it flow throughout the system. You will likely need to add more than one bottle, so have plenty on hand. It is essential to add the stop leak as soon as possible to help prevent further damage to the system.
Once the stop leak has been added, put the radiator back in place and refill the cooling system with fresh water. Next, start the engine and let it run for a few minutes to circulate the stop leak throughout the system. Be sure to check the coolant level frequently to ensure it does not become too low. If necessary, add more water to keep it at the correct level. These steps will help in how to remove stop leak from cooling system.
Tips and Warnings:
– Always consult your vehicle’s owner’s manual for the correct coolant type and mixture before adding any stop leak product.
– Be very careful when working around the radiator and engine as these areas are often quite hot. Wear appropriate clothing and safety gear to prevent any potential injuries.
– Never add more than the recommended dosage of stop leak to the cooling system. Too much can cause clogging and other problems.
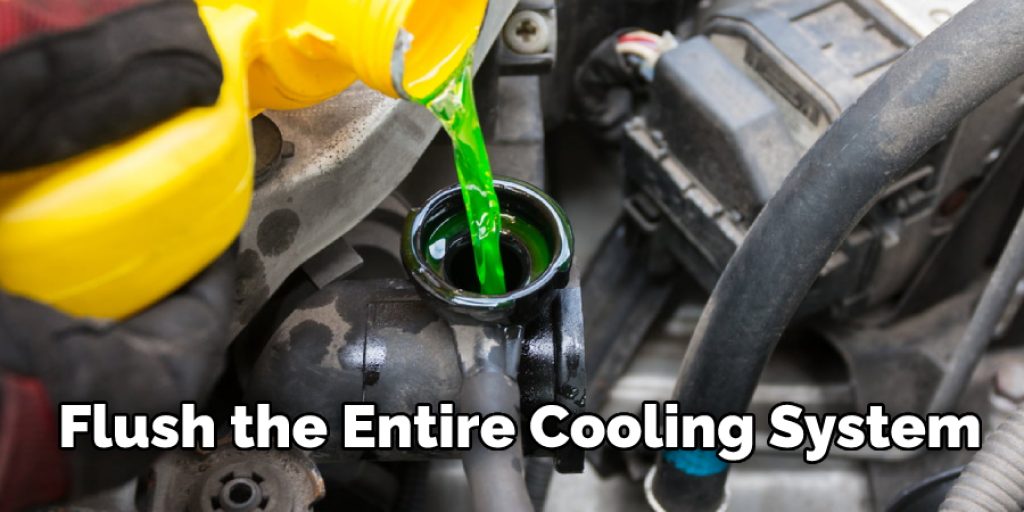
– If any problems occur after adding a stop leak product, be sure to flush the entire cooling system and consult a mechanic.
When it comes to repairing and maintaining your vehicle, it is essential to take the necessary precautions to avoid potential accidents or injuries. When adding a stop leak product to the cooling system, follow the manufacturer’s instructions closely and always wear appropriate safety gear. If any problems occur after adding a stop leak, flush the cooling system as a whole and consult a mechanic.
Can Stop Leak Clog Cooling System?
There are many discussions online about whether or not a stop leak can clog the cooling system. Some people swear by it, while others say it’s a waste of money and can do more harm than good.
The bottom line is that a stop leak can clog the cooling system, but there are ways to prevent this from happening. One way is to make sure that you use the correct stop leak type for your vehicle. There are many different types available, so make sure to do your research and choose the best one for your car.
Another way to prevent leaks from clogging the cooling system is to add a water conditioner to your coolant. This will help keep the system clean and free from any build-up that might occur.
If you’re already experiencing problems with your cooling system, it’s best to take your car to a mechanic and have it checked out. Something else may be wrong that’s causing the problem, and stopping the leak may not be the solution.
You may read also How to Clean Oil Off Undercarriage
Conclusion:
If you are experiencing a leak in your cooling system, it is essential to take care of the issue as soon as possible. Leaks can cause severe damage and affect the overall performance of your vehicle. In this article, we have provided instructions on how to remove stop leak from cooling system. We hope that this information will help you take care of the problem and keep your car running smoothly.
Louis Wein
Louis has always been fascinated by cars. He loves the way they look, the sound of the engine, and how they make him feel when he's driving. He is always keen to learn more about different mechanics of cars and how the engine contributes to other aspects of the car. As an automotive technician with over 10 years of experience, he knew how they worked and loved taking them apart to see how they went back together. He was especially interested in the mechanics of combustion engines and loved finding ways to make them more efficient. He loves to work on cars and help people keep their vehicles running smoothly. As a senior editor, he enjoys contributing to Diy quickly because it allows him to share his knowledge and expertise with others.


