
How to Remove Water Restrictor From Delta Shower Head
If you want to get rid of that pesky water restrictor, you need to know how to remove it. The Delta shower head has a smaller diameter than most other brands, which prevents the flow from being too much for your bathroom. The key thing about removing the water restrictor is making sure not to damage or break off any parts in the process. We’ll show you how!
We’ll teach you how to remove water restrictor from Delta shower heads so that they function at their full potential and provide a better overall experience in the bathroom. Any homeowner can do this with basic plumbing knowledge and tools. Read on for more information!
Things You’ll Need:
- A Delta shower head with a water restrictor
- Hacksaw
- Needle nose pliers
- Phillips screwdriver
- Quarter
- Wrench
Step by Step Guide: How to Remove Water Restrictor From Delta Shower Head
Follow this step-by-step guideline on removing the water restrictor from the delta shower head so that it can be easier for you to ensure you don’t damage anything while doing the task.
Step One: Remove the Shower Head from the Pipe
The Delta shower head should have a removable pipe that connects it to your primary water source. Use a wrench, adjustable wrench, or pliers to remove this piece. If you do not have a wrench or pliers, you can use some other tool like a butter knife to pry it away from the showerhead carefully.
Step Two: Remove the Shower Head
To remove the showerhead, unscrew it from the base using a twist-in motion. Be careful not to break the handle or the bar connecting it to the main (removable) pipe.
This may take some effort and twisting back and forth until they come undone. If you notice any water leakage or damage to the showerhead as you unscrew it, check for cracks and make sure not to use the new shower head until they are repaired.
Step Three: Find the ‘O’ Ring
Once you remove both parts from each other, note the tiny rubber ring (aka an ‘O’ ring) in the very crevice of the showerhead. If you don’t see it, it either fell off or is inside of the removable pipe. You can do one of two things: try to remove the ring from the removable pipe by using some tweezers, or leave it be and replace everything exactly how it was before.
Step Four: Remove the Old Teflon Tape
The ‘O’ ring is most likely covered in Teflon tape. If that’s the case, take your flat head screwdriver and lift one end of the tape. Be careful to detach it slowly so you don’t rip the rubber ring (which might make future installation difficult). Once you loosen up an inch or two of the Teflon tape, you can use your fingers to remove the rest of it.
Step Five: Replace Old ‘O’ Ring with New One
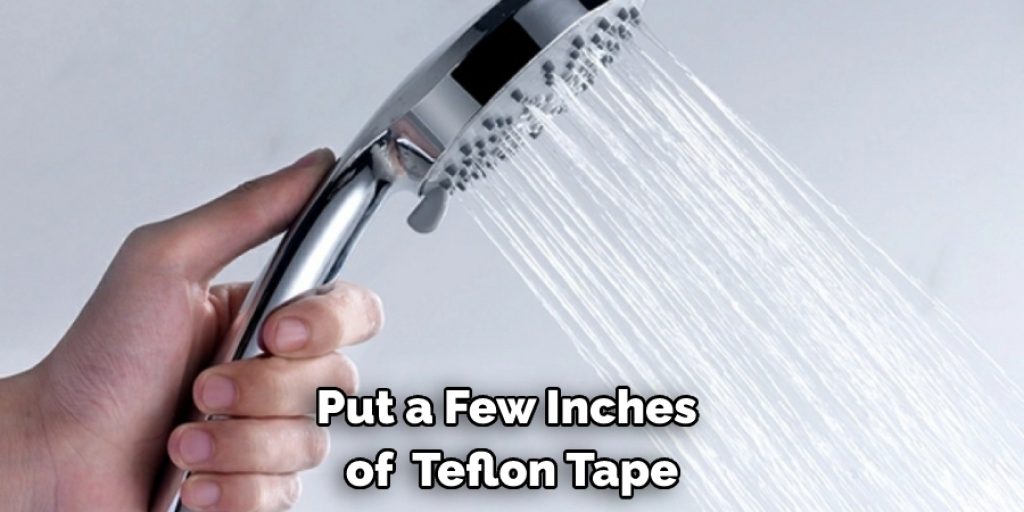
Take the new rubber O-ring and put a few inches of Teflon tape on both sides. If you’re replacing the old rubber ring because it’s damaged, skip this step. Now put the O-ring in its place (the crevice where the showerhead and removable pipe meet) and make sure it sits snugly in there. If your Delta uses a metal or plastic bar to connect the showerhead to the main pipe, ensure it’s also sitting snugly.
Step Six: Remove the Water Restrictor
Now that the new ‘O’ ring is in place, it’s time to remove the water restrictor (the little plastic piece that makes showering less fun). You can use either your wrench or an adjustable wrench once again. If you choose to use a wrench, remember that these are usually designed with an opening about one inch in diameter.
If you find the water restrictor too big for your wrench, pull out the adjustable wrench, place it over the water restrictor, and then turn counterclockwise to unscrew. If your wrench is full-sized, you might need help from someone else with smaller hands to hold the adjustable wrench in place. If you don’t have a wrench or pliers, you can use something like a butter knife to pry it out carefully.
Step Seven: Reassemble Everything
Screw the head and pipe back together without using Teflon tape if you damaged the old one during removal. If everything looks good, reattach your showerhead to the removable pipe, then turn on your water to test it. If you notice any leaks, recheck the O-ring to ensure it is securely in place and replace it if needed.
Things to Consider Before Removing Water Restrictor From Delta Shower Head:
Here are some things to consider before you know how to remove water restrictor from delta shower head.
1. Water restrictor should be placed in a location where it is less likely to cause a water spray to hit people.
2. Delta Shower Heads come with an anti-scald device called a Water Restrictor, limiting the water flow from 2.5 GPM to 1.8 GPM. The water restrictor MUST be installed in regions where the plumbing code requires a maximum of 2.5 GPM.
3. Delta Shower Heads are not compliant with Federal Plumbing guidelines for all showerheads sold in the USA.
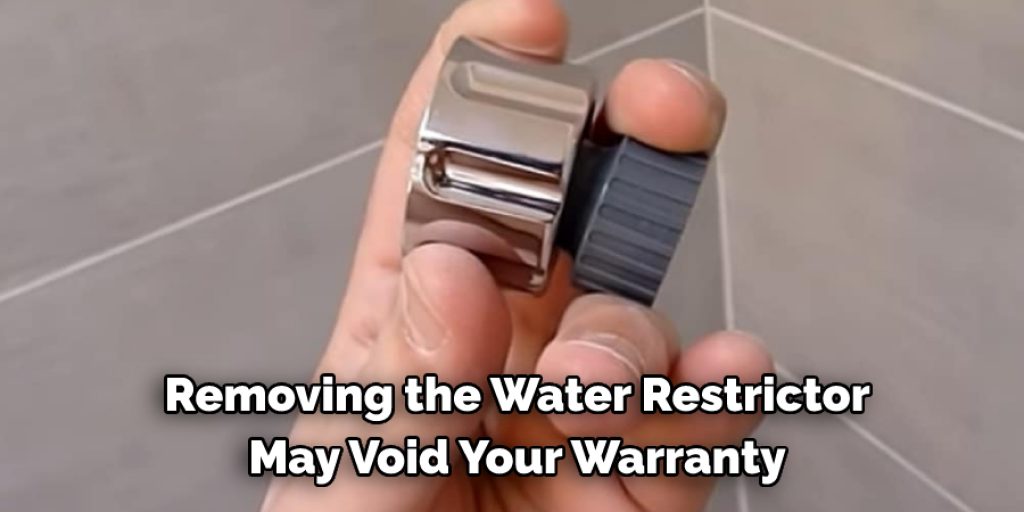
4. Removing the water restrictor may void your warranty, which is only good if you have proof of purchase (receipt).
5. Removing the water restrictor will change the performance of your shower head, which may cause it to spew out too much force and flow rate.
6. Only people willing to accept the risk should attempt to remove the water restrictor from their showerhead.
7. Do not assume that your local building code allows you to remove or modify plumbing equipment such as showerheads or faucets, taps, etc. That is a decision for the building official, and you might be asked to prove it.
Precautions and Safety Measures:
1. If you have a delta shower head with a water restrictor, please stop what you are doing and buy a new one. The company has changed its design so that the water restrictor cannot be removed without taking apart more of the machine than is necessary to replace it. You can still find some stock that has not been updated, but don’t count on it.
2. If you do not have a delta shower head with the water restrictor, please read as far as possible before you take apart your shower head and ruin it. These parts are tiny and delicate. The details can be damaged easily if your hands are not gentle or the replacement part is messed up.
3. Please do not cut yourself or break a hand, arm, or foot because you have been careless. Treat the parts as you would any small delicate machine part and be very careful about what you touch so that no one gets hurt.
4. If you are not confident in your ability to remove the part, please hire someone qualified to do so. Again, many professionals will be happy to do this job for you, but if you try yourself and damage anything, it will cost you more than hiring someone else would have done.
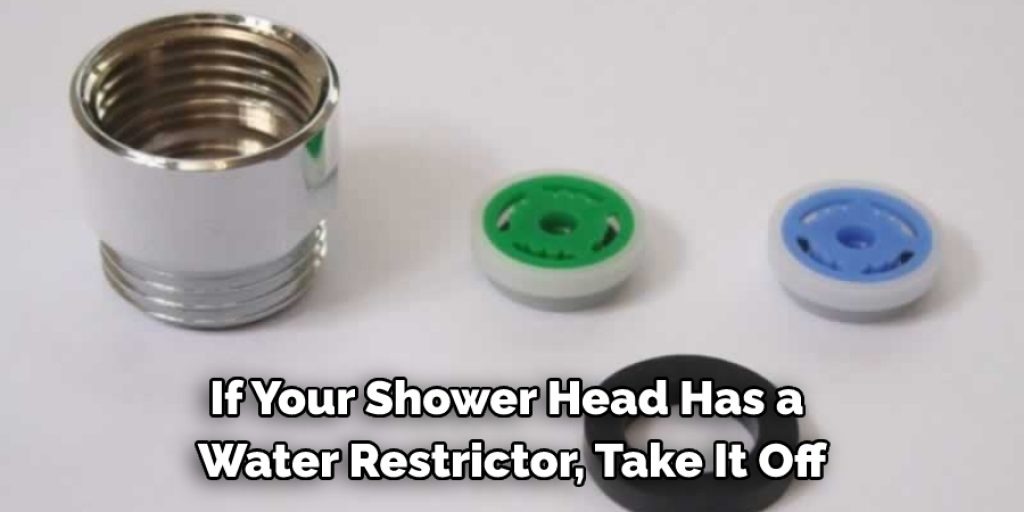
5. If your shower head has a water restrictor, take it off. You are wasting water by having the restrictor there. When you shower, hundreds of gallons of water get wasted.
6. Delta makes many multi-setting shower heads that do not have water restrictors and are much easier to clean. These can be used in place or your old one so long as the thread size is compatible between the parts.
How Do You Remove a Water Pressure Regulator From a Shower Head?
A shower head is an essential bathroom fixture that uses water pressure to create a water spray while you shower. In some cases, a water regulator is installed at the showerhead. Regulators reduce the amount of water coming from your mainline as a safety measure.
The Delta shower head contains a flow restrictor that limits the amount of water coming from the fixture to 2.5 gallons per minute (GPM) or even lower in some cases. The water pressure regulator can be removed if you’re fed up with low flow in your shower. Here we have given some instructions you need to follow:
1. Turn off the water supply for the house at the main shutoff valve.
2. Remove the old showerhead by hand or with adjustable pliers. Ensure you remove all parts of it before installing a new one.
3. Spray WD-40 onto the shower arm to create a protective film.
4. Use needle-nose pliers to pull out the restrictor from the end of the shower arm. If it’s not removable, you can use a screwdriver or drill to bore into it and break it free before pulling it out of place. Check with your local hardware store for replacement flow regulators, or consult a professional if you cannot remove the current regulator.
5. Insert the new restrictor and hand tighten it by hand to prevent breakage due to pressure. Use pliers if your hands aren’t strong enough.
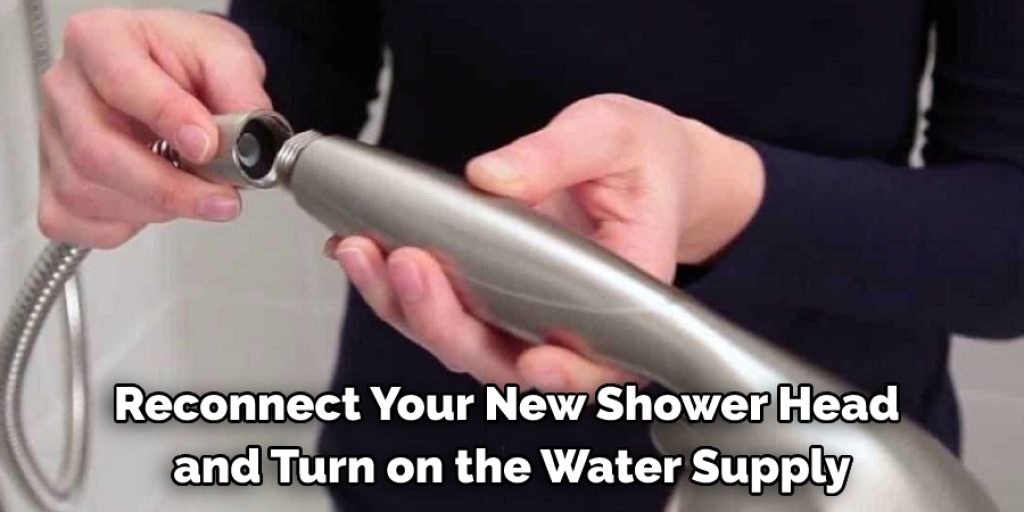
6. Reconnect your new shower head and turn on the water supply at the main shutoff valve.
Conclusion:
The water restrictor on your Delta shower head is a safety feature that limits water flow to reduce scalding and temperature shock. It also reduces the amount of wasted water flowing down the drain, which helps save money and conserve resources.
You can remove this device by following the simple instructions mentioned in this blog post on removing the water restrictors from the delta shower head. With the water restrictor removed, you’ll have a more powerful shower head. You can save money on your monthly utility bills and enjoy a better experience in the morning!
Angela Ervin
Angela is the executive editor of DIY quickly. She began her career as an interior designer before applying her strategic and creative passion to lifestyle and home. She has close to 15 years of experience in creative writing and online content strategy for housekeeping, home decorations as well as other niche efforts. She loves her job and has the privilege of working with an extraordinary team. She lives with her husband, two sons, and daughter in Petersburg. When she's not busy working she spent time with her family.


