
How to Replace Gold Shower Trim
Gold shower trim is a great way to add some luxurious flair to your bathroom. But, what happens when you need to replace it? This blog post will give you all of the information you need on how to replace gold shower trim!
Gold shower trim is typically found on fixtures like faucets and handles. If they are old or worn out, replacing the trim with new ones that match the existing style can be an easy fix. You may have seen these pieces in stores before, but if not, don’t worry because there are many options available.
Summary: If your gold shower trim is looking a little tarnished or worn, there is a simple way to replace it without having to take the entire shower enclosure apart. All you need is a screwdriver and some pliers. Start by unscrewing the screws that hold the trim in place. Once they are loose, use the pliers to pull the trim away from the wall. Replace the old trim with the new one and screw the screws back in place.
10 Ways on How to Replace Gold Shower Trim:
There are many ways to replace gold shower trim. Here are some ways we have mentioned how to replace gold shower trim.
1. Plumbing Repair Shower Door Trim
If your shower door is no longer around, you can take it off and have a new one made. This will be the best option if you are replacing the bottom of the door. You can also have them cut a strip off for cover plates on other parts of your shower.
2. Shower Valve Repair Trim
If you need to replace both sides, remove one side at a time and replace it while the other is still in place. This way, you won’t have to stop the water and drain the entire thing every time. You will need a caulking gun, clean cloths, and silicon sealant that matches your shower floor tile color.
3. Gold Shower Valve Trim
You can get a gold shower valve trim if you need to replace the trim on your shower door. These trims screw onto your current valves and slide over them to give your shower door a nice finished look.
4. Clear Acrylic Shower Trim
You can get clear acrylic shower trim that will go with just about any color. The other nice thing about these is that you don’t need to seal them like silicon, so it should be much easier to keep clean.
5. Trimless Corner Fitting
You don’t need to replace the whole shower door; you can replace the corner fitting. These fit into any standard compression fitting and give your bathroom a sleek new look. If you want to update your bathroom and the shower door simultaneously, this is an excellent option!
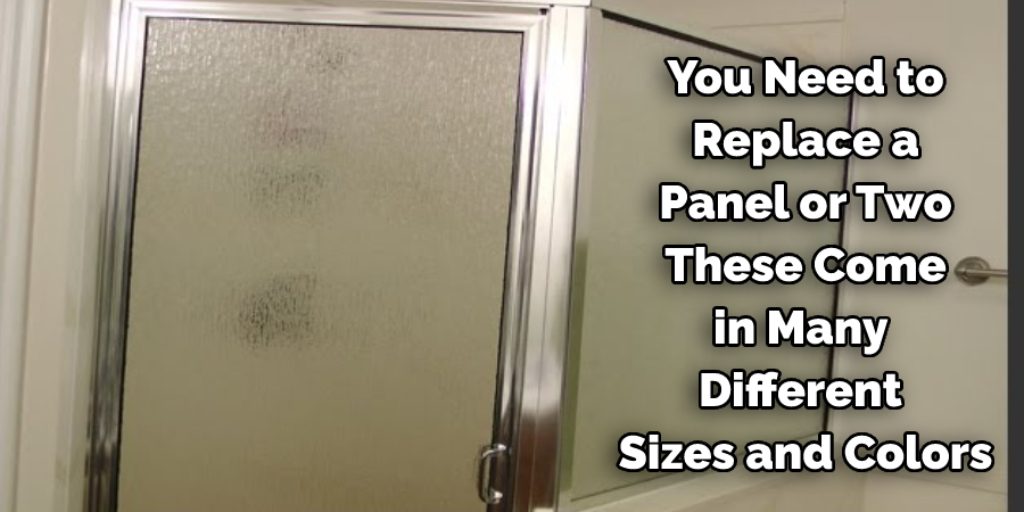
6. Shower Door Panel Replacement
If you need to replace a panel or two, these come in many different sizes and colors. They fit over the outer frame of your shower, so there is no need to tear it down to the studs. This is a very affordable option and can be done in one day for minimal interruption!
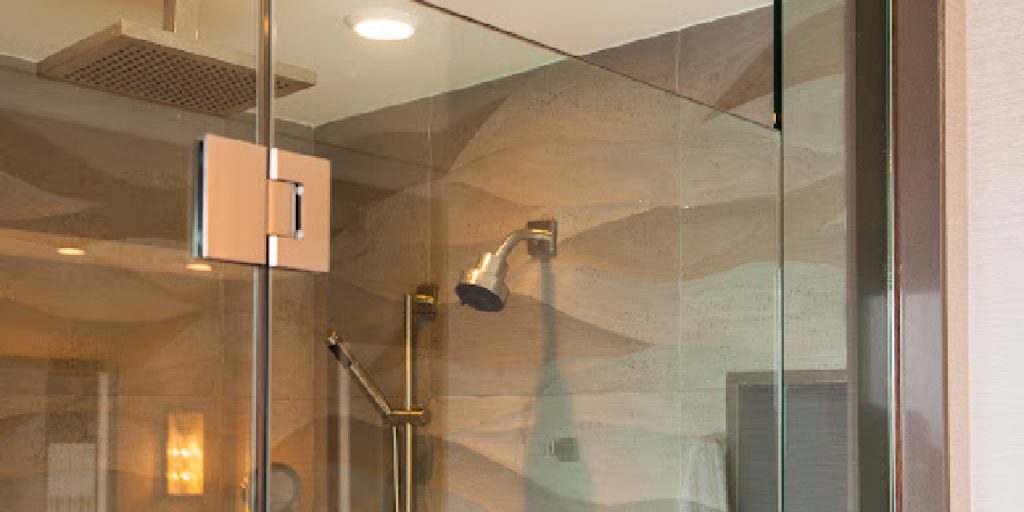
7. Shower Head Holder Replacement
If you need to replace your shower head holder, there is no reason to tear down the walls. All this requires is a few screws, which can be done in minutes. You will need a screwdriver and pliers for this project, though!
8. Shower Head Holder Trim
If you are looking for a great way to update your shower without replacing the whole thing, this is an excellent option! You can replace just the holder and get one that will match your current color scheme. This is also very affordable, so it won’t break your budget when updating the bathroom!
9. Shower Head Holder Track
There are some very nice-looking shower head holder tracks that you can purchase to replace your old worn-out one in just minutes. This will allow you to put the hose anywhere you want instead of sticking it up on the wall.
If there is no easy way to get behind the holder with a track, it slides back and forth over the holder. It’s a very sleek look and would be an excellent way to update your bathroom!
10. Shower Head Holder Extension Arm
If you need to replace your shower head holder but don’t want to replace the whole thing, this is a great option for you! The extension arm can be added to almost any shower head holder to flow the water where you want it. This is also a very affordable option, so you don’t need to spend too much on updates in your bathroom!
Tips and Tricks:
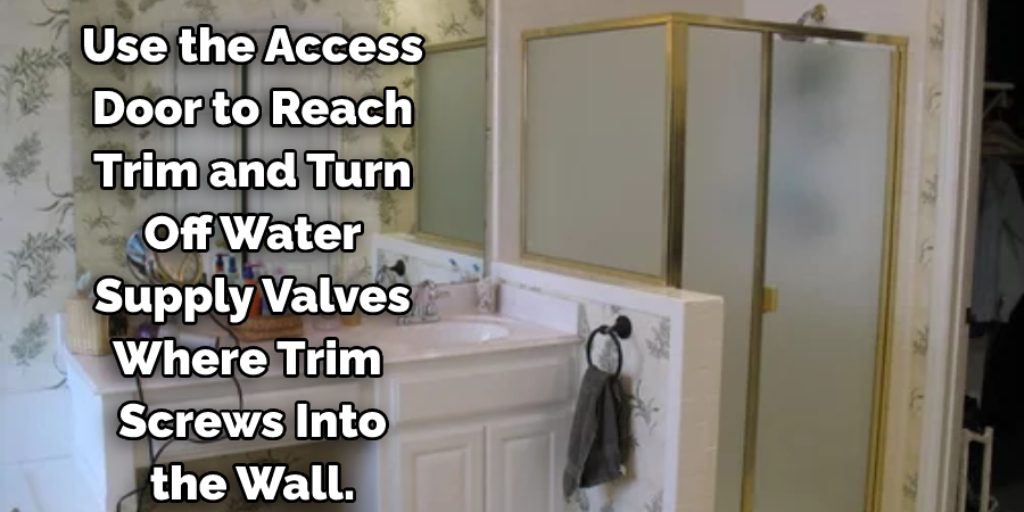
1. Pause the shower’s water flow before starting. Then, use the access door to reach trim and turn off water supply valves where trim screws into the wall. The handle will be either a round or cross-shaped knob behind the valve, and it may take some time for the shutoff to kick in.
2. Remove large plastic screw covers on the wall. Remove any screws (to be saved and reattached later), and gently pry off all the plastic pieces covering the shower trim screws, such as round knobs or cross-shaped outlet valves. That will allow you to pull out the old trim.
3. Inspect your replacement parts; make sure they match up with your old details.
4. Get help to hold the trim in place while you reattach screws (and plastic pieces, if applicable). Remove all of the old screw holes for easier installation! A drill bit used for drilling metal may be helpful in this step.
5. Check whether or not any molding is needed to finish the job.
6. Once installation is complete, turn the water back on and check for leaks.
7. For good measure, use an all-purpose cleaner to remove any grime or soap residue that may have been collected during shower use to wipe off the area surrounding the new trim.
Conclusion:
At the end of this blog, you should better understand how to replace gold shower trim. You know now that it is possible to find plastic or metal options for your replacement needs and that there are many different ways to remove old screws from the existing fixture.
If you’re still not sure about what your next step should be, give us a reply! The replacement process should be relatively easy, and we hope this post has given you the knowledge to do it yourself.
If you have any questions or concerns, don’t hesitate to ask us! We’ll make sure your project goes smoothly and you’re happy with the results.


