How to Resize Vintage Sewing Patterns
Do you want to constantly search for vintage sewing patterns in your size? Don’t worry; you can easily resize them to fit your measurements! You can create the perfect vintage garment that fits like a glove with simple tips and tricks.
Resizing vintage sewing patterns can be rewarding yet challenging for sewing enthusiasts. Many vintage patterns feature unique styles that are hard to find in contemporary designs, but varying body shapes and sizes often necessitate adjustments for a perfect fit. Whether you want to enlarge or reduce a pattern, understanding the techniques involved in resizing is essential to maintaining the garment’s proportions and design details.
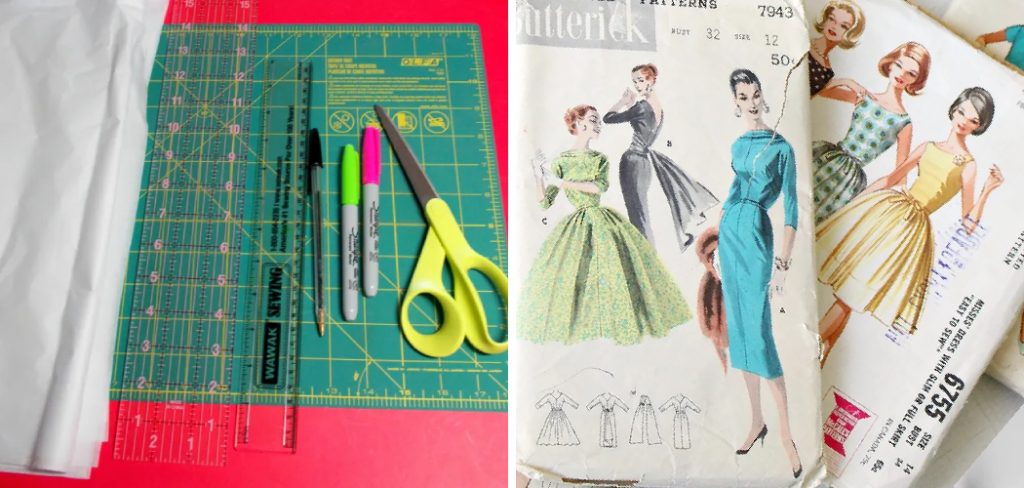
In this guide, we’ll explore step-by-step methods on how to resize vintage sewing patterns, ensuring that your finished piece not only looks stunning but feels comfortable to wear.
What Will You Need?
Before we start resizing, it’s essential to gather the necessary tools and materials. Here are some recommended items:
- Vintage sewing pattern
- Tracing paper or pattern drafting paper
- Tape measure
- Ruler
- Scissors
- Pencil or fabric marker
- Seam allowance guide (optional)
Once you have all these items, you’re ready to begin the resizing process!
10 Easy Steps on How to Resize Vintage Sewing Patterns
Step 1: Take Accurate Body Measurements
The first step in resizing any sewing pattern is to take accurate body measurements. This includes your bust, waist, hips, and other relevant measurements such as arm length or shoulder width. Use a soft measuring tape and keep it parallel to the ground for accurate results.
Step 2: Compare Your Measurements to the Pattern Size Chart
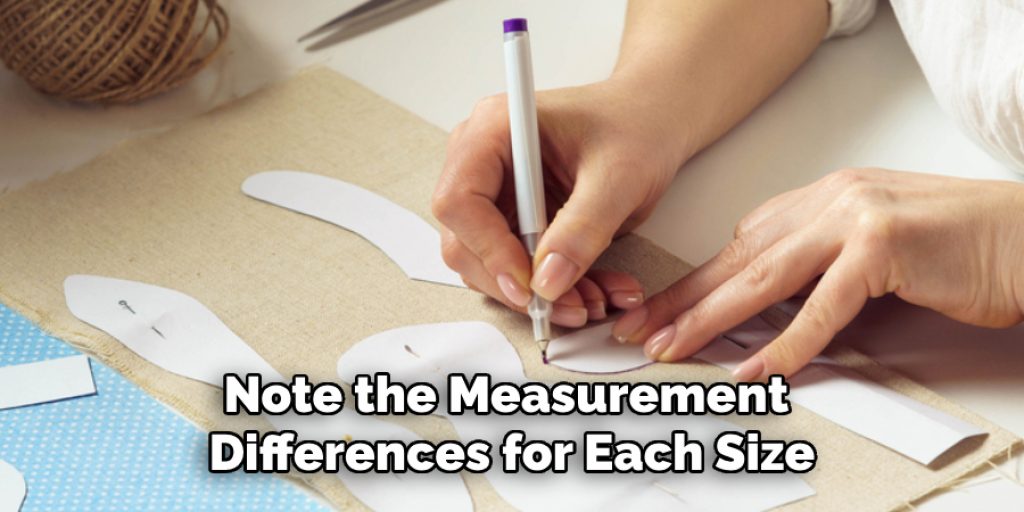
Once you have taken your measurements, it’s crucial to compare them against the size chart provided with the vintage sewing pattern. Vintage patterns often have different sizing conventions than modern ones, so don’t be surprised if your measurements correspond to a size different from what you typically wear. Note the measurement differences for each size, and determine whether you need to increase or decrease the pattern size. If your measurements fall between sizes, you may blend sizes for a more tailored fit. Understanding where your measurements fit within the chart will guide the resizing process and help maintain the garment’s proportions.
Step 3: Adjust the Pattern Pieces
With your measurements and size discrepancies in mind, it’s time to adjust the pattern pieces accordingly. Begin by laying the vintage pattern flat on your tracing paper. Use the ruler to draw straight lines where adjustments are needed—typically along the side seams, center front, and back seams. If you’re increasing the pattern size, spread the pattern pieces apart by the required amount, ensuring the adjustments are symmetrical. Conversely, if you’re reducing the size, overlap the edges accordingly. Always remember to keep the garment’s shape in mind; curvy lines should remain curvy, and straight lines should stay straight. Save a margin for seam allowance to ensure your final piece fits as desired.
Step 4: Redraw Seam Lines and Notches
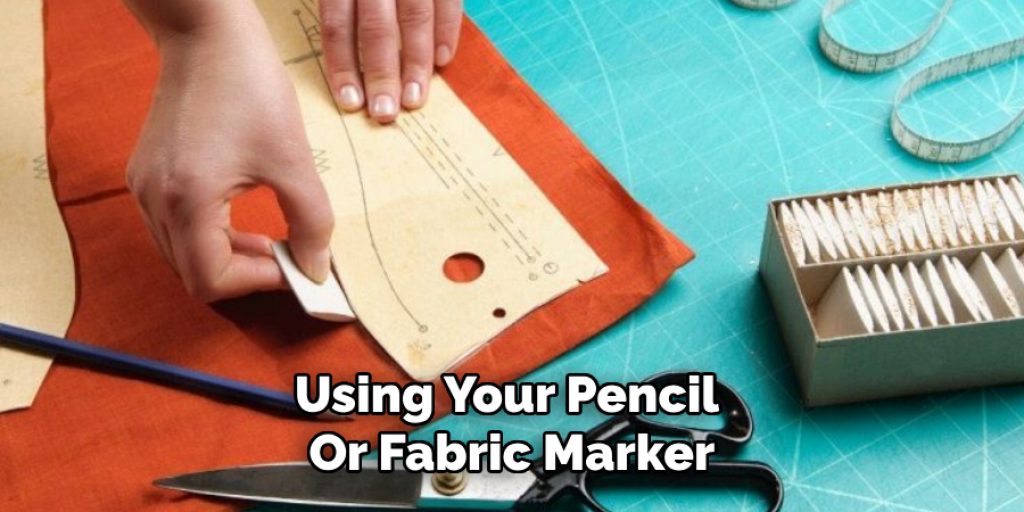
After adjusting the pattern pieces, the next step is to redraw the seam lines and notches carefully. Using your pencil or fabric marker, trace over the newly adjusted lines to create precise, defined edges. Be sure to incorporate notches essential for aligning pattern pieces during assembly. Notches help ensure that seams match up correctly, providing a more polished finish to your garment. Once you have redrawn the lines, double-check that all markings align with your new dimensions, and label each piece accordingly to avoid confusion later in the sewing process.
Step 5: Cut Out the Adjusted Pattern Pieces
Now that your pattern pieces have been adjusted and clearly marked, it’s time to cut them out. Carefully cut along the newly redrawn lines, ensuring you keep the pieces intact. If you’ve made significant adjustments, it might help to use a rotary cutter for cleaner edges. As you cut, take care not to alter the shape of the pieces further accidentally; precision is key during this step. Once you’ve cut out all pattern pieces, lay them out to ensure you have everything needed for your project. Keep the original vintage pattern intact for future reference or additional adjustments.
Step 6: Create a Muslin or Mock-up
Before cutting into your final fabric, it’s highly recommended to create a muslin or mock-up of your adjusted pattern. This practice allows you to test the fit and make any necessary modifications without wasting your desired fabric. Use a fabric similar in weight to your final choice, cut out the adjusted pieces, and sew them together. Try on the muslin to assess how well it fits and identify any areas that might need further alterations, such as adjusting closures or taking in seams.
Step 7: Make Final Adjustments
Once you have tried on your muslin, take note of any discrepancies. Use fabric markers or tailor’s chalk to indicate where you need changes. Whether it involves letting out seams, taking in sides, or modifying the length, adjust the pattern pieces accordingly based on the feedback from your muslin fitting. This step ensures that you’ll achieve the best possible fit when you finally cut into your special fabric.
Step 8: Cut Your Final Fabric
With the adjustments finalized, you’re now ready to cut your final fabric. Lay out your adjusted pattern pieces on the fabric, aligning them with the grainline marked on each piece. Pin the pattern pieces in place to prevent any shifting while cutting. Use sharp scissors or a rotary cutter for accuracy, and remember to leave sufficient seam allowance if you haven’t accounted for it in your adjusted pattern.
Step 9: Assemble Your Garment
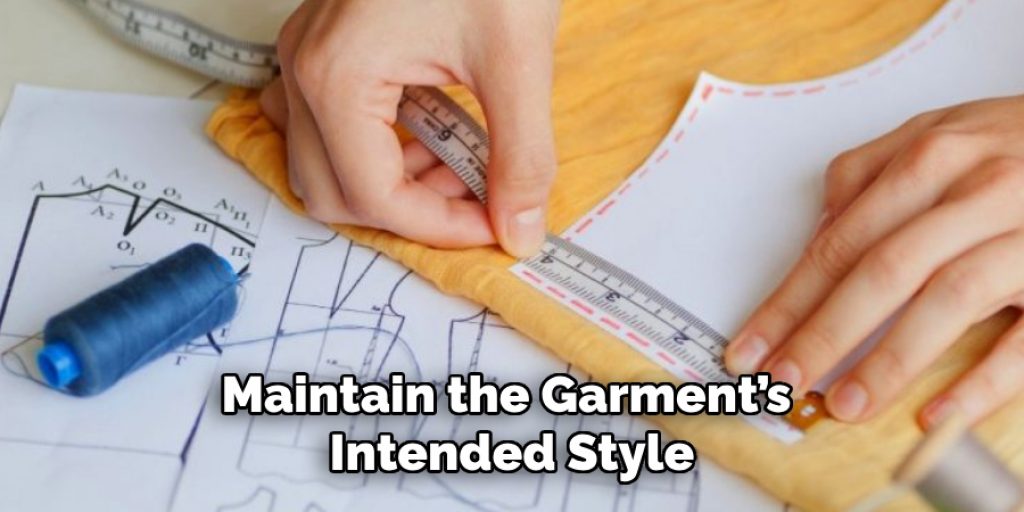
Now it’s time to sew the garment together! Follow the original pattern instructions, which may include stitching the seams, attaching linings, and adding closures. Take your time to ensure that every seam aligns correctly and is pressed flat for a professional finish. If your vintage pattern includes unique details, such as darts or pleats, pay special attention to these elements to maintain the garment’s intended style.
Step 10: Final Press and Fit Check
Once your garment is fully assembled, giving it a final press with an iron is essential to eliminate any wrinkles and help define the structure. After pressing, do a fit check. Try on your completed garment to ensure it fits as envisioned. If any areas require further adjustments, now is the time to make those final tweaks. With everything in place, you’ll be ready to enjoy your beautiful, bespoke vintage piece!
By following these steps, you can successfully resize and adjust a vintage sewing pattern to create a garment that fits perfectly and reflects your unique style.
5 Things You Should Avoid
- Ignoring the Original Seam Allowance: Failing to account for seam allowances when adjusting your pattern can lead to unexpected fit issues. Always ensure that you add or subtract seam allowances to maintain the integrity of the design.
- Neglecting to Test Fit with Muslin: Skipping the muslin phase may result in significant alterations later. Testing your adjustments on a mock-up is crucial to identify any fitting issues before cutting into your final fabric.
- Rushing the Adjustments: It is essential to take your time with measurements and adjustments. Rushing through this process can lead to errors that may compromise the garment’s fit and overall appearance.
- Forgetting to Maintain Design Elements: When resizing the pattern, don’t overlook the unique design features like darts, pleats, or gathers. Altering these elements without consideration can change the overall look of the garment.
- Failing to Label and Organize Pieces: Once you’ve made adjustments, keep everything well-labeled and organized. Overlooking this step can lead to confusion during assembly and may result in misplaced or incorrectly matched pieces.
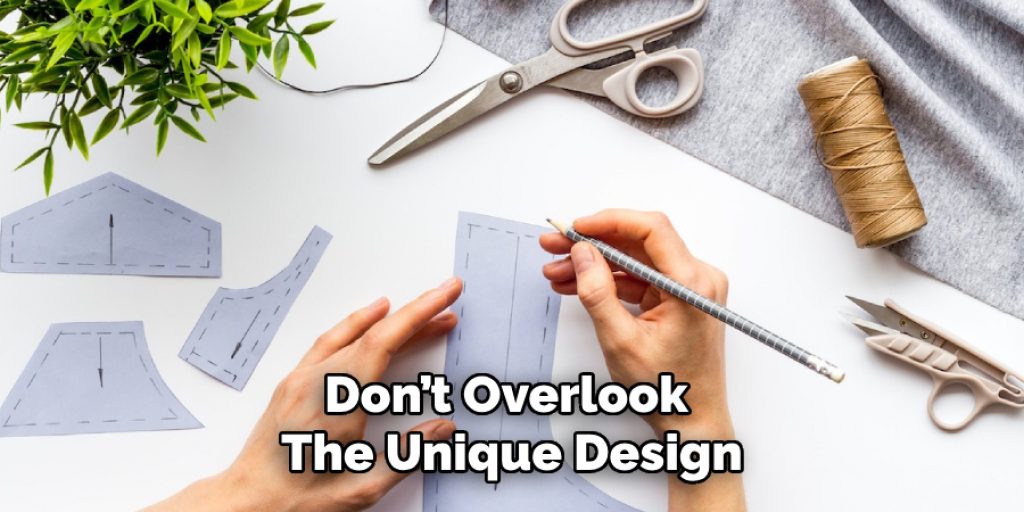
By avoiding these common mistakes and following the steps outlined, you can successfully modify vintage sewing patterns to create one-of-a-kind garments that fit perfectly.
What are the Causes of Mistakes?
- Lack of Attention to Detail: Precision is critical when resizing and adjusting a vintage sewing pattern. Overlooking small details in measurements or alterations can lead to larger mistakes later.
- Inexperience with Vintage Patterns: Working with vintage patterns requires techniques that are different from modern patterns. Without proper knowledge and experience, making a mistake could easily affect the final outcome.
- Rushing Through the Process: Resizing and adjusting a pattern takes time and patience. If you rush through the process, you may overlook essential steps or make careless errors.
- Incorrect Measurements: Accurate measurements are crucial when resizing a pattern. Any slight miscalculation can result in a significant difference in the garment’s fit.
- Not Following Instructions: Vintage patterns often have specific instructions that must be followed for the desired outcome. Follow these instructions to avoid incorrect sizing, proportions, or design elements.
To avoid these mistakes, take your time, pay attention to detail, and follow the steps carefully when working with vintage sewing patterns. With practice and experience, you’ll become more comfortable with adjusting patterns and creating unique garments tailored to your body and style.
Conclusion
How to resize vintage sewing patterns can seem daunting, but with a methodical approach, it becomes an enjoyable and rewarding experience.
By carefully following the outlined steps—from making accurate measurements and creating a muslin mock-up to making final adjustments and assembling the garment—you ensure that the end result not only fits well but also showcases your style. It’s essential to be patient, pay attention to detail, and maintain the integrity of the original design elements.
As you gain more experience and confidence in working with vintage patterns, you’ll find that you can transform them into unique, tailored garments that reflect both your creativity and fashion sense. Embrace the process, and soon, you’ll have a bespoke piece you’re proud to wear.


