
How to Increase Crochet Pattern Size
Beanies are indeed the mainstay of my existence. Yeah, this may be a little rough, BUT you didn’t determine me because there is no real challenge when it gets to crocheting beanies and fitting them. There is a multitude of structures out there. We’re all about various types, specific threads, multiple fabrics, particular handles, particular styles, etc.

We can go on for days, but let’s talk about this unique new structure of professional beanies, which you can use to make just about every type of hat. Some of the functional aspects of amigurumi would be that the precise scale never counts, and you don’t have to think about following the maker’s measurement. When the stitches are small enough to have wide gaps in them as you add the padding, you can play with various yarns and hooks to give you a result in varying sizes.
There are a few ways to adjust the size of your amigurumi. You can make it bigger or thinner than the model described in the layout. I’ll go through all the options in this post. How do you tell me to develop a good beanie trend? Only setting boundaries developing, or when to avoid contributing size.
With individual crochet, half double crochet, and dual crochet, which is just about every other crochet stitching or design, we may use the process. Understanding this ensures you can design a beanie focused on your specific pressure, the hook’s strength, and head height. Nice, huh?
If you crochet beanies from start to finish and avoid increasing, it doesn’t imply that the cap won’t keep expanding for a few lines. Upon avoiding the raises, it can require some rows until it appears to flatten out on the edges entirely.
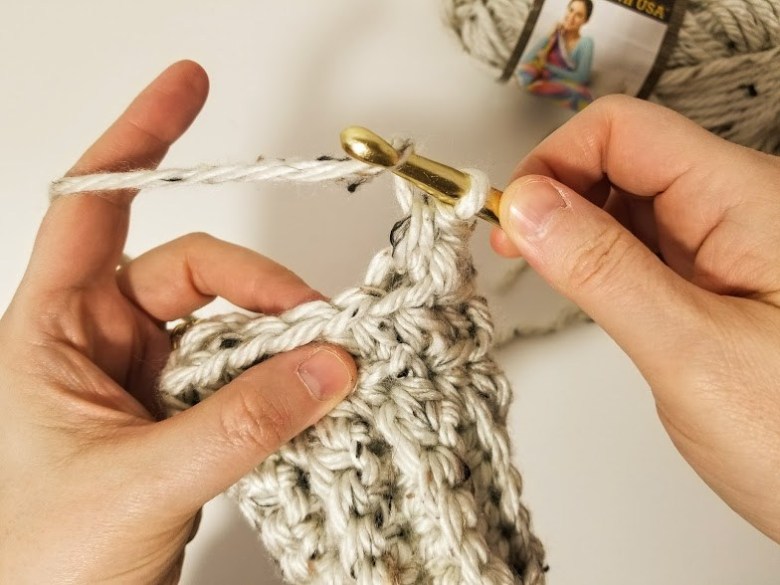
Instructions
So, we get a pocket-sized line graph informing you when and how to drop significantly, and you don’t finish up with a bowl of fruit or, even worse, a lamp color. If you’re designing for a baby, you’ll need to quit rising when the hat’s diameter is around 6.’ Use this guidance as an overall thumb rule.
After each session, verify the thickness of your beanie. If you have the hat’s crown almost as broad as implied, just quit increasing. When you avoid supplementing at six ′′ and have 50 stitches in that circle, you’d start to make 50 st rows before you attain the distance you want. In this situation, approximately six ′′.
We will continue with a beautiful circle for this simple beanie, then double-crochet it into the ring ten times. For every line, we will put ten as much sew so that line 2 has 20 stitches, row 3 has 30 threads, and row 7 would’ve had 70 stitches find this line.
Adjust the thread length according to the size of the crochet you want to make. For bigger crochet, use a thicker thread, and for smaller crochet, use a thinner thread. You will also need to adjust the size of your crochet hook accordingly.
Several beaches keep together: You could use a regular thread to save additional-thick thread by expanding the amount of crochet, but hold two (or even more) braids with each other as you crochet, along with a bigger hook.
Related Article: How to Make Your Own Crochet Labels


