
How to Round Edges in Blender
In 3D printing, the small details often make all the difference. One of the simplest ways to add a touch of finesse to your prints is by rounding off the edges. This guide will show you how to round edges in Blender. With just a few simple steps, you can have beautifully rounded edges on all your models. So, let’s dive in!
Why Round Edges?
Rounded edges help to soften the overall appearance of a model, making it look more realistic and less angular. This means that your print will have a smoother and more professional finish. In addition, rounded edges can also make your models less prone to breakage or damage, as sharp corners are more likely to snag or break off.
You may also want to round off edges for functional purposes, such as creating a more ergonomic design or reducing friction between moving parts. Whatever your reason may be, rounding edges is an essential skill for any 3D printing enthusiast.
How to Round Edges in Blender
You can use this technique to create a more polished and professional look for your renders. This is a simple process that only takes a few minutes to complete. So whether you’re working on a prototype for a new product or want to add a bit of polish to your latest creation, follow these steps and see how easy it is!
Summary: In this tutorial, we’ll show you how to round edges in Blender using the various tools and methods available. We’ll start with the simplest method, which is using the Bezier Curve tool. We’ll then move on to the more advanced methods, such as using the Loop Cut tool and the Circle Cutter tool. Finally, we’ll show you how to create a smooth edge by using the Smooth modifier.
What Are the Uses of Round Edges in Blender?
There are many ways that you can use round edges in the Blender. One common use is to create a more polished look for your renders. This can be especially helpful if you’re working on a project that requires a high level of detail and precision. You can create a cleaner and more professional appearance by rounding off the edges.
Another common use of this technique is creating a more organic look for your models. This can be helpful if you’re working on a character model or any other type of model that needs to have softer, more natural-looking edges. Finally, rounding off the edges can also help to create smooth transitions between different faces on your model. Again, this can be helpful when you’re working with complex models with many different angles and planes.
Needed Materials:
To round edges in Blender, you will need:
A Computer With Blender Installed:
First and foremost, you will need a computer with Blender installed. This software is available for free on the official website and can be used on both Windows and Mac operating systems.
A 3D Model:
You will also need a 3D model to work with. This can be an existing model from an online repository or one that you created yourself. For this tutorial, we’ll be using a simple cube model to demonstrate the techniques.
Basic Knowledge of Blender:
Lastly, you will need a basic understanding of Blender and its tools. This tutorial assumes that you are familiar with the software’s interface and have some experience using it. If you’re new to Blender, it’s recommended to familiarize yourself with the basics before attempting to round edges.
10 Creative Ways on How to Round Edges in Blender
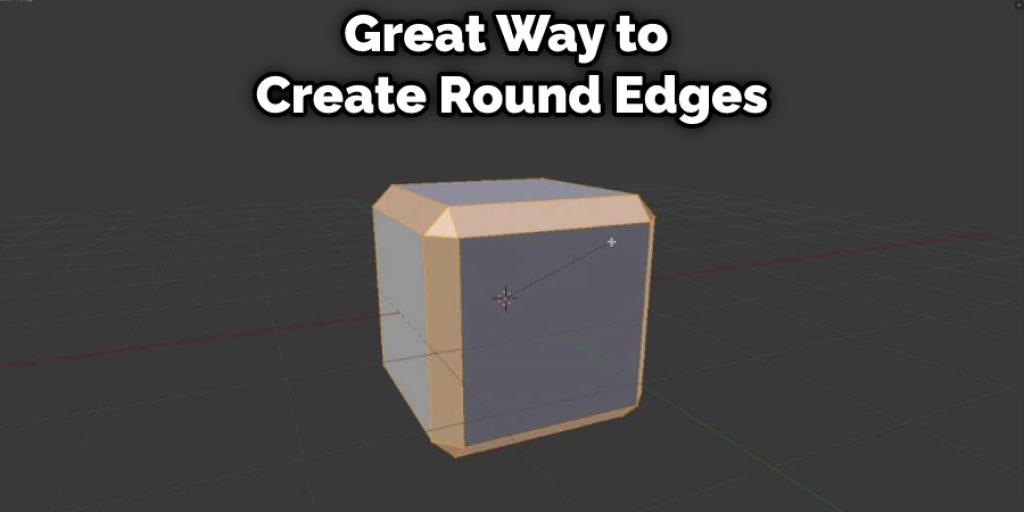
1. Using the Bevel Modifier
The bevel modifier is a great way to create round edges in the Blender. To use this modifier, select the edge or face you want to bevel and then click on the “Modifiers” tab in the properties panel. Next, click on the “Add Modifier” button and select “Bevel.”
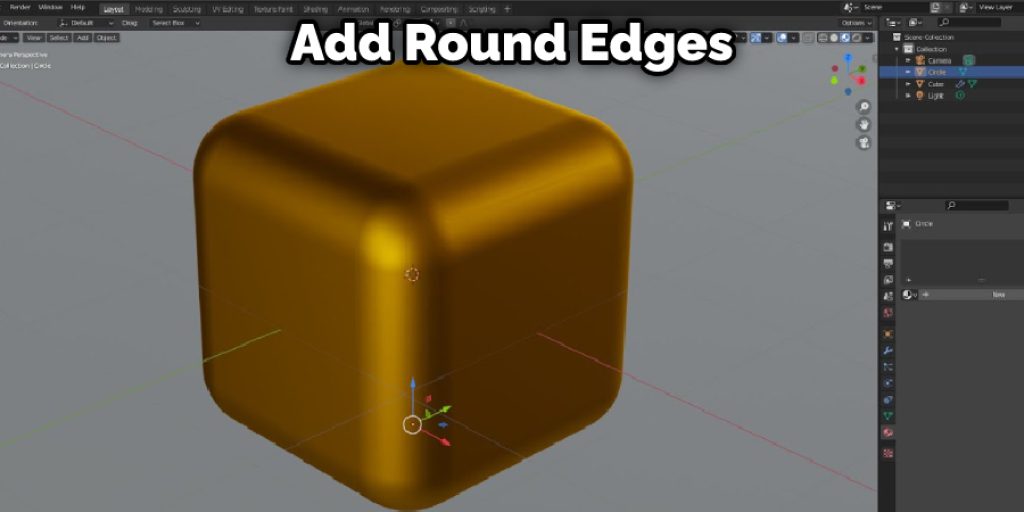
Now, you can adjust the settings for your bevel modifier to get the desired effect. For example, to create a rounded edge, increase the “Segments” value and decrease the “Width” value. You can also play around with the other settings to get various looks.
2. Using the Subdivide Modifier
The subdivide modifier is a great way to add round edges to your mesh quickly. Select your mesh object, go to the Modifiers tab in the Properties window and add a Subdivide modifier. In the settings for the modifier, you can control the number of subdivisions and how the new edges are generated. For example, setting the Faces parameter to Catmull-Clark will give you nice, round edges.
3. Use the Smooth Modifier
Applying the smooth modifier is probably the easiest way to round edges in Blender. Simply select the object you want to smooth, go to the Modifiers tab in the Properties window and add a new Smooth modifier. If you want more control over the edges rounded, you can use the Edge Split modifier instead. This modifier will add new edges to the model, which you can then adjust using the Bevel tool.
4. Use the Mesh Brush Tool
The mesh brush tool is a great way to add round edges to your models quickly. First, select the edge or face you want to round, then press Shift+Ctrl+B to bring up the mesh brush options. In the brush settings, you can control its radius and strength. For example, setting the radius to a small value and the strength to a high value will result in a very sharp edge.
5. Use the Knife Tool
The knife tool is another great way to add round edges to your models. Select the edge or face you want to cut, then press K to activate the knife tool. You can then click and drag to cut the edge. If you want more control over the cut, you can enable the “Snap” option in the knife tool settings. This will allow you to snap the cut to specific points on the mesh.
There are a few things to keep in mind when using the knife tool. First, it can be difficult to get clean cuts with complex shapes. Second, the knife tool will always create new faces when cutting an edge. This can sometimes create unwanted results, so be careful when using it.
6. Use the Loop Cut and Slide Tool
The Loop Cut and Slide Tool is one of the quickest ways to add round edges to your model in Blender. To use it, first select the edge or edges that you want to round. Then, press Shift+Ctrl+R to activate the tool. Next, click and drag your mouse to create a new loop cut. As you do this, you’ll see the edges begin to round. If the tool is not working as expected, you can press F6 to update the tool settings. For example, you can change the number of cuts and the smoothness in the settings.
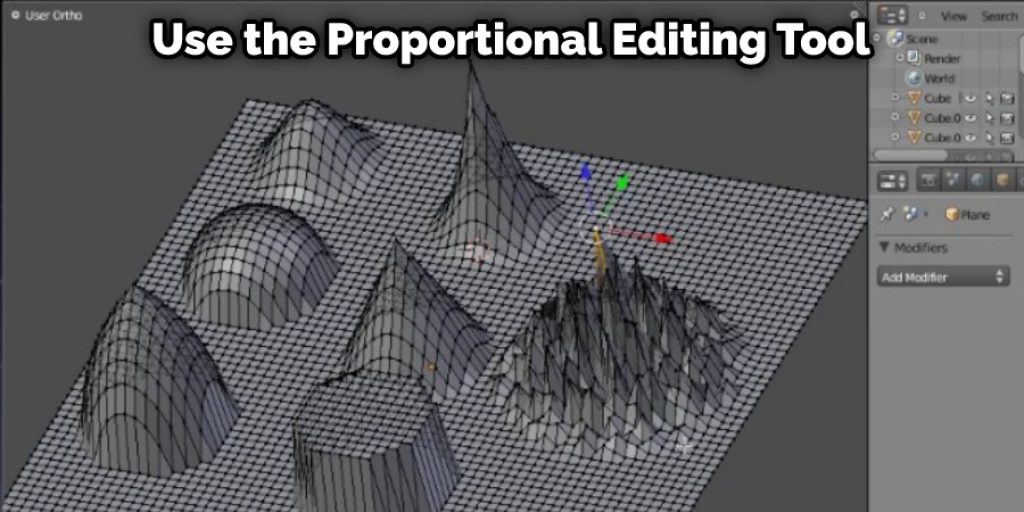
7. Use the Proportional Editing Tool
One way to round the edges of an object is to use the Proportional Editing Tool. This is a great way to get organic, smooth shapes. To use the Proportional Editing Tool, first select the object you want to edit. Then, go to the Tools panel and select the Proportional Editing Tool. You can then use your mouse wheel to adjust the size of the area affected by the tool. Next, select a face or edge and move it around to see how the surrounding geometry reacts.
Use the Proportional Editing Tool
After selecting the tool, you can choose how it affects your object by clicking on the icon that looks like a circle with three lines. This will give you a menu of options. The most common option is to have the tool affect the entire mesh, but you can also choose to have it only affect selected vertices or edges. The tool will also give you options for how it affects the surrounding geometry, such as linear or spherical.
8. Use the Bevel Weight Paint Mode
The Bevel Weight Paint Mode is a great way to add round edges to your model. This mode allows you to paint weights onto the model, which controls how the bevel modifier affects the mesh. To use this mode, first select the object you want to edit. Then, go to the Modifiers tab in the Properties window and add a Bevel modifier.
Next, go to the Weight Paint tab in the Tools panel and select the Bevel Weight Paint Mode from the drop-down menu. You can simply paint weights onto the model to control how the bevel modifier affects the mesh. Weights can be painted on by clicking and dragging with the left mouse button or holding down the Shift key and clicking with the right mouse button. The strength of the weights can be adjusted by changing the size parameter in the Tool Settings panel.
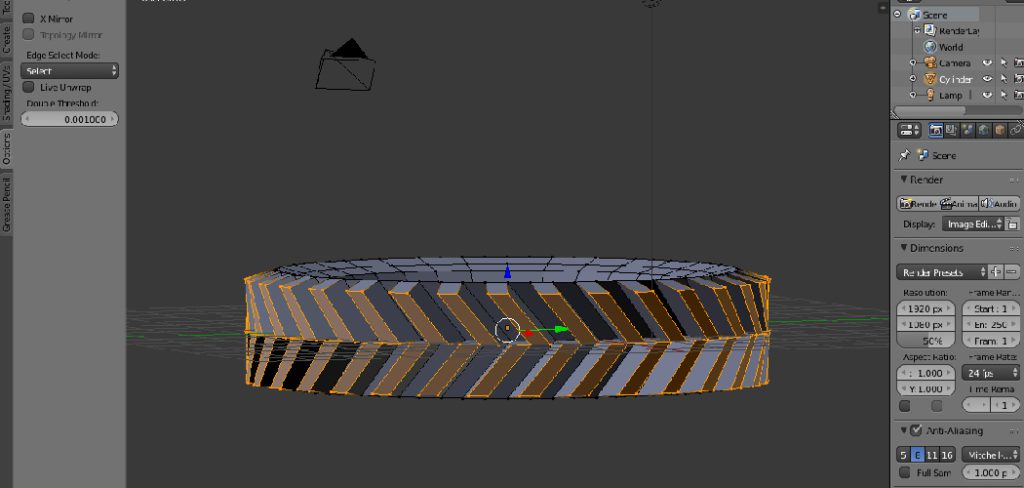
9. Use Edge Loops
Another great way to round the edges of an object is to use edge loops. Edge loops are simply a row of edges placed closer together than the rest of the mesh. By adding edge loops to your mesh, you can increase detail and make it look smoother and rounder. To add an edge loop, select the edge or edges you want to add the loop to and press Shift+E. A new edge loop will be added to your mesh.
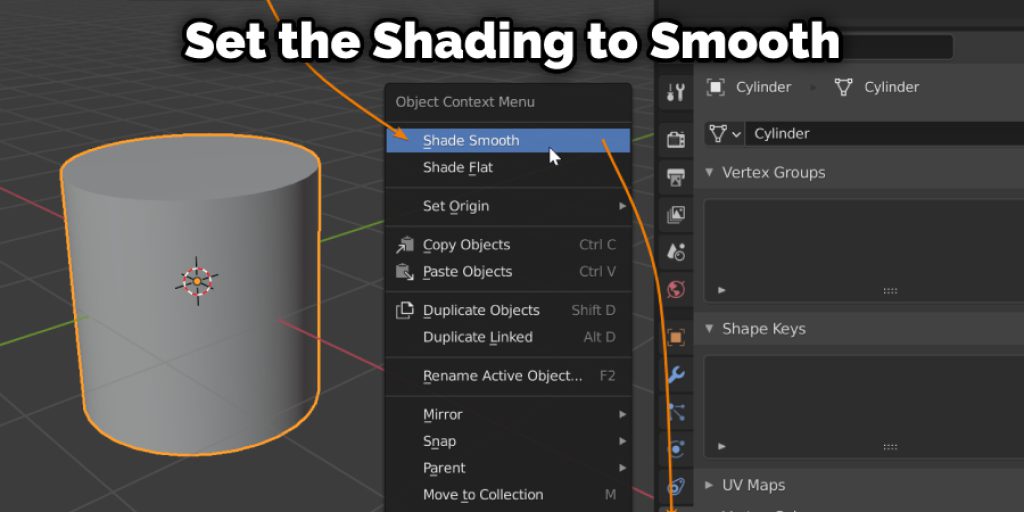
10. Set Your Mesh Shading to Smooth
One of the simplest ways to make your mesh look smoother is to set the shading to smooth. This can be done by selecting the mesh and going to the Object tab in the Properties window. You can change the shading type from Flat to Smooth in the Shading section. This will cause Blender to render the mesh using smooth shading, which will make the edges appear rounder.
Some Helpful Tips & Suggestions
One of the best ways to make your mesh look smooth and round is to use a combination of the methods described above.
If you’re having trouble getting clean cuts with the knife tool, try using a different method to add round edges to your model.
Be careful when using the Proportional Editing Tool, as it can easily create unwanted results.
When the auto-smooth option is enabled, Blender will automatically smooth the edges of your mesh. This can be a helpful way to reduce the polygon count of your model.
If you’re having trouble getting your mesh to look exactly the way you want it, try using a different method or tool. There’s no one right way to create round edges in Blender, so experiment until you find the best method.
Keep in mind that you can always go back and adjust your settings if you’re not happy with the results. So don’t be afraid to experiment!
When changing the smoothness of your mesh, it’s important to remember that less is often more. Too much smoothing can make your mesh look unnatural.
If you’re having trouble getting your mesh to look smooth, try increasing the number of subdivisions. This will help to smooth out the edges of your mesh.
How Much Will It Cost?
Blender is a free and open-source software, meaning it is available for download and use at no cost. This makes it an accessible tool for anyone looking to create 3D models with round edges. Additionally, there are plenty of online tutorials and resources available to help you learn how to use Blender effectively. However, if you wish to support the developers behind Blender, you can make a donation or purchase some of their merchandise. Overall, Blender offers a cost-effective solution for those looking to create round edges in their 3D models.
Frequently Asked Questions:
Q: What is the Best Way to Round Edges in Blender?
A: There are multiple ways to round edges in Blender, including using the bevel modifier, knife tool, loop cut and slide tool, proportional editing tool, and setting mesh shading to smooth. The best method will depend on the specific model and desired outcome. It’s recommended to experiment with different techniques to find the one that works best for your project.
Q: How Do I Make My Mesh Look Smoother in Blender?
A: There are a few ways to make your mesh look smoother in Blender. You can use the bevel modifier, add edge loops, set shading to smooth or adjust the mesh’s subdivisions. It’s also important to pay attention to the topology of your mesh, as this can greatly affect the overall smoothness of the model. It’s recommended to use a combination of techniques and pay attention to your topology for the best results.
Q: Can I Undo Changes Made with These Methods?
A: Yes, you can always undo changes made in Blender by using the shortcut Ctrl+Z or going to Edit > Undo. You can also adjust the settings of each method to fine-tune your changes. It’s always a good idea to save your project frequently and use version control to avoid losing progress. So, it is safe to experiment with different methods until you find the best one for your project.
Q: Are There Any Other Techniques I Can Use?
A: Yes, there are many other techniques you can use to round edges in Blender, such as using the modifiers Bevel and Subdivision Surface, using the Edge Split modifier to control edge shading, or using the Smooth Vertices tool. It’s important to keep learning and exploring different techniques to improve your skills and find new ways to achieve desired results. So, it is recommended that you continue practicing and experimenting with different tools and methods in Blender. These techniques will not only help you round edges but also improve your overall modeling skills.
Q: How Can I Learn More About Modeling in Blender?
A: There are many resources available to help you learn more about modeling in Blender, such as online tutorials, forums, and documentation. It’s also recommended to practice regularly and experiment with different techniques to improve your skills. Additionally, attending workshops or classes can also be helpful for learning new techniques and improving your knowledge of Blender. So, keep learning and practicing to become a better Blender modeler.
Conclusion
In conclusion, rounding edges in Blender is a simple process that can be used to improve the look of your 3D models. We’ve walked you through the steps necessary to round edges in Blender Cycles and Eevee. While some small differences exist between the two rendering engines, the basic process for rounding edges is essentially the same.
We hope this guide helped give you some instructions about how to round edges in Blender. So why not give it a try? Experiment with different values and see what works best for your models. And don’t forget to share your results with us on social media or in the comments section below.


