How to Seal a Gift Bag
Sealing a gift bag is an essential step in ensuring your thoughtful present remains a delightful surprise for the recipient. Whether you’re preparing for a birthday, holiday, or any special occasion, knowing the right techniques to secure your gift bag can enhance the presentation and protect its contents.

This guide on how to seal a gift bag will provide you with practical methods and tips to effectively seal different types of gift bags, making your gift-giving experience seamless and enjoyable.
Why is Sealing a Gift Bag Important?
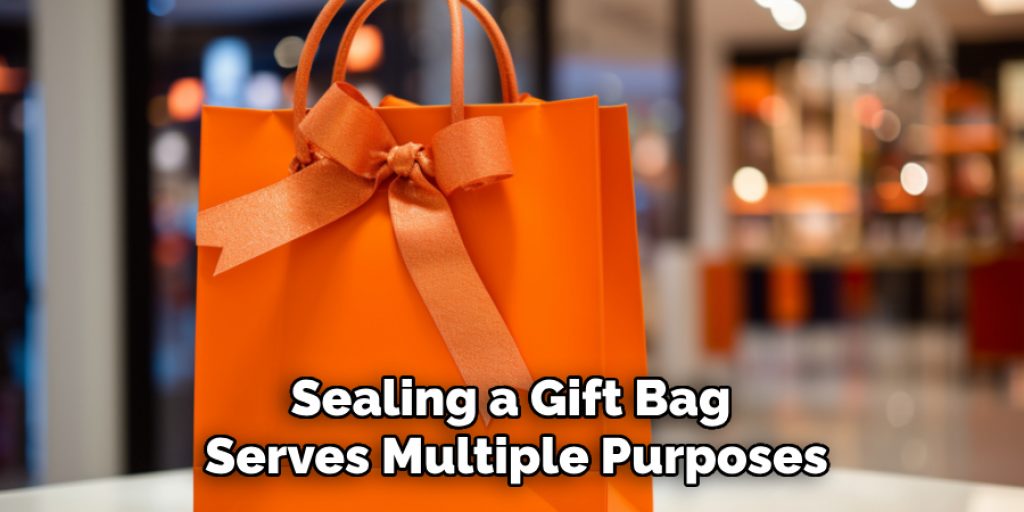
Sealing a gift bag serves multiple purposes. Firstly, it adds an element of surprise and anticipation for the recipient as they eagerly await to open their present. Secondly, it ensures that the contents of the gift bag remain secure and intact during transit or handling. Lastly, sealing a gift bag adds a touch of personalization and thoughtfulness to the overall presentation.

It is essential to seal a gift bag properly as it reflects the effort and care put into choosing and wrapping the gift, making it a memorable experience for both the giver and receiver.
Supplies Needed
Before diving into the different methods of sealing a gift bag, here are some essential supplies you will need:
Gift Bags (Paper, Fabric, or Plastic)
The type of gift bag you choose will depend on the occasion, budget, and personal preference. Paper bags are ideal for lightweight or small items, while fabric bags are more durable and suitable for heavier or larger gifts. Plastic bags are water-resistant and can be a good option for gifting food or drinks.
Wrapping Materials (Tissue Paper, Gift Wrap)
Wrapping materials add an extra layer of protection to your gift and make it more visually appealing. Tissue paper is commonly used to wrap fragile items like glassware or jewelry before placing them in the gift bag. Gift wrap can be used to cover the entire gift bag or tie around the handles for added decoration.
Sealing Methods (Ribbons, Tape, Adhesive)
There are various methods for sealing a gift bag, and the type of seal you choose will depend on the materials used. Ribbons or bows can be tied around the handles of paper or fabric bags, while tape or adhesive can be used to secure plastic bags.
8 Step-by-step Guidelines on How to Seal a Gift Bag
Step 1: Choose the Right Sized Gift Bag
Selecting the appropriate size for your gift bag is crucial to ensuring that the contents fit nicely and are presented well. A bag that is too small can cause items to be crammed in, risking damage, while an oversized bag may make the gift feel lost or less special.
Consider the dimensions of the items you wish to include and opt for a bag that provides enough space without excess. Additionally, think about the overall aesthetic you want to achieve—larger bags can accommodate more decorative embellishments, while smaller bags lend themselves to a more minimalist style.
Step 2: Prepare the Gift Bag
Once you have chosen the right size gift bag, it’s time to prepare it for the contents. Start by ensuring the bag is clean and free of any previous tags or stickers that may detract from its appearance. If you’re using a paper or fabric bag, gently unfold it and open the sides fully so that it maintains its shape.

Next, if your gift requires it, add a layer of tissue paper or wrapping material at the bottom of the bag for added cushioning. This not only protects the items but also enhances the visual appeal. When placing the items inside, arrange them neatly, ensuring that any delicate items are supported and won’t shift during transport. Proper preparation sets the stage for a beautifully sealed gift bag that reflects your thoughtfulness.
Step 3: Fold the Top of the Bag
Once your items are securely placed inside the gift bag, it’s time to fold the top for sealing. Begin by holding the bag upright and gently pushing down the edges of the top to create a neat, even fold. Aim for a fold that is about 1 to 2 inches wide, which will provide a clean look and allow for easy sealing.
This fold not only helps to secure the contents but also adds to the overall aesthetic of the gift bag. After folding, ensure that the closure is straight and aligned, as this will enhance the presentation. If desired, you can incorporate decorative elements like a ribbon or a clip at this stage to elevate the visual appeal even further before finalizing the seal.
Step 4: Tie a Ribbon
One of the most popular ways to seal a gift bag is by tying a ribbon or bow around the top. Ribbons come in various colours, sizes, and materials, making them a versatile option for any occasion or budget. For paper or fabric bags, you can create a simple knot or opt for an intricate bow depending on your preference.

To tie a standard bow, start by placing the ribbon over the folded top of the bag with equal lengths on each side. Cross one side over the other and then pass it back under through the loop created. Tighten the knot and adjust as needed to achieve the desired look. You can also add multiple ribbons or layers for a more elaborate and elegant finish.
Step 5: Use Adhesive
For plastic bags, using tape or adhesive is the most effective method to seal them. Depending on the size of the bag, you can use regular tape or double-sided adhesive tape to secure the top fold. Make sure to press down firmly to create a tight seal that will prevent any items from falling out during transport. You can also use decorative washi tape to add some visual interest to your sealed gift bag.
It is essential to use a strong adhesive that can withstand any handling or movements the gift bag may undergo. If you’re using a clear plastic bag, opt for tape or adhesive that blends in with the material for a seamless look.
Step 6: Attach a Clip
Another simple and effective method for sealing a gift bag is by attaching a clip at the top fold. Clips come in various designs and materials, making them an excellent option for personalization. You can choose from classic paper clips, binder clips, or decorative clothespins, depending on your budget and style.
Simply fold the top of the bag as mentioned earlier and secure it with the clip by clipping it onto both edges of the fold. This method can also help to keep any tissue paper or wrapping material in place, adding an extra layer of protection to your gift.
Step 7: Add a Name Tag
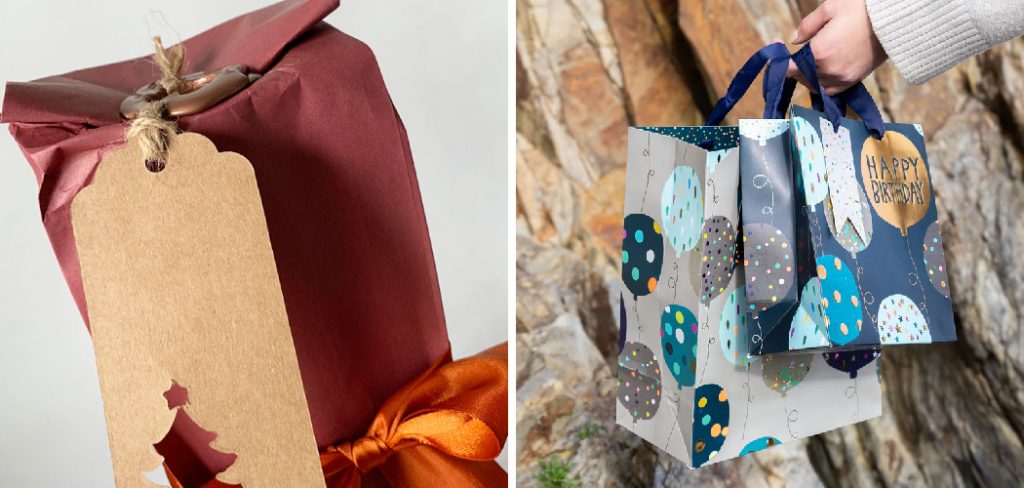
A name tag is an excellent finishing touch for a sealed gift bag and adds a personal touch to the presentation. You can opt for pre-made tags DIY tag holders, or create your own using cardstock, stamps, and ribbon. Attach the tag to the handle of the bag or use a hole puncher to make a hole in the top fold and tie it on with ribbon.
Name tags not only add visual interest but also make it easier for recipients to identify which gift is meant for them if there are multiple gift bags present. They also serve as a lovely keepsake for the recipient to remember your thoughtful gesture.
Step 8: Finishing Touches
After sealing your gift bag using one of the methods mentioned above, you can add some finishing touches to enhance its overall appearance. This can include adding stickers, stamps, or even drawing designs on the bag if it is made of paper or fabric. You can also attach small trinkets or charms to the ribbon or clip for an extra special touch.
Finishing touches are entirely optional but can elevate the presentation and make your sealed gift bag stand out even more. Have fun experimenting with different ideas and techniques on how to seal a gift bag to create a unique and memorable final result.
Frequently Asked Questions
Q: Can I Reuse Gift Bags?
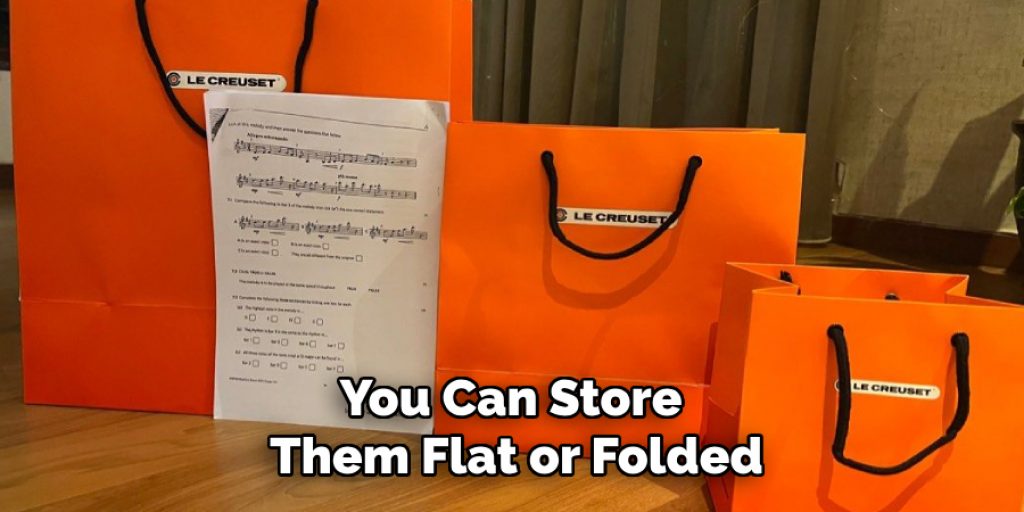
A: Yes, you can definitely reuse gift bags as long as they are still in good condition. You can store them flat or folded and use them for future gifts. This not only helps reduce waste but also saves you money in the long run.
Q: Can I Seal a Gift Bag Without Wrapping Paper?
A: Absolutely! You can seal a gift bag even without using wrapping paper by adding tissue paper or other filling material to cushion and protect the items inside. You can also use decorative elements like ribbons, clips, or stickers to enhance the overall appearance of the gift bag.
Q: How Do I Choose the Right Size Gift Bag?
A: When choosing a gift bag, consider the size and shape of your gift and choose a bag that is slightly larger than it to allow for proper presentation and sealing. It’s always better to have a bag that is slightly bigger than your gift rather than one that is too small and won’t accommodate it properly.

Conclusion
Sealing a gift bag may seem like a small detail, but it can make a significant impact on the overall presentation and perceived thoughtfulness of your gift. With these steps on how to seal a gift bag, you can seal your gift bags securely and beautifully, making them perfect for any occasion.
Have fun experimenting with different methods and personalization techniques to create unique and memorable gift bags that your recipients will love! Happy gifting!


