How to Seal a Painted Doormat
When it comes to protecting and prolonging the life of your painted doormat, sealing is an essential step. A well-sealed doormat not only enhances its durability against weathering and wear but also maintains the vibrancy of the paint, ensuring that your design remains fresh and inviting.
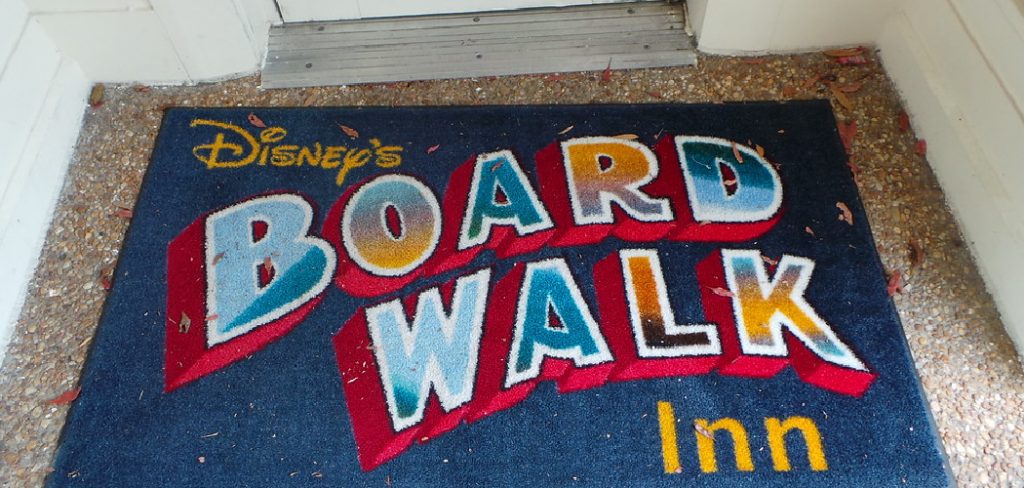
This guide on how to seal a painted doormat will walk you through the process of sealing your painted doormat, providing essential tips and techniques to help you achieve a professional-looking finish. Whether you’re preparing a doormat for personal use or as a gift, mastering this sealing technique will ensure that your creative efforts stand the test of time.
Why Seal a Painted Doormat?
Sealing a painted doormat serves two main purposes: protection and preservation. As the first point of contact for anyone entering your home, doormats are exposed to lots of foot traffic, weather elements, and other external factors that can cause damage to the painted design. Sealing acts as a protective barrier against these potential threats, preventing fading, chipping, and peeling of the paint.
Apart from protection, sealing also helps to preserve the vibrancy of the paint colors used on your doormat. Over time and with exposure to sunlight and other elements, paint can lose its brightness and intensity. However, by sealing your painted doormat regularly, you not only protect it from potential damage but also maintain its visual appeal for longer periods.
Materials You’ll Need
Before diving into the process of sealing your painted doormat, make sure you have all the necessary materials at hand. Here’s a list of items you’ll need:
- Painted Doormat
- Sealer (Polyurethane, Varnish, or Acrylic Spray)
- Paintbrush or Foam Brush
- Drop Cloth or Newspaper
Make sure to choose a sealer that is suitable for outdoor use and clear in color to avoid altering the appearance of your painted design.
7 Step-by-step Guidelines on How to Seal a Painted Doormat
Step 1: Prepare the Doormat
Before applying the sealer, it’s essential to clean and prepare your painted doormat thoroughly. Begin by shaking off any dirt, debris, or loose particles from the surface to ensure an even application. If your doormat is especially dirty, consider using a damp cloth or sponge with mild soap to wipe it down gently.
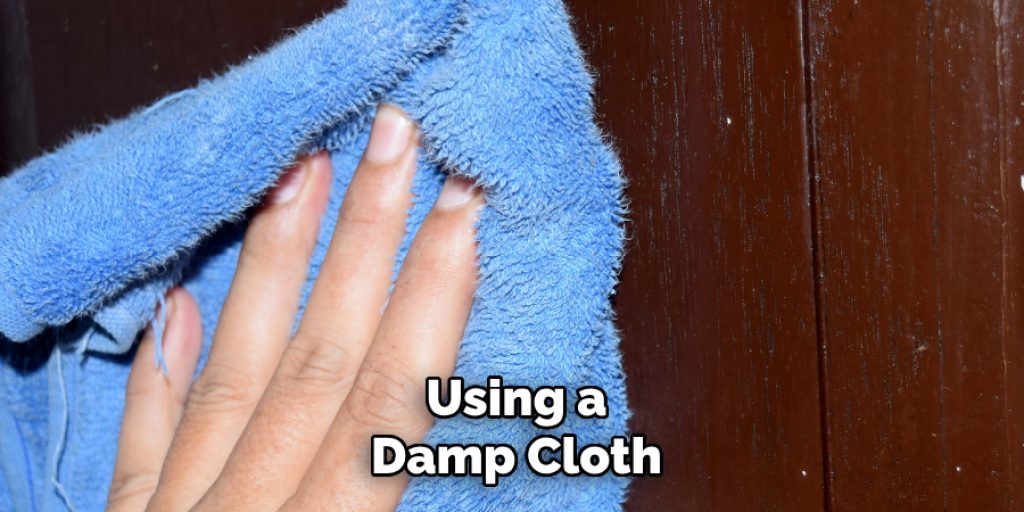
Allow the doormat to dry completely before proceeding to the next step. Proper preparation not only ensures better adhesion of the sealer but also enhances the final appearance of your finished product.
Step 2: Choose Your Sealer
As mentioned earlier, there are various types of sealers available for use on painted doormats. The most commonly used options include polyurethane, varnish, and acrylic spray. Each has its advantages and disadvantages, so consider the level of protection and finish you desire before making your selection.
Polyurethane offers a durable and glossy finish but may require multiple coats for full coverage. Varnish provides a matte or satin finish and is suitable for both indoor and outdoor use. Acrylic spray is quick-drying and provides a convenient option for sealing small projects like doormats.
Step 3: Test the Sealer
Before applying the sealer to your entire doormat, it’s a good idea to conduct a test on a small, inconspicuous area. This step will help you determine how the sealer interacts with the paint and whether it alters the appearance or finish of your design. Using a paintbrush or foam brush, apply a small amount of sealer to the test area and allow it to dry completely.
Once dry, examine the finish for clarity, gloss level, and any potential changes in color. If the test area maintains the desired look and feel, you can confidently proceed to apply the sealer to the rest of the doormat. If not, consider trying a different type of sealer that better meets your expectations.
Step 4: Apply the Sealer
Now that you have selected your sealer and tested it, it’s time to start sealing your painted doormat. Lay down a drop cloth or newspaper to protect your work surface from any drips or spills. Then, using a paintbrush or foam brush, apply an even coat of sealer over the entire surface of the doormat. Make sure to follow the direction of the painted design and avoid going over areas that have already been sealed.
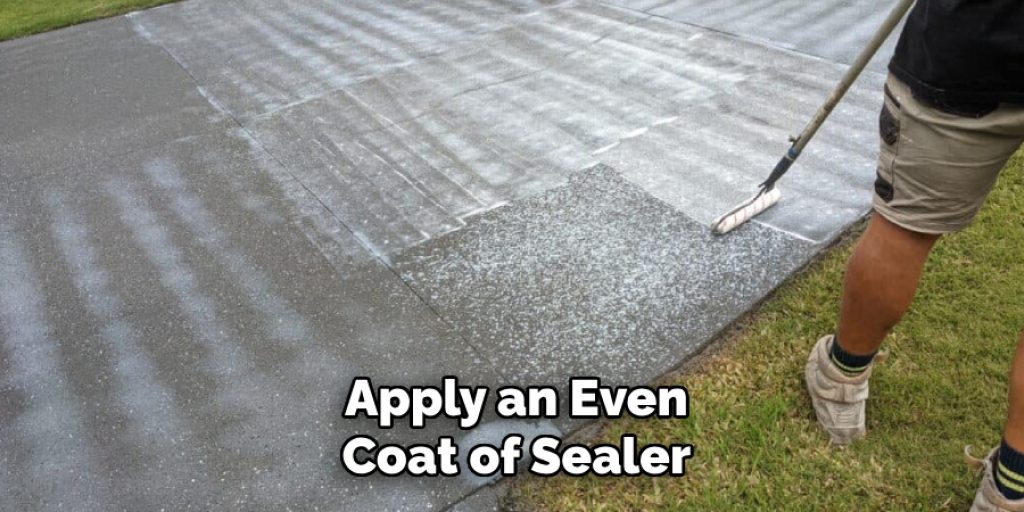
If using polyurethane or varnish, allow the first coat to dry completely before applying additional coats for maximum protection. If using acrylic spray, multiple coats can be applied in quick succession until the desired coverage is achieved.
Step 5: Drying Time
Once you have applied your final coat of sealer, allow your doormat to dry completely. The drying time will vary depending on the type of sealer used, but it’s best to give it at least 24 hours before placing it outside or subjecting it to foot traffic.
It’s important to protect your doormat from any potential damage during this drying period, so avoid stepping on it or exposing it to any harsh weather conditions.
Step 6: Add a Second Coat (Optional)
For added protection and durability, you may choose to apply a second coat of sealer. If so, follow the same process as before, making sure to allow each coat to dry completely before adding another one. Adding a second coat can also enhance the shine or finish of your doormat, depending on the type of sealer used.
It’s important to note that some sealers may require several coats for full coverage, so make sure to read the manufacturer’s instructions carefully before applying.
Step 7: Maintain Your Sealed Doormat
Congratulations! You have successfully sealed your painted doormat and are now ready to display it proudly at your front door. To maintain its appearance and protection against wear and tear, regularly clean your doormat with a mild soap and water solution. Avoid using harsh chemicals or abrasive materials that can damage the sealer and paint.
Also, keep an eye out for any signs of wear or damage to the sealer, such as cracking or peeling. In these cases, it’s best to reapply the sealer to maintain its protective properties. With proper maintenance, your sealed doormat can provide a warm and inviting welcome to all who enter your home for years to come.
Additional Tips for Sealing a Painted Doormat
- When choosing a sealer, consider the level of foot traffic in the area where the doormat will be placed. For high-traffic areas, opt for a more durable sealer.
- If you are using a foam brush to apply the sealer, be sure to dispose of it after use as it can become stiff and difficult to clean when dried.
- To protect your doormat from water damage, consider placing a waterproof mat underneath it or bringing it inside during heavy rain.
- If your doormat is subject to direct sunlight, make sure to choose a sealer with UV protection to prevent fading of the paint over time.
By following these guidelines and tips on how to seal a painted doormat, you can easily seal your painted doormat and keep it looking beautiful for years to come. Remember, proper preparation and maintenance are key to achieving a long-lasting and professional-looking finish. So don’t be afraid to get creative with your painted doormat and make it a unique reflection of your home.
Frequently Asked Questions
Q: Can I Use Any Type of Sealer on My Painted Doormat?
A: It’s best to choose a sealer specifically designed for sealing painted surfaces, such as polyurethane, varnish, or acrylic spray. These options provide better adhesion and protection compared to generic sealers.
Q: How Often Should I Reapply the Sealer?
A: This will depend on the type of sealer used and the level of foot traffic your doormat receives. Generally, it’s recommended to reapply a new coat every 1-2 years for optimal protection and appearance.
Q: Can I Seal a Painted Coir or Rubber Doormat?
A: Yes, you can seal painted coir or rubber doormats using the same process as mentioned above. However, make sure to choose a sealer suitable for these materials and follow any additional instructions provided by the manufacturer.
Q: Is Sealing Necessary for a Painted Doormat?
A: While it’s not necessary, sealing your painted doormat can provide added protection against wear and tear, weather elements, and fading. It also helps to maintain the vibrancy of the colors and keep your doormat looking new for longer. So, if you want your painted doormat to last and maintain its appearance, it’s highly recommended that you seal it. However, sealing may not be necessary for short-term projects or decorative purposes only.

Conclusion
Sealing a painted doormat is a simple but essential step in protecting and preserving its design and longevity. By following these step-by-step guidelines on how to seal a painted doormat and properly maintain it, you can ensure that it remains a beautiful and functional addition to your home for years to come. So don’t forget to add this final touch to your painted doormat project and enjoy the benefits of a sealed and protected doormat. Happy crafting!


