How to Seal Embroidery
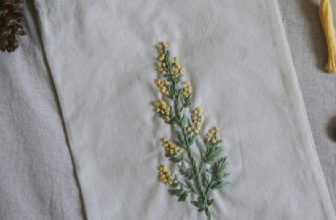
Sealing embroidery is important in preserving the design and extending its life. Not sealing the embroidery can lead to the fabric fraying, fading, and unraveling. Especially when it comes to items that will be washed or used frequently, it’s essential to protect them by properly sealing the embroidery. Sealing embroidery also gives it a more professional and polished look when done correctly.
Sealing embroidery offers a variety of advantages. When done properly, it can help preserve and protect your embroidery work for many years. Sealing embroidery also makes the colors more vibrant and resistant to fading, as well as making them water-resistant.

It also strengthens the fabric and is less likely to fray or tear when washed or handled. In addition, it can help keep the thread from fraying or unraveling and helps to prevent the fabric from stretching out of shape. You can find step-by-step instructions on how to seal embroidery in this blog article.
Step-by-step Instructions for How to Seal Embroidery
Step 1: Inspect the Embroidery
Before sealing embroidery, inspect the area to ensure no loose fibers or strands of thread. Ensure the stitching is complete and there are no unraveling threads. If there are any loose threads, trim them with scissors before proceeding.
Step 2: Select a sealant
Several sealants are available, including fabric glue, fabric sealant, and iron-on backing. Choose a sealant based on the type of material you’re working with. If you are unsure which product to use, consult a professional or test a small patch first.
Step 3: Apply the Sealant
Apply the sealant according to the manufacturer’s instructions. Ensure you cover the entire embroidery area to ensure it is fully sealed. Allow the sealant to dry completely before continuing with any other steps. This could take several minutes to an hour, depending on the product you have used.
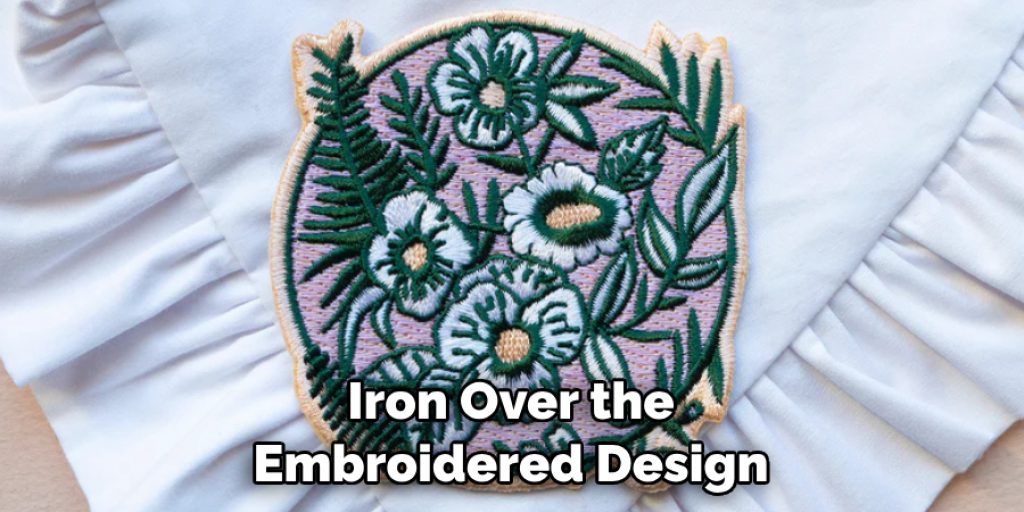
Step 4: Press Over Embroidery
Iron over the embroidered design with a pressing cloth. This will help to set the sealant and keep the embroidery from fraying or unraveling. Use a soft brush to brush off any excess sealant seeped from the seams. This will also help prevent dust and dirt from gathering on the fabric surface.
Step 5: Check for Weak Spots
Look for any weak spots in the embroidery that need to be reinforced. Use additional sealant or a small patch of fabric to reinforce these areas if needed. Use scissors to trim any loose threads that may have escaped during sealing. This will help keep the embroidery free of fraying threads.
Step 6: Store Safely
Once the sealant has dried, store the item safely away from direct sunlight or heat sources. This will help to preserve the design for years to come. Your embroidery is now sealed and ready to be enjoyed. Take care of the item and keep it away from direct sunlight or heat sources for maximum longevity.
By following these easy steps, you can enjoy your embroidery for years. Sealing your embroidery will help keep it looking beautiful and ensure that it stands the test of time.
Precautions for How to Seal Embroidery
- Always wear protective gloves and eyewear when handling the sealing product and other chemicals related to sealing your embroidery.
- Ensure proper ventilation in your workspace, and use a ventilator or exhaust fan if possible.
- When mixing two-part sealers, do so carefully in a well-ventilated area to avoid any possible fumes.
- Read and follow the directions on all your products, including sealers, finishes, or adhesives.
- When applying a sealer, spray in quick passes from left to right, ensuring that the sprayed area is completely covered with an even coat of sealer.
- Once finished, clean up any leftover sealer, finishes, or adhesives with a damp cloth and dispose of them properly according to the manufacturer’s instructions.
- Store all your products in a cool, dry place away from direct sunlight and flammable materials. Keep these items out of reach of children.
Following these precautions will help you ensure a safe environment while sealing your embroidery. When in doubt, always consult the manufacturer’s instructions before starting any project involving sealers or finishes.
How Do You Prepare the Fabric for Sealing?
Before you seal your embroidery, you’ll need to prepare the fabric. Start by washing and drying the material according to its instructions. Once it’s clean, press the fabric using a iron and steam if appropriate. Ensure there are no wrinkles or creases in the design area that will be sealed. Next, test a scrap piece of the fabric to ensure it is compatible with your chosen sealing product. This will ensure you get the best results when you seal your embroidery.

Once everything has been tested and prepared, trace the design onto the fabric before cutting it from the remaining material. If you have a lightbox, this can be very helpful for tracing accurately. Once your embroidered design is cut out, you will be ready to start sealing.
When the fabric is prepared and ready for sealing, it’s time to choose a product. Sealing products come in various forms, such as sprays, pens, and heat guns. Choose one that best suits your needs and follow the manufacturer’s instructions for best results.
How Do You Know When the Sealant is Dry and Ready to Use?
Once you have applied the sealant to your embroidery and waited for it to dry, you can tell if it is ready. The drying process will vary depending on the sealant and how thickly you applied it. Generally speaking, however, when the sealant has fully dried, it will feel dry, not sticky or tacky, to the touch. If the sealant is still wet, it will not have fully sealed your embroidery, and you should wait for it to dry before using the item.
Another way to tell if the sealant is dry and ready for use is by looking at the color. Most sealants start as white or translucent liquids when wet, but they will turn clear after drying. If you notice that the sealant has turned a yellowish or cloudy color instead of clear, it indicates that it has not completely dried and should be allowed to dry further before using your embroidered item.
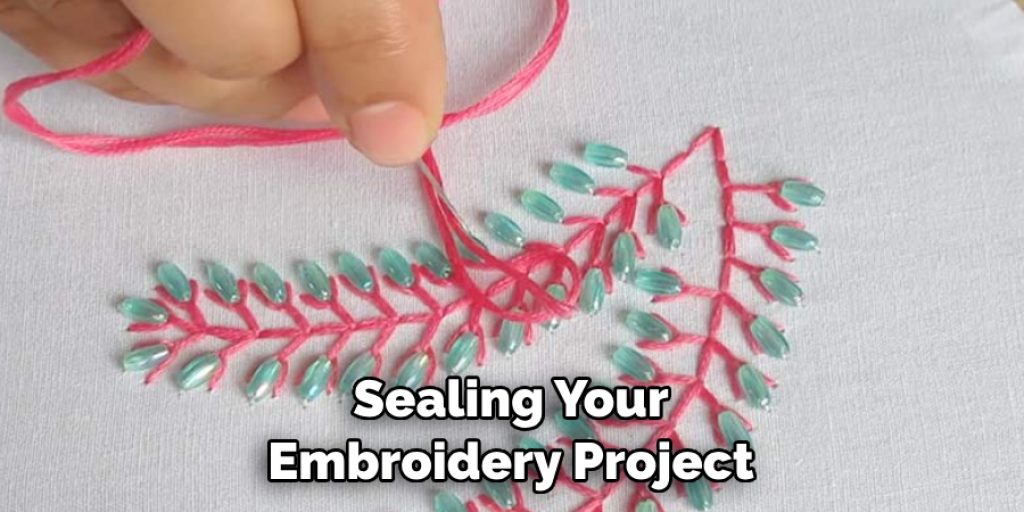
How Do You Store and Care for Sealed Embroidery Projects?
Once you have finished sealing your embroidery project with a sealant, there are several steps you can take to ensure that the fabric remains in its original condition for years to come. Here are some tips on how to store and care for sealed embroidery projects:
- Store the Embroidery Flat: It is best to store the sealed embroidery project flat whenever possible, as this prevents creasing or bunching of the fabric. If storing the item in a box, use acid-free paper to protect it from dust and possible discoloration.
- Hang the Embroidery: If you can hang your sealed embroidery project, make sure that you use a strong hanger that won’t stretch or tear the material. It is also important to hang the item away from direct sunlight and other moisture sources.
- Clean the Embroidery With Care: If you need to clean your sealed embroidery project, use a gentle cleaning solution and apply it sparingly with a soft cloth. Test any cleaning solution you use on a small, inconspicuous area first to ensure it won’t damage the fabric.
By following these simple steps, you can ensure your sealed embroidery project remains in great condition for years. Your projects will bring many years of enjoyment with proper storage and care.
How Do You Maintain the Integrity of the Design After It Has Been Sealed?
Once the design has been sealed, it is important to maintain its integrity. The best way to do this is to be sure that you use a fabric stabilizer or backing on your design.
This will help keep the threads from shifting or fraying as they are sewn onto the fabric and give the embroidery a more professional look. Be sure to use a high-quality stabilizer designed specifically for embroidery and follow the manufacturer’s instructions for proper application.
You can also do a light pressing of the fabric after it has been sealed. This will help keep the design from shifting or becoming distorted over time, though this is only sometimes necessary.
If you are worried about sealing your embroidery, you can also choose to use a clear permanent adhesive spray to help keep the fabric and design in place. Finally, store it carefully if your design has been sealed with a heat sealant such as iCraft Deco Foil. Heat-sealed designs are slightly more delicate than regular embroidery and should not be stored in a hot, humid environment.
Conclusion
In conclusion, learning to seal embroidery is important in protecting your work from environmental and wear-and-tear damage. There are several options available to you, depending on the type of fabric or thread you’re using. You may opt for a clear acrylic spray sealant, iron-on backing material, or a liquid sealant.
Whichever option you choose, be sure to read and follow the instructions that come with it to achieve the best results. I hope this article has been beneficial for learning how to seal embroidery. Make Sure the preventive measures are followed chronologically.
Nancy Behan
Nancy is an embroidery artist, fashion blogger and a full time editor at DIY quickly. Nancy edits the fashion section on DIY quickly, focusing on the embroidery and cross stitch articles, alongside with fabric and other costume design elements. She graduated from the University of Michigan with a Bachelor of Arts in Art History. She loves to work on her own projects, read books and watch romantic movies in her spare time.