
How to Seal Fabric Paint
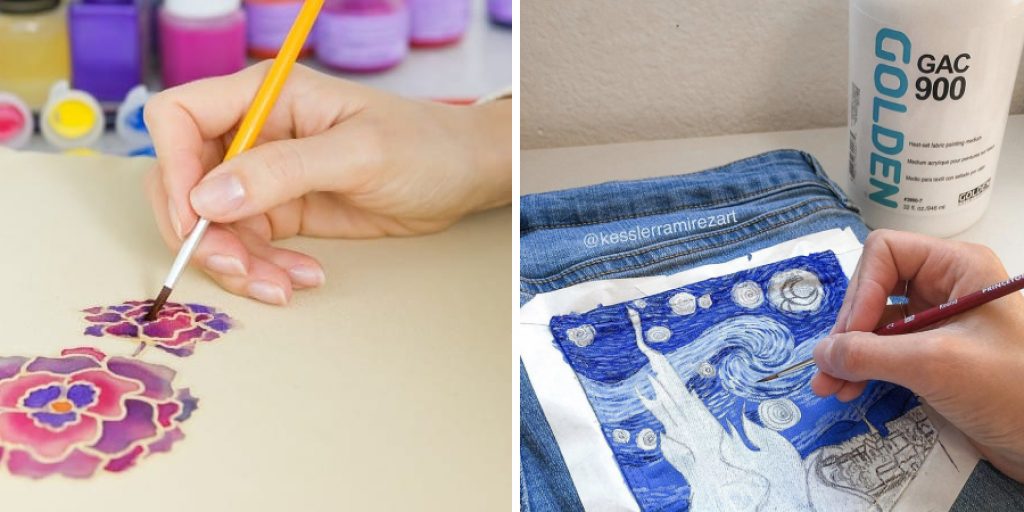
If you’ve just completed a fabric painting project and want to ensure that your artwork lasts, sealing the fabric paint is essential. Sealing fabric paint not only protects your design from fading and wearing off but also enhances its durability and washability.
Whether you’ve painted a T-shirt, a tote bag, or a canvas, properly sealing the fabric paint will make your artwork withstand regular use and washing. In this article, we will explore various methods and techniques on how to seal fabric paint effectively.
From heat-setting to using fabric sealants, we will provide you with valuable tips and steps to ensure that your fabric paint stays vibrant and intact for a long time to come. Get ready to learn the secrets of preserving your fabric masterpieces with confidence.
Is Fabric Paint Permanent on Fabric?
Fabric paint is generally permanent on fabric once it is heat-set, although some specialty paints may eventually fade or bleed with washing. To make sure that your fabric paint stays in place, always follow the manufacturer’s directions for application and heat setting. Properly sealed fabric paint should last through multiple wash cycles without fading or bleeding.
When applying fabric paint, keep in mind that if the fabric is not properly prepared and sealed prior to painting, the paint will not adhere correctly and may be prone to fading or bleeding over time. Washing and drying the fabric prior to painting will help remove any dirt or oils that could prevent proper adhesion of the paint. Then use a fixative, such as a clear acrylic sealer on the fabric before and after painting to ensure a long-lasting finish.
To heat set your fabric paint, use either an iron or a clothes dryer. Place a piece of parchment paper over the design and press with an iron set to low heat for two minutes, or tumble in a dryer set at medium-high heat for 15 minutes. Feel free to add more heat-setting time if needed, especially for darker colors or larger areas of fabric paint.
The proper application and sealing of fabric paint will ensure that your project remains vibrant and permanent on fabric. With some simple preparation steps before painting, plus a few extra minutes of heat setting afterward, you can be sure that your work will stand the test of time!
Does Fabric Paint Last after Washing?
Fabric paint is a great way to give your fabric items an extra touch of style and creativity, but it is important to know how the paint will hold up after being washed. The answer to this question largely depends on the type of paint and sealing methods you used.
To ensure that your fabric paint lasts after washing, it’s best to use high-quality paints that are designed for fabrics and sealants. For best results, you should also pre-wash the fabric before applying the paint and heat set or iron the painted area once dry.
If done properly, these steps will help protect your painted design from fading or cracking. Additionally, when choosing a laundry detergent, make sure that it does not contain any bleach in order to further protect the fabric paint. With these tips in mind, your fabric paint should last even after several washes.
Of course, following the instructions on the packaging of your fabric paints is key to making sure that they adhere properly and stay put for a long time. However, if you’re looking for further assurance that your painted design won’t wash away easily, sealing it with an appropriate sealant can provide additional protection when laundering fabrics. This will help ensure that your fabric paint lasts longer and retains its vibrancy even after repeated machine washing.
10 Steps How to Seal Fabric Paint
Step 1: Allow Sufficient Drying Time
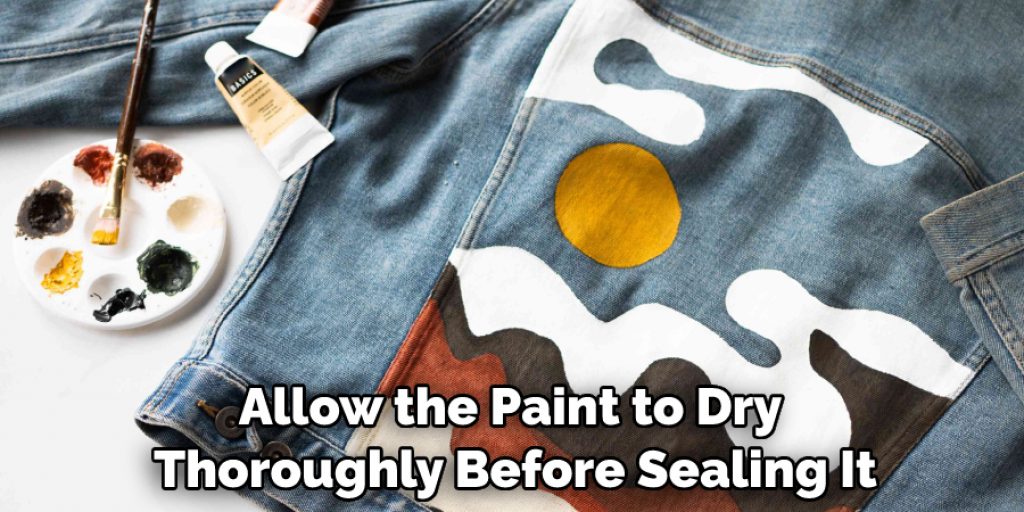
After completing your fabric painting project, it’s crucial to allow the paint to dry thoroughly before sealing it. Follow the manufacturer’s instructions regarding the recommended drying time for the specific fabric paint you used.
Be patient and ensure that the paint is completely dry to the touch before proceeding to the next steps. Although the paint may appear to be dry on the surface, it is important to allow for adequate drying time so that the paint will not smudge or transfer when sealed.
Step 2: Heat-Set the Fabric
Heat-setting is a common method used to seal fabric paint. Place a clean pressing cloth or a piece of parchment paper over the painted design. Set your iron to the appropriate heat setting for the fabric type and gently press the iron over the painted area for the recommended duration. The heat helps bond the paint to the fabric fibers, increasing its durability and washability.
Be cautious not to use excessive heat or apply too much pressure to avoid damaging the fabric or the paint. Once finished, you can check if the paint has been successfully heat-set by gently rubbing your finger over the design. If the paint is sealed properly, there should be no paint residue on your finger. Allow the fabric to cool before moving it.
Step 3: Allow the Paint to Cure
After heat-setting, allow the fabric paint to cure for the specified time mentioned by the manufacturer. Curing time allows the paint to fully bond with the fabric fibers, making it more resistant to fading and washing. Follow the instructions provided with the fabric paint to determine the necessary curing duration. It is advisable to wait at least 24 hours before moving on to the next steps.
Step 4: Wash the Fabric
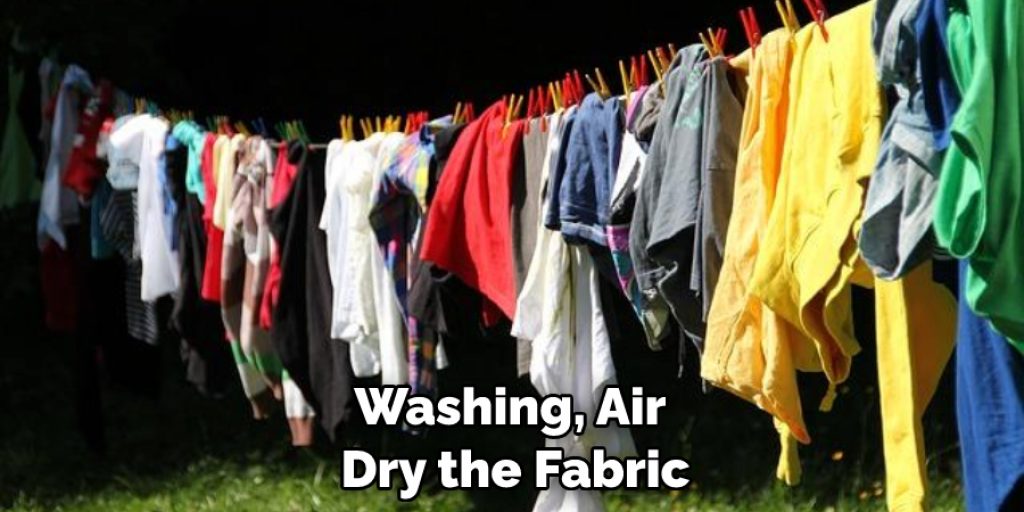
To prepare the painted fabric for sealing, wash it in cold water using a gentle cycle. Avoid using harsh detergents or bleach that could potentially damage the paint. Use a mild, fabric-friendly detergent to ensure the best results. After washing, air-dry the fabric or tumble dry it on low heat. This step helps remove any residual chemicals, dirt, or oils that might interfere with the sealing process.
Step 5: Choose a Fabric Sealant
There are various fabric sealants available in the market, ranging from spray sealants to brush-on formulas. Consider the specific requirements of your project, such as the type of fabric and the desired finish, when selecting a sealant. Read the product labels and choose a sealant that is compatible with your fabric paint and provides the desired level of protection.
Step 6: Test the Sealant
Before applying the sealant to the entire painted area, it’s essential to test it on a small, inconspicuous area of the fabric. This test will help you determine if the sealant alters the color or texture of the paint. Apply a small amount of the sealant according to the manufacturer’s instructions and observe the results. If you’re satisfied with the test area, you can proceed to seal the rest of the fabric.
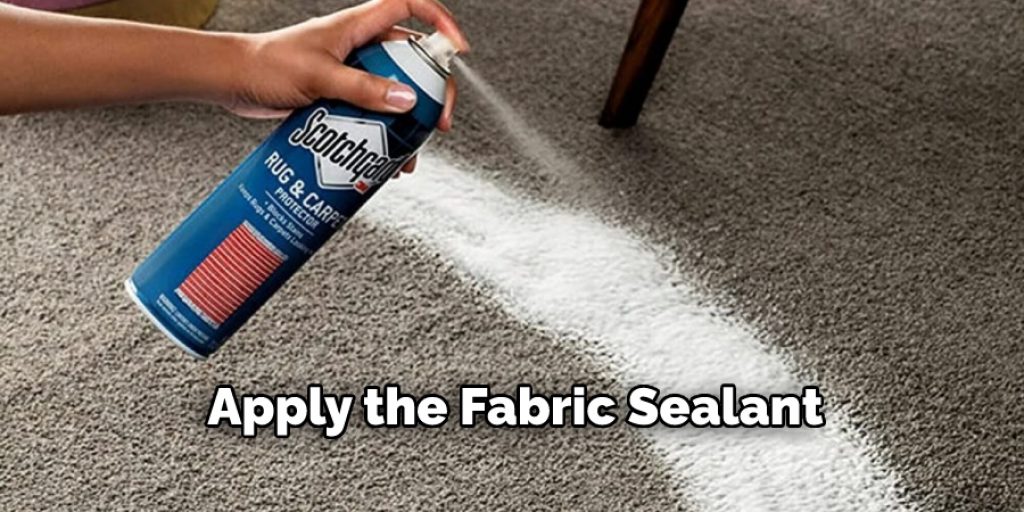
Step 7: Apply the Fabric Sealant
Following the instructions provided with the sealant, apply it evenly over the painted fabric. Use a brush or a spray bottle, depending on the type of sealant you’ve chosen. Start from one end of the fabric and work your way across, ensuring complete coverage of the painted area. Take care not to apply the sealant too thickly or create puddles, as it can affect the appearance of the paint.
Step 8: Allow Sufficient Drying Time
After applying the fabric sealant, allow it to dry completely according to the manufacturer’s instructions. The drying time may vary depending on the sealant type and environmental conditions. Avoid touching or manipulating the fabric during this time to prevent smudging or disruption of the sealant.
Step 9: Cure the Sealant (Optional)
Some fabric sealants may require curing to achieve maximum effectiveness. This step involves subjecting the sealed fabric to heat or allowing it to cure naturally over time. Refer to the sealant’s instructions for the recommended curing process. Heat-curing methods may include using an iron, placing the fabric in a clothes dryer, or using a heat press. Follow the instructions carefully to ensure proper curing.
Step 10: Wash and Care for the Sealed Fabric
Once the sealant has dried and cured (if necessary), the fabric is ready for use and laundering. Follow the care instructions provided with the sealant and the fabric paint. In general, it is advisable to wash the fabric in cold water on a gentle cycle and avoid using harsh detergents or bleach. Tumble dry on low heat or air-dry as recommended. Proper care will help maintain the integrity and longevity of the sealed fabric paint.

Conclusion
In this blog post, we discussed the different methods to seal fabric paint, each method has its benefits and drawbacks. For a permanent, water-resistant seal, consider using a chemical fabric sealer such as Mod Podge Fabric Sealer or an aerosol fabric protector. You can also opt for natural options such as beeswax, candle wax, and tree resin.
If storing your work long-term, making sure to use one of these methods is highly recommended to keep your artwork from damage. No matter which method you choose for sealing fabric paint, make sure to do some research beforehand so that you can decide the best product for your supplies and result. Now that we’ve covered several techniques on how to seal fabric paint, it’s time for you to get busy creating!
Nancy Behan
Nancy is an embroidery artist, fashion blogger and a full time editor at DIY quickly. Nancy edits the fashion section on DIY quickly, focusing on the embroidery and cross stitch articles, alongside with fabric and other costume design elements. She graduated from the University of Michigan with a Bachelor of Arts in Art History. She loves to work on her own projects, read books and watch romantic movies in her spare time.


