
How to Set Up a Fish Tank Air Pump
Setting up a fish tank air pump is essential for keeping your fish healthy and thriving. In this guide, we will walk you through how to set up a fish tank air pump and show you how to use it properly to keep your fish tank running smoothly.
We’ll also go over some of the best air pumps on the market today so that you can find the perfect fit for your needs. So, whether you’re just starting with fish tanks or looking for an upgrade, read on for all the information you need to set up and use a fish tank air pump successfully!
Why Does Your Aquarium Need a Fish Tank Air Pump?
A fish tank air pump is a device that helps to circulate the water in your tank and provides oxygen to your fish. Fish need oxygen to breathe, just like we do, and an air pump helps ensure that they’re getting enough. Air pumps also help to circulate the water in your tank to not become stagnant.
Stagnant water can become a breeding ground for harmful bacteria, so keeping it moving is important. There are a few different air pumps on the market, but most aquariums will do just fine with a simple, single-outlet pump. These pumps are relatively inexpensive and easy to find. You can find them at your local pet store or online.
Step by Step Guide: How to Set Up a Fish Tank Air Pump
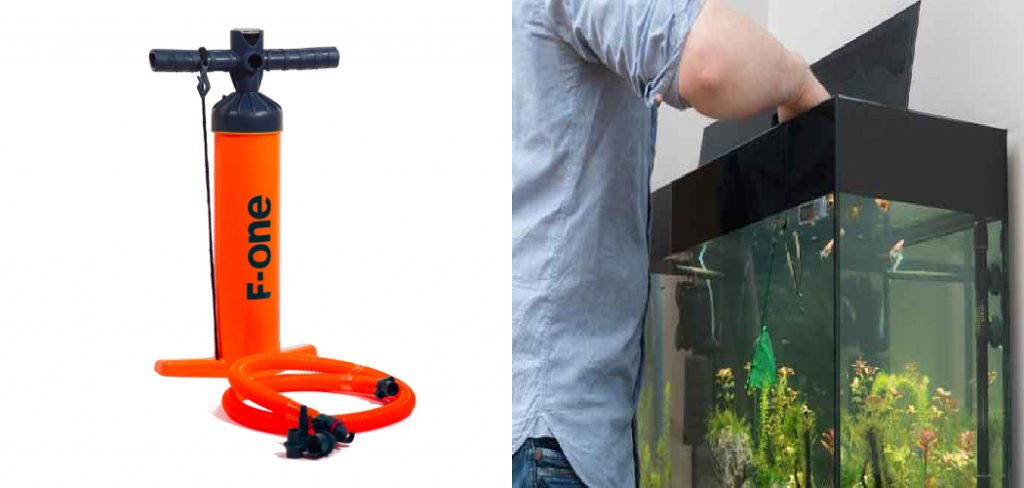
Step 1: Measure the Size of Your Aquarium.
The first step in setting up your fish tank air pump is to measure the size of your aquarium. This will determine the size and power of the air pump you need. If you want to err on caution, choose a slightly larger pump than your aquarium. This way, you know that it will be powerful enough to circulate the water and provide oxygen to your fish.
Step 2: Choose the Right Size Air Pump for Your Tank.
Now that you know the size of your aquarium, you can choose the right size air pump for your tank. A single-outlet air pump will likely be sufficient if you have a small aquarium.
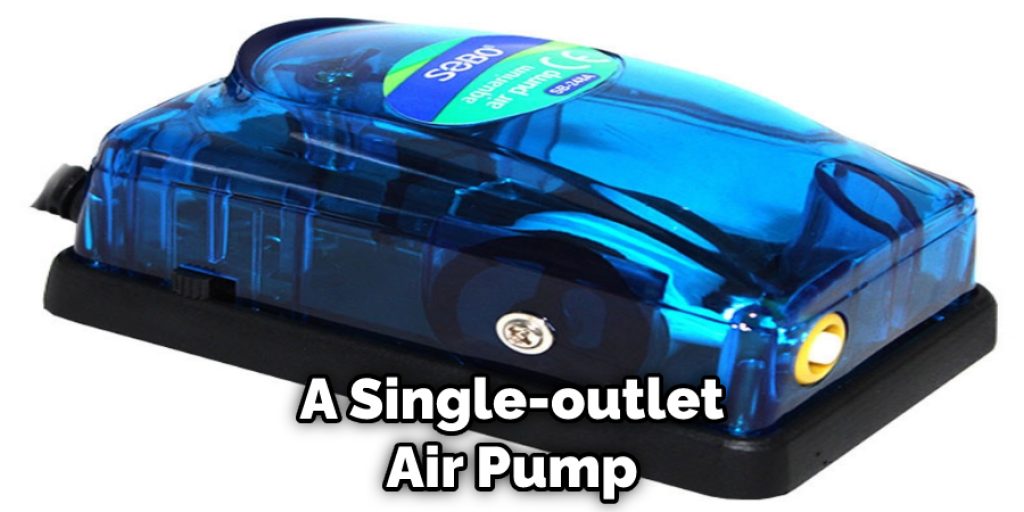
These pumps are relatively inexpensive and easy to find. However, you may need a more powerful pump with multiple outlets for larger tanks. If you think your aquarium might need a more powerful pump, talk to your local pet store or fish expert for guidance.
Step 3: Choose the Right Location for Your Pump.
The next step is to choose the right location for your air pump. It’s important to find a spot where the pump won’t be in the way or get in the way of your fish. You also want to make sure that the pump is close to an outlet so that you can easily plug it in. Once you’ve found the perfect spot, mark it with a pencil to know where to put the pump when you’re ready to set it up.
Step 4: Cut the Airline Tubing to Proper Length.
Once you’ve chosen the perfect location for your air pump, the next step is to cut the airline tubing to the proper length. The tubing should be long enough to reach from the air pump to the aquarium, with extra length to spare. This will give you some wiggle room when it comes time to set up the pump.
Step 5: Hook Up the Air Pump to the Airline Tubing.
Now it’s time to connect the air pump to the airline tubing. First, find the outlet on the air pump that corresponds to the size of your tubing. Next, fit the tubing over the outlet and secure it with a clamp. Finally, make sure that the tubing is tight to prevent leaks.
Step 6: Connect the Other End of the Tubing to the Aquarium.
The next step is to connect the other end of the tubing to the aquarium. There are a few different ways to do this, but the most common is to use an air stone. Air stones diffuse the air coming from the tubing and help to circulate the water in the tank.
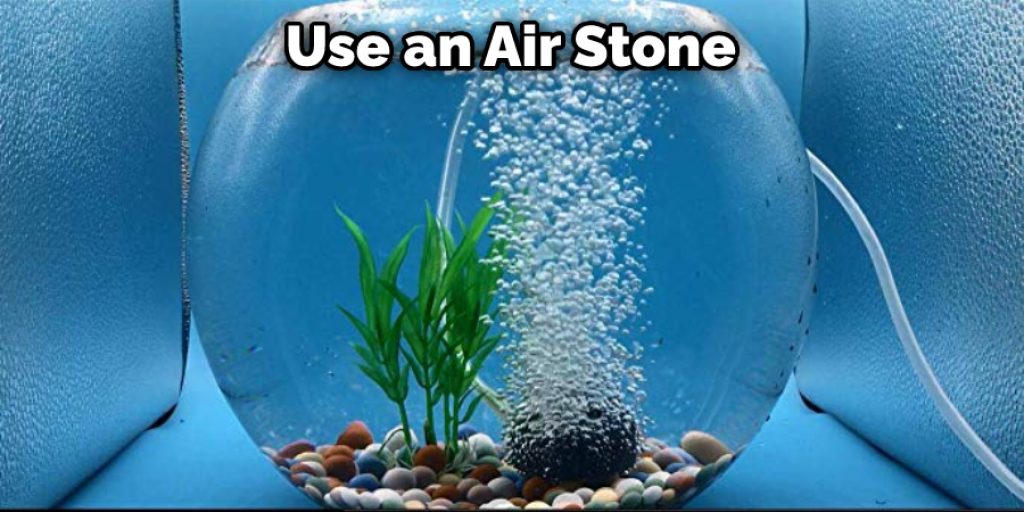
First, find a place in your aquarium where you want to position the air stone. It is important to make sure that the air stone is not too close to the water’s surface, as this can cause turbulence.
Step 7: Apply Silicone Sealant to Attach the Air Stone.
Once you have found a spot, use aquarium-safe silicone sealant to attach the air stone to the side of the tank. Make sure that the air stone is completely secure before moving on. If you are using a glass aquarium, be careful not to crack the glass while attaching the air stone.
Step 8: Connect the Tubing to the Air Stone.
After the silicone sealant has had time to dry, it’s time to connect the tubing to the air stone. First, find the end of the tubing that is not attached to the air pump. Next, fit the tubing over the air stone and secure it with a clamp. Once again, make sure that the tubing is tight to avoid leaks.
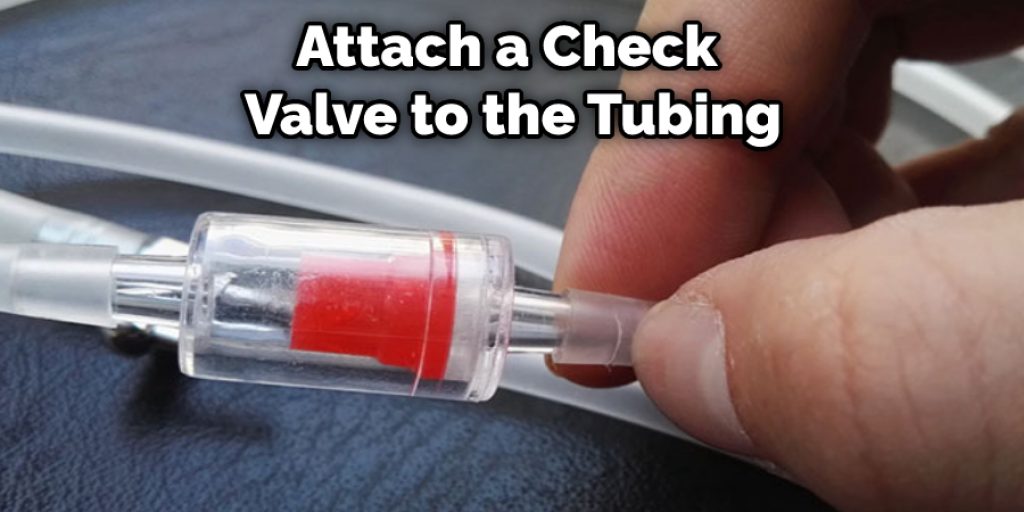
Step 9: Attach Check Valve to Prevent Water Leakage.
The last step is to attach a check valve to the tubing. Check valves are one-way valves that allow air to flow in one direction and prevent water from flowing back into the air pump. This is an important safety measure that will help prevent water damage to your air pump. To attach the check valve, simply fit it over the end of the tubing and secure it with a clamp.
Step 10: Plug in the Air Pump and Enjoy!
The final step is to plug in the air pump and watch your aquarium come to life. Air pumps are relatively quiet, so you shouldn’t worry about too much noise. If the pump is too loud, try moving it to a different location or placing it on a foam pad to reduce vibrations. Once the pump is plugged in, sit back and enjoy your beautiful aquarium!
Additional Tips and Advice to Make Your Fish Tank Last Longer:
- Be sure to clean your fish tank regularly. A dirty fish tank can lead to unhealthy water conditions and shorten the lifespan of your fish.
- Change the water in your fish tank every two weeks. This will help to keep the water fresh and prevent toxins from building up.
- Choose a filter that is appropriate for the size of your fish tank. A too-powerful filter can cause water agitation and stress your fish out.
- Avoid overfeeding your fish. Too much food can lead to water pollution and make your fish sick.
- Get a good aquarium stand that can support the weight of your fish tank. A properly supported aquarium is less likely to crack or leak.
- Don’t put your fish tank in direct sunlight. The sunlight can cause algae to grow and make the water too warm for your fish.
- Be careful when adding new fish to your tank. Introducing new fish can introduce disease and disturb the delicate balance of your aquarium ecosystem.
- Quarantine new fish for at least two weeks before adding them to your main tank. This will help to ensure that they are healthy and free of disease.
How Long Should You Run an Air Pump in a Fish Tank?
You should generally run an air pump in a fish tank for around 8 to 10 hours per day. This will ensure that your fish have enough oxygen to breathe and properly circulate the water.
You may need to adjust this time depending on the size of your tank and the number of fish you have. If you have a large tank or a lot of fish, you may need to run the air pump for a longer period. If you want to know more about how to set up a fish tank air pump be sure to read this full guide.
Does Air Pump Have to Be Above Aquarium?
No, an air pump does not have to be placed above the aquarium. However, it is often easiest to place it above the tank so that the tubing can be easily connected. If you choose to place the air pump below the aquarium, you will need a siphon to start the water flow. You can also use an airlift pump, which does not require a siphon.
If you think the water level in your aquarium is too low, you can use an air stone to aerate the water and add oxygen. Air stones are placed in the water and connected to an air pump. The pump forces air through the stone, which creates bubbles. These bubbles rise to the surface and help aerate the water.
Final Thoughts
Setting up your fish tank with an air pump is crucial in maintaining healthy and happy fish. In this blog post, we have walked you through setting up your aquarium’s air pump and how to do it right. But, first, gather all of the supplies you will need for the set-up: an air pump, tubing, a filter, and clamps.
Once you have gathered everything, begin by measuring how much tubing you will need to reach from the air pump to each corner of the tank. It’s’ important that the tubing is not too long or too short. Next, cut the tubing to size and attach it to the air pump using the clamps. We hope this guide on how to set up a fish tank air pump was helpful! If you have any questions or comments, please feel free to leave them below.


