How to Sew on a Sequin
Are you wondering how to sew on a sequin? Look no further! Sewing on sequins is a fun and easy way to add some sparkle and glamour to any outfit or project.
Adding sequins to fabric is a wonderful way to bring sparkle and life to any piece of clothing or accessory. Whether you’re looking to embellish a dress for a special occasion, add some flair to a casual bag, or simply want to bring some glitter to your everyday attire, sewing on sequins is a simple yet effective technique to achieve this.
In the following sections, we’ll guide you through the essential steps and tips on sealing it, ensuring it stays secure and shines brightly for as long as you desire. Equip yourself with patience and creativity, and prepare to transform the ordinary into something extraordinary.
What Are the Benefits of Sewing on Sequences?
Sewing on sequins is a great way to customize and add personality to your clothing or accessories. It allows you to create one-of-a-kind pieces that are unique and eye-catching. With many colors, sizes, and shapes available, you can create different designs and patterns.
Another benefit of sewing on sequins is that it is a cost-effective way to update and revamp your wardrobe. Instead of purchasing new items, you can add sequins to existing pieces to give them a fresh and trendy look. This saves you money and reduces waste in the fashion industry.
What Will You Need?
Before we dive into the steps of sewing on sequins, let’s first gather all the necessary materials. You will need:
- Fabric or item you want to add sequins to
- Sequins (in your desired color, size, and shape)
- Thread (matching or contrasting color to your fabric)
- Thimble (optional but recommended)
- Sewing needle (preferably with a small eye and sharp point)
- Scissors
- Pins (optional but helpful for securing sequins in place)
Once you have all these materials, you’re ready to get started!
10 Easy Steps on How to Sew on a Sequin
Step 1. Choose the Right Thread:
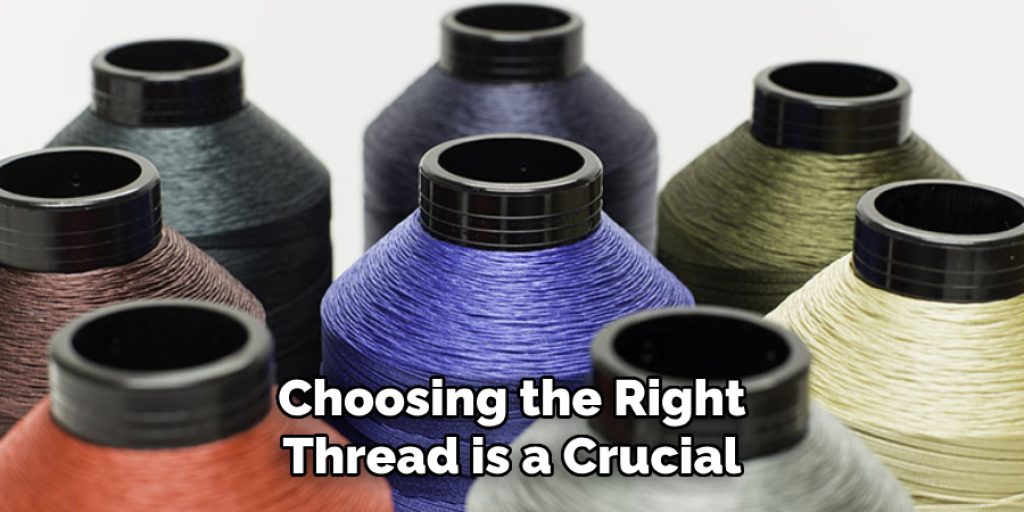
Choosing the right thread is a crucial first step in sewing sequins. You’ll want to use a thread that is strong enough to hold the sequins securely in place but thin enough to pass through the sequin holes easily. A polyester thread is often recommended as it possesses these qualities and is also resistant to wear and abrasion.
It is essential for embellished items that may be subject to frequent use or washing. The thread’s color can match the fabric for a seamless look or contrast for a bold statement. Consider the overall design and aesthetic you aim to achieve when selecting your thread. Remember, the right thread not only ensures durability but also influences the final appearance of your project.
Step 2. Preparing the Fabric:
Before you start sewing, take a moment to prepare your fabric or garment. If possible, iron the fabric to remove any wrinkles, ensuring a smooth surface for sewing. This step is crucial for achieving a clean and professional look. Identify the area where you would like to add the sequins, and consider using a fabric marker or chalk to lightly map out your design.
This preliminary sketch will serve as a guide and can prevent any potential mistakes, allowing for an even and symmetrical application of sequins. Preparation is key to a successful and hassle-free sewing experience.
Step 3. Threading the Needle:
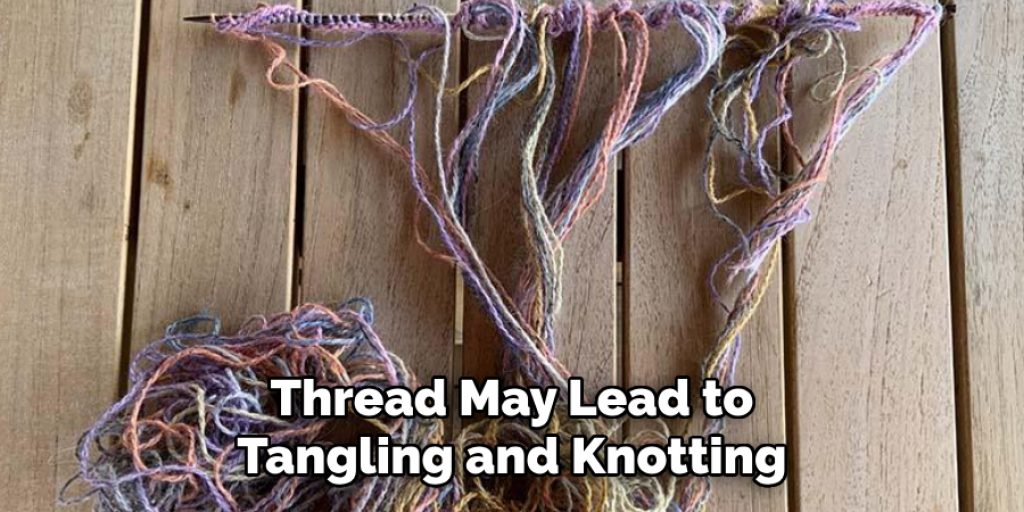
To begin sewing, cut a thread approximately 18 inches long, as working with too long of a thread may lead to tangling and knotting. Thread your needle and tie a knot at one end of the thread.
If you decide to double the thread for extra strength, ensure the knot is secure and large enough to prevent the thread from pulling through the fabric. A neat trick for threading a needle more easily is to dampen the tip of the thread or to use a needle threader. This process sets the foundation for your sewing project, so take the time to do it right.
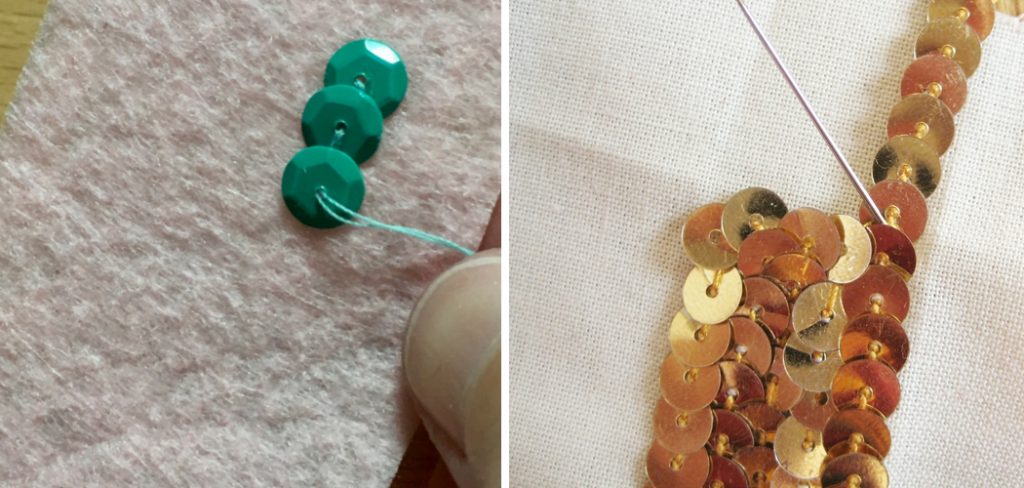
Step 4. Securing the First Sequin:
Begin by bringing the needle up through the fabric from the underside to the surface at the point where you want your first sequin to be placed. Slide a sequin down the thread until it rests against the fabric. Then, take the needle back down through the fabric very close to the original point, but not through the same hole, to secure the sequin in place.
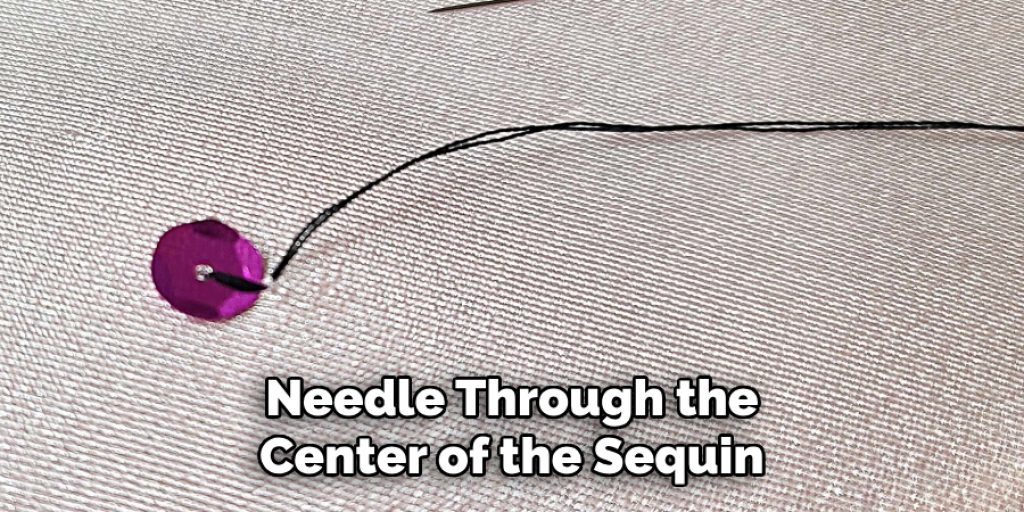
You can either pass the needle through the center of the sequin or, for a more decorative effect, sew around the sequin using small stitches. Ensure the sequin is flat against the fabric without pulling the thread too tight, which might cause puckering, or too loose, leaving the sequin dangling. Repeat this process for each sequin, following your pre-marked design or pattern.
Step 5. Creating a Sequin Chain:
Consider sewing sequins in a continuous chain for a streamlined process and visually appealing result. After securing the first sequin, bring the needle back up through the fabric a short distance away from the first sequin’s edge.
Slide another sequin onto the needle and thread, and then secure it in place by taking the needle back down through the fabric close to the edge of the new sequin, similar to the first. This method allows for quicker application and can create a beautiful, cohesive look, especially when creating patterns or filling larger areas. Remember to keep the spacing between sequins consistent for a uniform appearance.
Step 6. Securing the Thread Between Sequins:
To ensure that each sequin remains securely attached to the fabric, it’s important to secure the thread between sequins. Once you have secured a sequin in place, take the needle to the underside of the fabric and make a small stitch in the fabric where the next sequin will hide it. This prevents the sequins from becoming loose if the thread gets caught or pulled.
It also adds durability to your work, ensuring the sequins can withstand normal wear and cleaning. Proceed with this method after attaching each sequin, especially when working on garments or items that will be used frequently. This extra step might seem time-consuming, but it’s crucial for maintaining the quality and longevity of your embellished item.
Step 7. Adding Variety with Sequin Sizes and Colors:
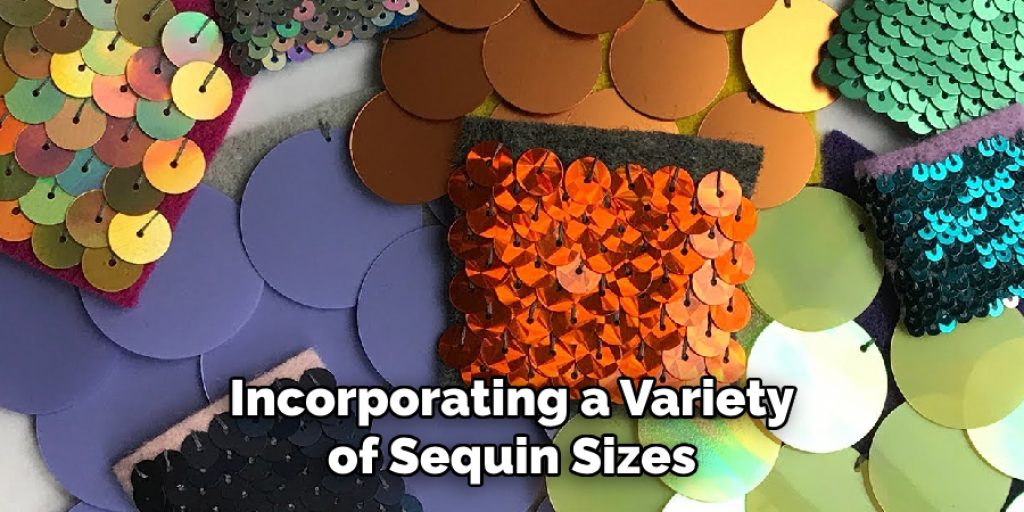
Incorporating a variety of sequin sizes and colors can take your project to the next level. Experiment with alternating between large and small sequins to create texture, or use different colored sequins to add depth and visual interest to your design. When planning your pattern, consider the overall effect you wish to achieve.
Choose colors that complement each other and the base fabric for a harmonious look. Opt for contrasting colors that pop against the fabric for a bold, standout piece. Mixing sizes and colors enhances your project’s aesthetic appeal and allows for personalization and creativity in your design.
Step 8. Reinforcing Sequins for Durability:
After completing your sequin application, you should reinforce your work to ensure maximum durability, especially for items that will undergo frequent use or washing. Re-thread your needle with a fresh length of thread that matches your fabric or original thread used for sewing sequins. Begin by securing the thread from the underside of the fabric and then carefully stitch through the existing thread paths between the sequins.
This method, known as backstitching, reinforces the sequins without altering the design’s appearance. Pay extra attention to the ends of your sequin chains or areas with higher tension. This additional step helps to prevent sequins from loosening over time and extends the lifespan of your embellished item.
Step 9. Finishing Your Project:
Once you have reinforced the sequins and are satisfied with your design, it’s time to secure the final thread. Tie off the end of your thread on the underside of the fabric with a small, tight knot close to the base of the last sequin. To ensure the knot is secure and won’t unravel, you may want to pass the needle through the knot’s loop before pulling it tight.
Trim any excess thread, leaving a short tail to prevent the knot from undoing. If your project is a garment or an accessory, consider applying lightweight fabric glue to the knots for added security. Finally, step back and admire your handiwork. With patience and creativity, you’ve successfully added sparkle and personality to your project, transforming it into a unique piece ready to shine on any occasion.
Step 10. Care and Maintenance:
Proper care and maintenance are essential to ensure your sequin-embellished item remains vibrant and intact for years to come. Hand wash your project gently with cold water and a mild detergent, avoiding harsh scrubbing or twisting that can dislodge the sequins.
For machine-washable items, turn the garment inside out and place it in a mesh laundry bag to protect the sequins during the wash cycle. Always air dry, laying the item flat to maintain its shape and design integrity. Avoid high heat from dryers or irons, which can melt or warp the sequins.
By following these steps and tips, you can easily master the art of sewing sequins and elevate your projects to a whole new level.
5 Additional Tips and Tricks
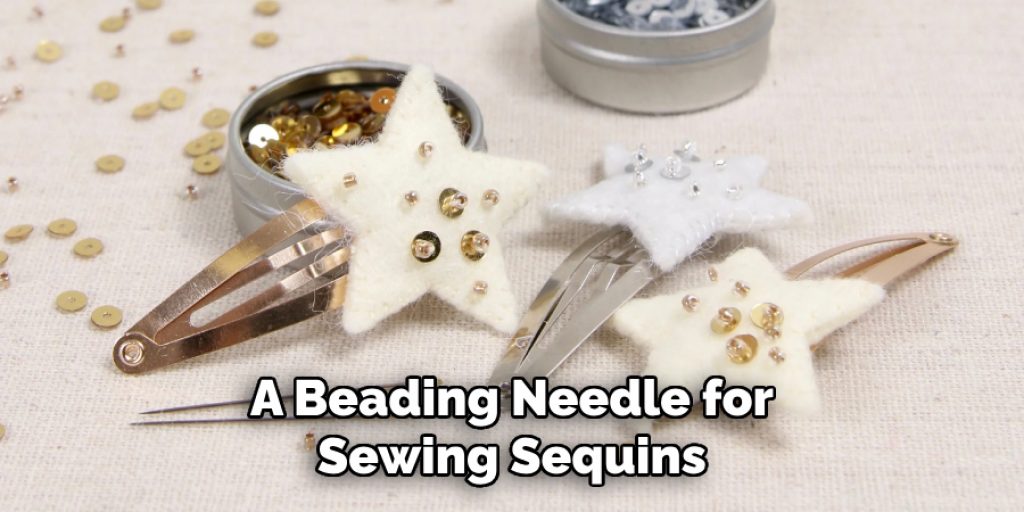
- Use a Beading Needle: Opt for a beading needle for sewing sequins. These needles are longer and finer than general sewing needles, making them perfect for handling small beads and sequins without damaging the fabric.
- Choose the Right Thread: Use a thread that matches the color of your sequins or fabric for a seamless look. A strong, fine thread like polyester or silk works best to ensure the sequins are securely attached, and the stitches are less visible.
- Knotting Technique: To prevent your thread from pulling through the fabric when starting, make a small knot at the end of the thread. After pulling the needle through, pass it through the knot loop before tightening, creating a lock stitch at the start.
- Spacing is Key: Keep your sequins evenly spaced for a professional finish. You can use a ruler or a specific spacing tool, but using the width of your finger or a piece of cardboard as a guide can work as well.
- Securing the Sequins: When finishing your sewing, secure the last sequin with several small stitches in the same spot, making them as invisible as possible. Then, run your needle through the fabric underneath the sequins for a few inches before cutting off the thread to hide the end securely.
With these additional tips and tricks, you can take your sequin sewing skills to the next level. Remember to always practice on a scrap piece of fabric before working on your final project to perfect your technique.
5 Things You Should Avoid
- Avoid Using Blunt Needles: A dull needle can cause the fabric to snag or tear, especially when dealing with delicate fabrics. Always ensure your needle is sharp to make the sewing process smoother and protect your material.
- Don’t Use Thick Thread: While a thicker thread would hold sequins more securely, it can actually make the stitching more visible and bulky. Stick to fine threads that can strongly secure the sequins while remaining discrete.
- Skipping the Test Phase: Only start sewing sequins onto your final project after first practicing on a scrap piece of fabric. This avoids any potential mistakes that could ruin your main project.
- Overlooking the Direction of Sequins: Pay attention to the direction in which you sew the sequins. They should all face the same way unless your design intentionally calls for a varied pattern. Inconsistent direction can make the final product look messy.
- Ignoring Fabric Puckering: When sewing sequins too tightly, the fabric may pucker, leading to an uneven and unprofessional finish. Ensure you’re not pulling the thread too tight and allowing a bit of give to accommodate the sequins properly.
By avoiding these common mistakes, you can ensure that your sequin sewing project goes smoothly and produces a high-quality finished product.
5 Different Style Ideas for Sewing on Sequins
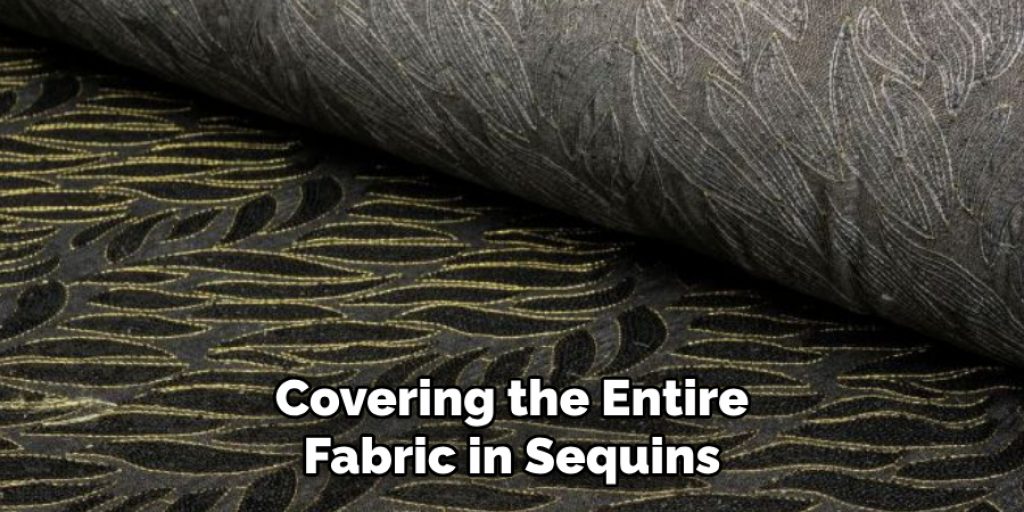
- Covering the Entire Fabric: Create a glamorous look by covering the entire fabric in sequins. This works best with a simple silhouette and neutral-colored sequins to avoid clashing patterns.
- Creating Specific Patterns or Images: Use different colored sequins arranged in a specific pattern or image to add visual interest and create a unique design. This technique is perfect for adding a personal touch to clothing or accessories.
- Sewing on Layers of Sequins: For an eye-catching look, layer different sizes and colors of sequins on top of each other for a textured effect. This works well as an accent on the sleeves or neckline of a garment.
- Using Ombre Sequins: Ombre sequins, which gradually change color from light to dark, can add a beautiful gradient effect to any garment. This style is perfect for creating a statement piece or adding a subtle shimmer to an outfit.
- Mixing in Other Embellishments: Don’t limit yourself to just using sequins. Mix in other embellishments like beads, pearls, or rhinestones for a more intricate and luxurious look. Just be sure to choose pieces that complement each other in color and size.
These are just some ideas to get you started but feel free to experiment and create your own unique style using sequins.
What is the Best Stitch for Sewing With Sequences?
When it comes to sewing sequins, you can use two main stitching techniques: the backstitch and the running stitch. The best stitch for sewing with sequins depends on your preference and the desired outcome.
The backstitch is a strong and secure stitch that is ideal for attaching heavy or large sequins. It involves bringing the needle up through the fabric and looping it back through the sequin hole before tightening the thread. This stitch creates a secure attachment, but the stitches can be more visible.
On the other hand, the running stitch is a quicker and less time-consuming option. It involves passing the needle in and out of the fabric and then securing each sequin with a single stitch. This results in more visible stitches but can work well for smaller or lighter sequins.
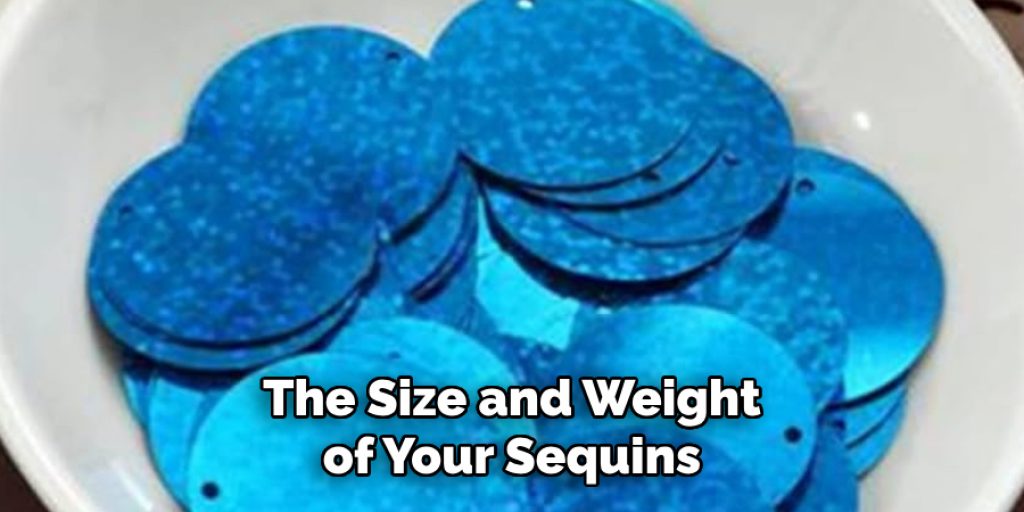
Ultimately, the best stitch will depend on the size and weight of your sequins, as well as your desired level of visibility. Experiment with both stitching techniques to see which works best for your specific project.
Conclusion
How to sew on a sequin can transform a simple piece into a dazzling item of clothing or accessory, adding texture, color, and sparkle. Whether you’re aiming for a subtle shimmer or an all-out glam effect, mastering the art of sewing sequins is a valuable skill.
By choosing the right tools, practicing your technique on scrap fabric, and being mindful of common pitfalls, you can achieve professional-looking results. Remember, each project is an opportunity to refine your skills and experiment with new designs. With patience and creativity, sewing sequins can become not just a task but an enjoyable and rewarding craft.
Hopefully, this guide has provided you with the knowledge and inspiration to take your sequin sewing skills to the next level. So go ahead and give it a try, and see where your creativity takes you! Happy sewing!
Nancy Behan
Nancy is an embroidery artist, fashion blogger and a full time editor at DIY quickly. Nancy edits the fashion section on DIY quickly, focusing on the embroidery and cross stitch articles, alongside with fabric and other costume design elements. She graduated from the University of Michigan with a Bachelor of Arts in Art History. She loves to work on her own projects, read books and watch romantic movies in her spare time.