
How to Shade Letters With Paint
Introduction:
Most people believe that shading around a letter is some dark art and the only way to go about it is to hire an artist. To dispel this myth, we’ll be going over exactly what you need to do if you’re looking to shade your own name or add some depth to a custom design. Shading is actually effortless in theory, if not practice. You’re essentially laying layers of ink on top of each other to create areas of dark and light tones. In this article, I will discuss how to shade letters with paint. So let’s get started.
Step-wise Guide on How to Shade Letters With Paint:
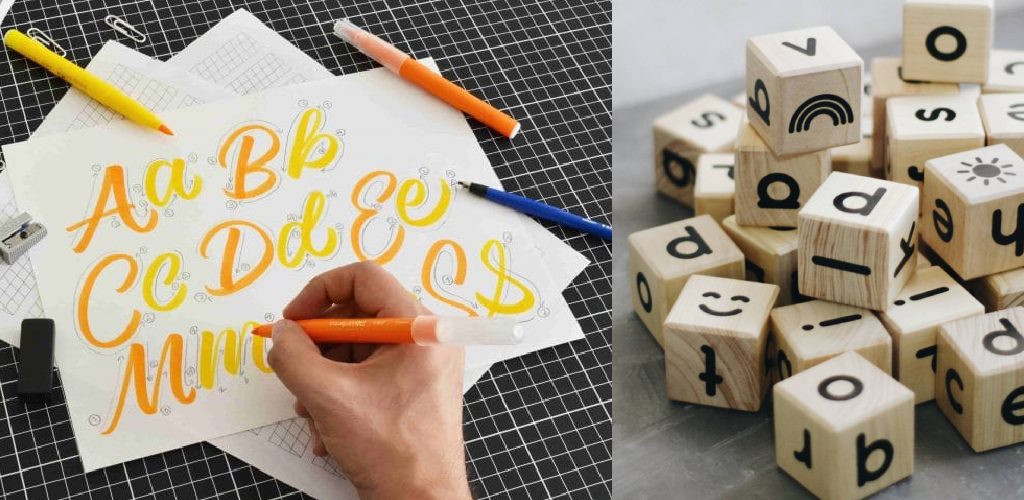
1. Choose the right paint colors:
The trick to getting that professional shade effect is choosing the right colors for each letter. You don’t want your “L” to be purple when your “C” is red, do you? Paint companies make a variety of colored paints designed especially for painting letters on walls so you can get an even shade across all alphabets. They are available in every paint shop and departmental store.
2 . Choose your surface:
Don’t choose a wall that’s already been painted or has an uneven surface (even if you’re planning to cover it up with alphabets). Ideally, go for a plain white/off-white wall which will give ample space between individual letters. If you have a plain wall but have already painted it, the best way to get a clean space for your project is by sanding off the old paint. You can also use a power sander if you’re not keen on trying to remove it using just your hand and elbow grease or wet cloth (but this might take much longer). If you’re going for a ‘used look,’ then choose an area with at least some wear-and-tear in it, as these areas won’t show up lighter than the rest.
4 . Measure & mark:
Make sure that all alphabets are correctly placed and are of equal size and proportion following their locations (e.g., no letters like “P” or “H” [the same] or “U” and “W” [the same]) on the wall.
5 . Prepare your tools:
Keep all the paint bottles upside down so that there is no way for the paint to spill. You can also stick them back with masking tape if you want even to go a step further. Next, get a brush or roller (and preferably, you should use a roller as it will save you time). Use ducktape to secure the bristle end of your brush/roller from getting those annoying chips off their ends while painting. And lastly, take out your extension cord if you don’t want to be stuck in one place for too long!
6 . Shade! :
Now that everything’s all set, the actual work begins! Pick a brush or roller (depending on your personal preference and previous experience) and start painting away. Remember: Always use long, smooth strokes to get a nice and even shade. Start from an appropriate distance to not drip paint because that will ruin your shade effect completely. Make sure you don’t run out of paint bottles halfway through since that will affect the overall appearance of your alphabets, too (unless you’re going for that ‘used look’).
7 . Touch up:
If there’s any bit of white showing through at parts, take out your black paint and fix it up. The best way is to go over the entire alphabet with the black paint but don’t be too heavy-handed because this will take the shine off your originally made shade. Remember, you are not trying to make a complete shade when doing touch-ups!
8 . Varnish:
Once everything is done, apply one or two coats of varnish. This will protect your alphabets from any new marks and, once again – save them from that ‘used look’. Just remember to let the varnish dry first so that no paint goes through onto other parts of the wall, else you will have to start all over again!
Precautions While Shading Letters With Paint:
1. When using small brushes, do not apply too much pressure. The brush may snap if you press it against the paper forcefully.
2. Do not poke your eyes with the brush or rub your eyes after handling the brushes.
3. When using water-based color ink, use a rubber stopper to cover the bottle’s opening and shake gently to blend the colors before applying them to prevent scumming on the brush and clogging the tip.
4. Be careful when painting outdoors because raindrops and splashes easily wash off the paint from puddles on rainy days.
5) Use quality Indian-made brushes for the best result.
6) Paint shades in different ways according to how you want them to look.
7) Do not paint on paper’s surface you’d like to keep clean and white since the ink is hard to remove after a certain period of time. Better use water-based color pencils for outlines instead since it is easier to erase these lines later. You can also use tissue or blotter papers as a base and draw your artwork directly on them before applying different colors.

8)The sides of the letters should be painted while keeping in mind that we need to space out the strokes well from one another to make each stroke look individual from other strokes.
Frequently Asked Questions
What Are the Shading Techniques?
1. Overcast shading is used to create a mood or feeling of sadness, depression, or loneliness.
2. Undertone shading is used to create a feeling of anger, frustration, or hostility.
3. Tone mapping is used to change an image’s light and dark tones to create different emotions.
4. Multiple shadows are created to give an image depth and realism.
What Is Basic Shading?
Basic shading is the simplest type of shading in which a single color is applied to all surfaces in a scene. This can be done using a shape or path’s fill or stroke properties.
What Is Shading in Art?
Shading in the art uses light and dark to create a three-dimensional effect. Shading can be used to add depth, realism, and mood to a painting or sculpture.
Can You Teach Yourself to Draw?
Yes, you can definitely teach yourself to draw. Many online resources can help you learn the basics of drawing. You can also find books and tutorials on the subject. The most important thing is to be patient and keep practicing.
Conclusion:
I hope this article has been beneficial for learning how to shade letters with paint. Thank you and have a nice day.


