
How to Shade Letters With Pencil
This blog post will teach you how to shade letters with a pencil. There are many ways to do this, but the best way is to use an X-Acto knife. You can also use a variety of other tools, such as razor blades or straight edge razors. This tutorial will show you how to create letters using the X-Acto knife and then demonstrate different shading techniques for all alphabet letters.
This article on how to shade letters with pencils is intended for those interested in learning more about fine art, design, illustration, or typography. It may be helpful for those who want to learn calligraphy and artists and designers who work primarily in black and white. The article will also be good for anyone who wants to learn how to shade letters with a pencil or just want to know the tip of the iceberg on calligraphy and lettering.
10 Ways on How To Shade Letters With Pencil
There are many other ways to shade letters with a pencil. These are just the 10 most common ways we see, but these techniques can be used and mixed as well.
1. Using Straight Edged Razors
This is the classic way to shade letters with a pencil. You take your razor and abrade away at the paper until you get the desired effect. This can be not easy since there are many variables in using razors for this task. Not only do they dull quickly, but they rust easily as well, and they are also very risky if you have not used a razor on paper before.
2. Using Razor Blades
This is essentially the same as above, but using straight-edged blades instead of razors. Again, we would not recommend this technique since it takes more effort and skills than simply using an X-Acto knife to create the shade marks.
3. Using an X-Acto Knife
In this case, we are talking about using a new or very fresh blade. By running the blade over the paper, you can get the same effect as straight-edged razor blades. This will create the shaded marks in one smooth motion; however, if you are not skilled at using an X-Acto knife, this may be very difficult and take much more time than necessary.
4. Using a Scratchboard Pencil
The scratchboard pencil is similar to the straight-edged razor in that you are using a tool to abrade or scrape off material from the paper. While it certainly works, the major drawback is that it is difficult to get uniform shaded marks due to the inconsistencies in the material. You may also have some problems with ink or grease buildup on the pencil, making your job all that much more difficult.
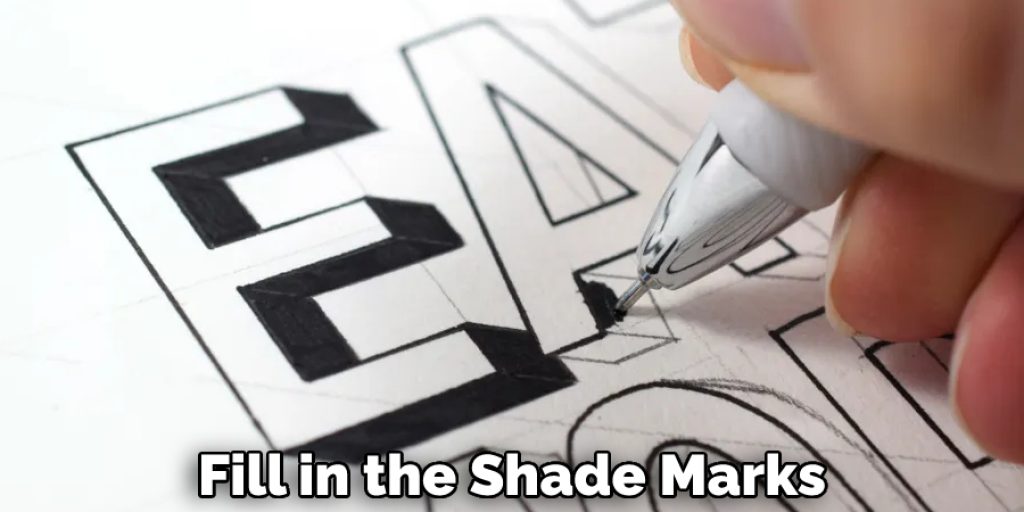
5. Using a Mechanical Pencil
After you’ve made those abraded motions, you can go back and use a normal pencil to fill in the shade marks. This will create much more uniform shaded letters that are easily editable if you go back and change your mind or make a mistake.
6. Using Soft Pastels
The process is pretty much the same as using mechanical pencils, but instead of using graphite, you are using soft pastels. This will create an even smoother and more uniform effect than using regular pencils. These can be used in conjunction with other methods of shading letters, but they are usually done on their own.
7. Using a Toothbrush
This method uses the same process as the mechanical pencil or soft pastel method, where you use your fingers to push the color into the paper. The main difference is that you use a toothbrush to create a larger surface area for applying pressure onto the paper. This will also make getting your fingers in between letters easier, especially when using fine-tipped pens or markers.
8. With Hairspray
Using hairspray to shade your letters is a cheat method, so we wouldn’t recommend it if you are trying to get good at lettering with a pencil. That being said, it is still a handy trick that will help you save time and get the edge effect much more quickly. It won’t have the same look as using a pencil. This method is excellent if you are in a bind and don’t have any other type of spray-on fixative, or even if you’re looking for an alternative that will be easier to clean up after use. The downside to this method is the stringy lines it leaves behind.
9. With Ink
In this case, we are talking about using permanent markers to fill in the shade marks. You will have to use a sharp, medium-point pen with good coverage, but the results can be very clean and crisp looking if you do it properly. For best results, you need to create uniform marks and allow them to dry. If you want an easy way of making your letters look a shade darker without taking any extra steps, then this is the best method for you.
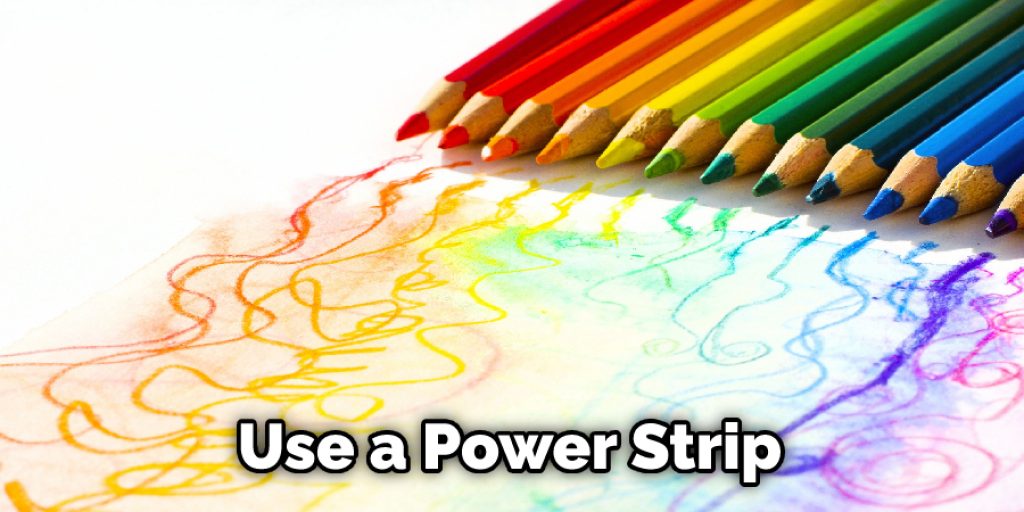
10. Using Colored Pencils
In this case, we are talking about coloring in the shading marks with colored pencils. The process is pretty much the same, but the results are a little more “doodly.” You can use any color you like, which is one of the nice things about this method. It also makes it easy to fill in large areas if you need to.
5 Tips to Give Shadow Effect in Your Letters:
These tips can be used to shade any lettering, so it’s a good idea to learn them!
1. Use a sharp pencil tip so that you get a fine point for your shading. Sharpen the pencil frequently to maintain the point and keep it in its best condition.
2. Hold the pencil softly but firmly, as if you are holding an apple and want to avoid dropping it. It should be firm enough that even when moving fast, you maintain control of the pencil.
3. Align it so that the point touches the paper at an angle: not too steep or too shallow, and that there is a space between the pencil’s shaft and your hand. This makes it easier to shade light gradients without changing the position of your hand much.
4. Press lightly with the pencil when you shade. You want to avoid drawing lines under the letters, so your shading could create unwanted lines and areas of solid color if you press too hard.
5. Take small strokes rather than large ones. After all, it’s still a pencil! Pencils work best for small lettering since they won’t get clogged with graphite.
What Are the Five Shading Techniques?
Shading is a common method of drawing that involves darkening the areas of an image to give it volume and depth. Typically, shading involves using pencil strokes or other tools to create shadows within a work of art. Once you’ve familiarized yourself with basic shading techniques, such as pencil highlights, crosshatching, and stippling, try mixing them to create a unique look. Here are some basic shading techniques for you to apply in your next project.
1) Shadow Edge:
When working with pencils, you can’t shade in a solid black. You have to create the illusion of depth by making it look like the darkest areas are being cast from outside light. When drawing this technique, line the edge of your object’s shadow with an extended graphite point and fill the area around that with careful hatching.

2) Graphite Highlight:
Use either a soft lead pencil or graphite powder to shade in highlights. This will bring out the depth and form of your drawing, giving it volume. Once you’ve created these subtle lines, begin filling them with dashes and dots that go against the grain. This technique is a great way to create shading that is delicate and subtle but still realistic.
3) Dots:
Use this technique when you want an extra fine and detailed look for your work. Apply solid dots in varying sizes going against the grain of your pencil point. To make sure they are even, try using a ruler or straight edge as a guide.
4) Crosshatching:
This is one of the most traditional shading techniques and involves drawing lines on top of each other to create layers. You can use a pencil or pen for this method, but it is especially effective when using graphite powder. These fine lines give your piece the illusion of depth while still keeping everything looking realistic.
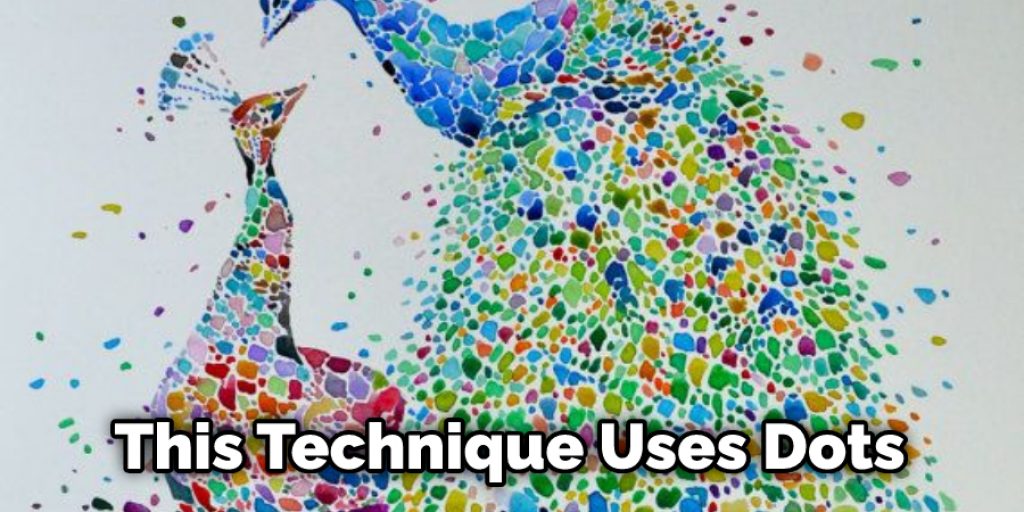
5) Stippling:
This technique uses dots that are spread out over the surface of your piece, giving it a rough and textured look. When you apply this to your piece, work in layers by first filling large flat areas with single tiny dots and then gradually increasing their size as you fill smaller ones between them.
Once you’ve perfected your shading techniques, try creating an entire image with these five different techniques by mixing and matching them to create a unique look. This lets you easily create darker portions on the canvas without worrying about applying too much paint or getting too much color on your page.
Conclusion:
It’s not always easy to know if your lettering is perfect. Luckily, shading in pencil can be a great way to get the look of ink without purchasing expensive pens or markers. With just a few simple steps, you’ll have beautiful letters that are sure to impress anyone who sees them! This blog post has given you a step-by-step guide on how to shade letters with pencil. We hope this blog post was helpful and informative! Now that you know the process try it out!


