How to Shorten Curtains Without Sewing
Shortening curtains is a common task for many homeowners, whether to enhance a room’s aesthetics or improve functionality by preventing curtains from dragging on the floor. With the increasing popularity of DIY projects, the demand for simple, no-sew solutions is rising. No-sew methods offer a hassle-free way to achieve a professional look without sewing skills, making it accessible for everyone.

This article will guide you through various techniques on how to shorten curtains without sewing, ensuring that you can achieve the desired length with ease and efficiency.
Materials and Tools Needed
You’ll need a few essential materials and tools to successfully shorten your curtains without sewing. The primary materials include fabric adhesive, hemming tape, and fabric glue, all of which provide strong adhesion for your hems. An iron is also necessary for methods that require heat application. In terms of tools, measuring tape, scissors, and pins are vital for accurate measurements and cutting.
Optional materials like fabric stiffener can enhance the structure of the hem, while a hot glue gun is perfect for quick and temporary fixes. With these supplies on hand, you’re ready to embark on your curtain-shortening project.
Measuring and Marking the Curtains
Accurate measurement and marking are crucial steps in the curtain-shortening process. Begin by determining the desired length for your curtains. Use a measuring tape to find the distance from the rod to your preferred hemline, considering the curtain’s intended function, whether it be to graze the floor or slightly above. Once you’ve established the desired length, use fabric chalk or a pencil to mark the new hemline clearly across the fabric.
To ensure even measurements, take the tape measure from multiple points along the width of the curtain, adjusting as necessary to avoid uneven hems. It’s also advisable to double-check your measurements before cutting; a simple mistake can lead to uneven curtains that detract from your decor.
How to Shorten Curtains without Sewing: Using Fabric Adhesive
1.Preparation Steps
Begin by preparing your curtain fabric and the workspace. Lay the curtain flat on a clean surface, ensuring no wrinkles hinder your work. Next, apply the fabric adhesive generously to the hemline where you’ve marked, following the manufacturer’s instructions for the best results. After applying the adhesive, smooth the fabric with your hands to ensure it is evenly distributed and free of bubbles.
2.Application Process
Allow the adhesive to dry fully as per the manufacturer’s instructions, typically ranging from a few hours to overnight for maximum adhesion strength. Once dry, check the hemline to confirm that it has securely adhered and is even throughout.
For a professional finish, pay attention to any visible edges or areas that may look uneven and make adjustments as needed. Optional touches such as pressing the hem with an iron at a low setting (if the fabric allows) can enhance the appearance and durability of your no-sew hem.
Using Hemming Tape
Preparation Steps
When using hemming tape, choosing the right type suitable for your fabric is essential. Look for a tape that is compatible with the material of your curtains, ensuring strong adhesion and durability. Next, lay the curtain flat and position the hemming tape between the layers of fabric along the marked hemline.
Make sure the adhesive side of the tape faces inward to bond with both layers. Before proceeding, set up your iron according to the fabric type—usually, a medium setting works best for most materials. To prevent damage, it’s advisable to test the iron on a small, inconspicuous area of the fabric first.
Application Process
To activate the hemming tape, place your iron on the tape for the time specified by the manufacturer—usually around 10-15 seconds. Ensure the hem is crisp and secure by applying enough pressure and moving the iron evenly across the tape. Once pressed, allow the hem to cool for a few moments so the adhesive can set.
To avoid common issues, such as the tape showing through the fabric, ensure that the tape is placed correctly and doesn’t extend past the edges of the fabric. Also, using a pressing cloth between the iron and the fabric can help protect delicate materials while ensuring a smooth finish.
Using Fabric Glue
Preparation Steps
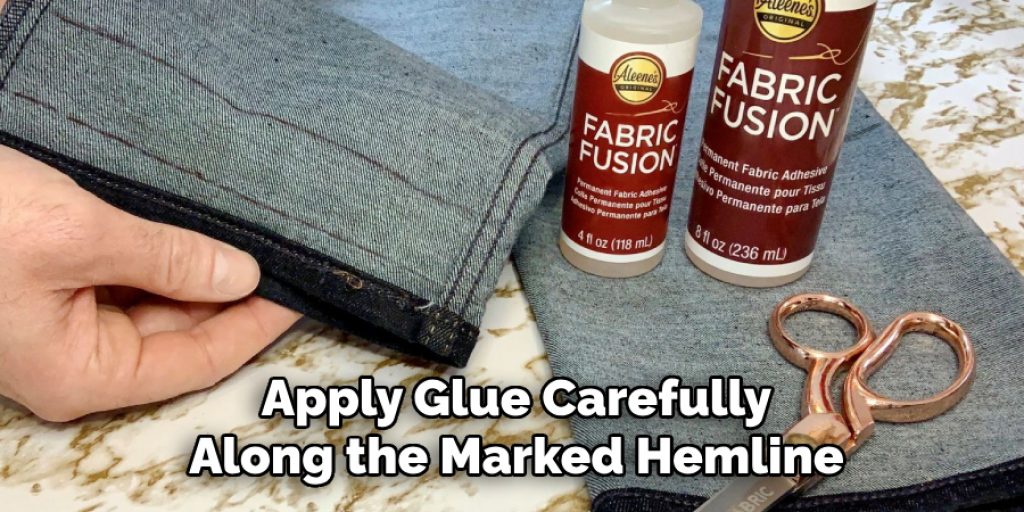
Selecting the appropriate fabric glue is crucial for a successful project. Ensure that the glue is designed for fabric and provides a strong bond upon drying. Before applying, prepare the curtain by ensuring it is clean and smooth; laying it flat on a stable work surface is recommended. Apply glue carefully along the marked hemline, using a steady hand to avoid excess application. A narrow line of glue is generally sufficient, as too much can lead to a messy finish.
Application Process
After applying the glue, allow it to dry thoroughly according to the instructions, which may take a few hours to overnight. Once dry, inspect the hemline for any uneven areas or excess glue residue, which can detract from the overall look. If you spot any imperfections, you can remove excess with a damp cloth, ensuring it doesn’t affect the fabric.
To maintain the flexibility of your hem and avoid stiffness, opt for fabric glue that dries flexibly, and consider applying a light fabric finish after the glue has set for added softness and movement.
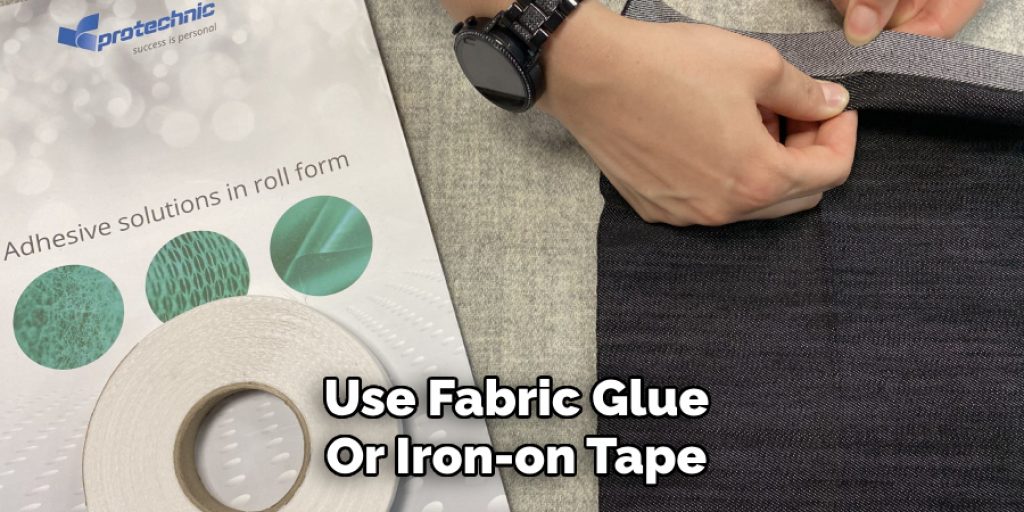
Using Iron-On Tape
Preparation Steps
Choosing the right iron-on tape is crucial for the success of your project. Look for tape that is designed specifically for your curtain’s fabric type, ensuring it provides strong adhesion and durability.
Begin by laying the curtain flat on a clean surface, smoothing out any wrinkles. Measure and mark the hemline where you intend to shorten the curtain, then cut the iron-on tape to the appropriate length, ensuring it’s slightly shorter than the hemline to prevent it from showing. Position the tape between the layers of fabric along the marked hemline, with the adhesive side facing inward.
Application Process
To activate the iron-on tape, set your iron to the appropriate setting for your fabric, typically medium heat. Place the iron on the tape for the recommended amount of time, usually about 10-15 seconds, applying gentle pressure. Move the iron evenly across the tape while ensuring it doesn’t shift. Once pressed, allow the hem to cool for a few moments to secure the bond, resulting in a strong and smooth hemline that enhances the overall appearance of your curtains.
Alternative Methods
Fabric Stiffener
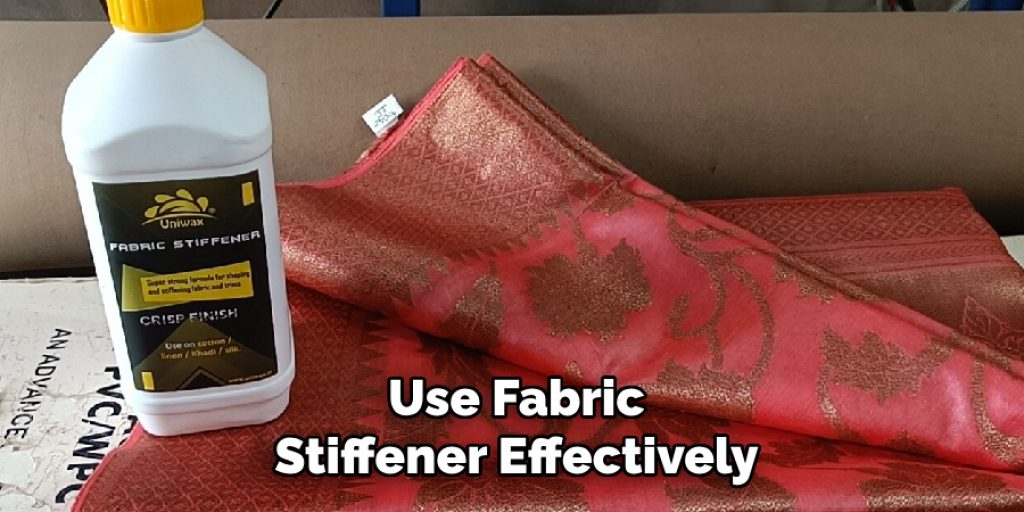
Applying fabric stiffener to the hem can provide a more structured look, helping the fabric maintain its shape. To use fabric stiffener effectively, spray or brush it onto the hem area after shortening, and then allow it to dry completely. This method is particularly useful for lighter fabrics that may stretch or sag.
Hot Glue Gun
A hot glue gun can be a handy tool for an even quicker fix. Apply the glue along the hemline between the fabric layers, ensuring consistent and even coverage. To avoid drips and ensure durability, work in small sections and control the glue flow carefully, allowing each section to cool before proceeding to the next.
Final Touches and Maintenance
After completing the shortening process, it’s essential to inspect the hemline carefully for any visible issues such as uneven edges or bubbles in the adhesive. If you notice any imperfections, make adjustments as needed, either by gently reapplying heat or fabric glue to smooth out discrepancies. To maintain the durability of your no-sew hem over time, avoid excessive washing or exposure to high heat, which could weaken the adhesive. If possible, hand wash the curtains or use a gentle cycle to preserve their condition. Regularly check the hemline for signs of wear and be prepared to make touch-ups to keep them looking fresh.
Frequently Asked Questions (FAQs)
1. Can I Wash Curtains with A No-Sew Hem?
Yes, you can wash curtains with a no-sew hem, but it’s important to be cautious. To maintain the integrity of the hem, consider hand washing or using a gentle cycle on your washing machine. Avoid high heat when drying, as it may weaken the adhesive used in your no-sew method.
2. How Can I Ensure My Hemline Stays Straight?
To keep your hemline straight, measure and mark accurately before cutting. Use a straightedge or a fabric ruler to ensure even markings and double-check your measurements at various points along the hem. Applying the adhesive carefully along the marked line can also help achieve a neat finish.
3. What Should I Do if The Hem Begins to Come Apart?
If the hem starts to come apart, you can try to reactivate the adhesive by applying heat again with an iron, ensuring you follow the manufacturer’s instructions. If that doesn’t work, you may need to use fabric glue or iron-on tape to reinforce the hem. Always inspect for any signs of wear regularly and make repairs as needed to keep your curtains looking their best.
Conclusion
In summary, there are several efficient methods on how to shorten curtains without sewing, including the use of hemming tape, fabric glue, and iron-on tape. Each approach offers unique benefits, allowing you to select the one that best accommodates your fabric type and personal preference. Whether you opt for a temporary solution or a more permanent fix, these techniques enable you to achieve a neat and professional-looking result, transforming your curtains and enhancing your space.

