
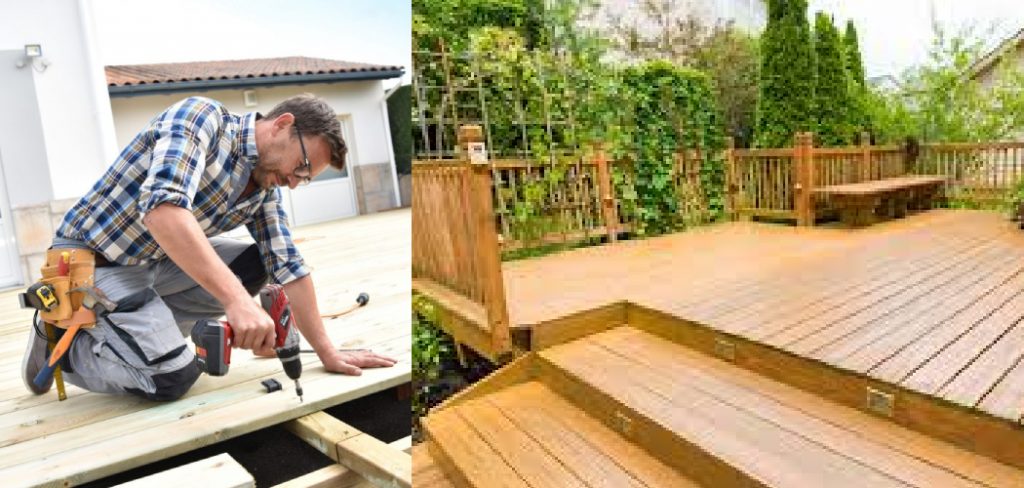
How to Slope an Existing Deck
Sloping an existing deck is a process that can take some time and effort, but it’s worth it when done correctly. Of course, you’ll need to hire someone with the right tools for this job or be well-versed in carpentry if you want to do it yourself. Here we will give some tips on how to slope an existing deck.
As always, there are safety precautions you must take before undertaking any work on your deck. The most important one is that you shouldn’t slope the entire surface of the deck at once. Instead, the slope is just one section at a time so that water doesn’t pool anywhere on the structure.
10 Effective Ways on How to Slope an Existing Deck:
1. Use a Water Level
To find out how much to slope your deck, you will need to measure the height of the water at each post, and then find the average height difference between each post. To do this, first use a water level to mark the height of the water at each post. Then, mark down the height difference of each post, dividing it by the number of posts. Take this average height difference and use it to slope your deck.
2. Use a Wet Board
Use a wet board or piece of wood laying flat on top of your deck boards to slope an existing deck. First, mark where the edge of the wet board is on each deck board, then measure the difference in height with a tape measure. You can then transfer this measurement to your slope drawing and use it to level off your existing deck boards.
3. Angle a Ruler with a Pencil
When sloping an existing deck, not many people have a water level handy. However, you can angle a ruler with a pencil at one end to find the height difference of your deck boards. Just use some masking tape to secure it at an angle, then measure where the end of your pencil is located on the top edge of your deck’s boards. Take this measurement and divide it by the number of panels you have, then transfer this number to your slope drawing for each board.
4. Use a Line Level
If you want to find out how much higher or lower one end of a board is compared to the other, you can use a line level. Place the line level under one end of the board, and then look at where the bubble is located on the other end. Transfer that measurement to your slope drawing to find out how much steeper or shallower the slope is.
5. Use an Average of 5 Boards
To get an accurate measurement for where to place your new deck boards, find the average of the five closest boards to where you plan to add your slope.
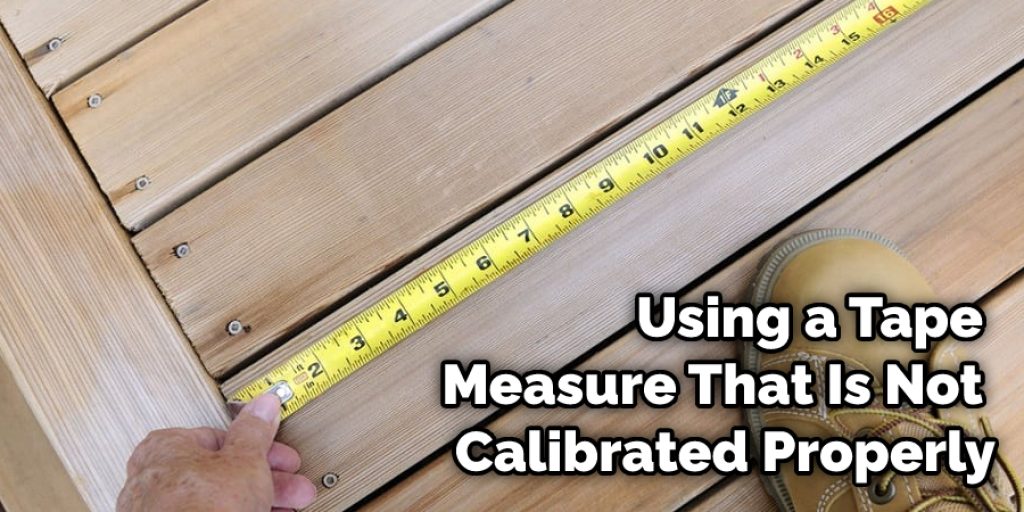
6. Use an Accurate Tape Measure
Use an accurate tape measure when taking measurements to get the most accurate results. Using a tape measure that is not calibrated properly will give you a number thrown off by a couple of inches, which can be the difference between being able to slope an existing deck and having to tear it down and starting all over again.
Instead of using an average for each board on your existing deck, use the average height difference between 5 boards instead. Just divide the total number of inches by five and that is how much you will need to raise or lower each board to slope them appropriately.
7. Build a Temporary Deck
You can build a temporary deck on top of your existing deck to add extra boards and form a more effective slope. Add this temporary deck at the desired angle, then use it as a guide for where you should place new additional boards on top of your existing deck.
8. Mark Where the New Boards Will Be
Place markers wherever new boards will be added on top of an existing deck. You can use markers or nails to make large Xs beneath the joists of where your new boards will go, then remove each board, one by one, and reattach them at an angle to implement a slope on your existing deck. Attach the new boards to your existing deck at each of these X marks, screwing them into place. If you have 2X6 lumber, then use two screws at each X; if you have 2X4 lumber, then use one screw.
9. Remove Boards One at a Time
Mark where the new boards will be added on top of an existing deck, then remove each board, one by one. This is the best way to ensure that your new boards are angled correctly, and you don’t create any problems for yourself down the road. Once the boards are turned in the correct direction, reattach them to your existing deck.
10. Use a Laser Level
Use a laser level to make sure that your new boards are going to be at the correct angle after you attach them. It will ensure an accurate slope and save yourself a lot of time and effort. Mark where you plan on adding new boards, then use a pencil and a string to transfer the angle and slope you want onto your existing deck.
You can also check it out to Remove Oil Stain From Trex Decking
Precautions and Safety Measures:

- Wear safety goggles and rubber boots. Dropped tools and debris can cause injuries, so be aware of where you step, and what’s around you at all times.
- If your deck is more than 3-feet above the ground, there must be intermediate guardrails added for safety reasons (to prevent falls). This is a code requirement for any deck that rises 4-feet or more above the ground.
- After every stage of your project, inspect your work area for nails and screws that may have come loose from their containers.
- Make sure you have disposal bags to put your construction debris in when the job is over, so that they are out of the way and not a tripping hazard.
- As with any project involving tools, be aware of each one’s sharpness, weight, grip-ability (handle), etc., before using it.
Conclusion
Sloping an existing deck is not as difficult as you might think. With the right materials and some basic construction knowledge, it’s a project that most homeowners can complete on their own with minimal difficulty. The first step in sloping your deck is to seal any cracks or gaps where water could seep through by using caulking around all of the edges.
Once this has been done, you’ll need to dig out soil from beneath the deck so that it slopes downwards towards the house at a gradient of about one inch per foot for every 10 feet away from the home.
You may also want to install drainage pipes leading down slope if there are no natural channels already present under your decking boards near ground level. We hope these blog post has given you some tips on how to slope an existing deck. Let us know your thoughts!
You Can Check It Out To Remove Trex Deck Boards Without Damage


