
How to Smooth the Rough Side of Leather
Do you have a piece of leather that is rough on one side? Don’t worry, and there is a way to smooth it out. Leatherworking is a popular hobby and profession because of leather’s unique look and feel. There are many ways to work with leather, from dyeing to stamping, but one of the most basic techniques is to smooth the rough side.
This simple process can make a big difference in the appearance and durability of your project. In this blog post, we will show you how to smooth the rough side of leather with ease. So, whether you are new to leatherworking or a seasoned pro, read on for step-by-step instructions on achieving a beautiful finished product.
10 Effective Ways on How to Smooth the Rough Side of Leather
1. Use a Rotary Tool:
A rotary tool is a powerful tool that can be used for sanding, carving, and polishing. It is a versatile tool that can be used for various projects. When using a rotary tool to smooth the rough side of the leather, it is important to use a low-speed setting and apply light pressure. This will prevent the tool from damaging the leather.
2. Use a Sandpaper Block:
A sandpaper block is a simple and effective way to smooth the rough side of the leather. It is important to use medium-grit sandpaper for this project. If the leather is very rough, you may need to start with coarse-grit sandpaper and then move to a finer grit. Sandpaper blocks are available at most hardware stores.
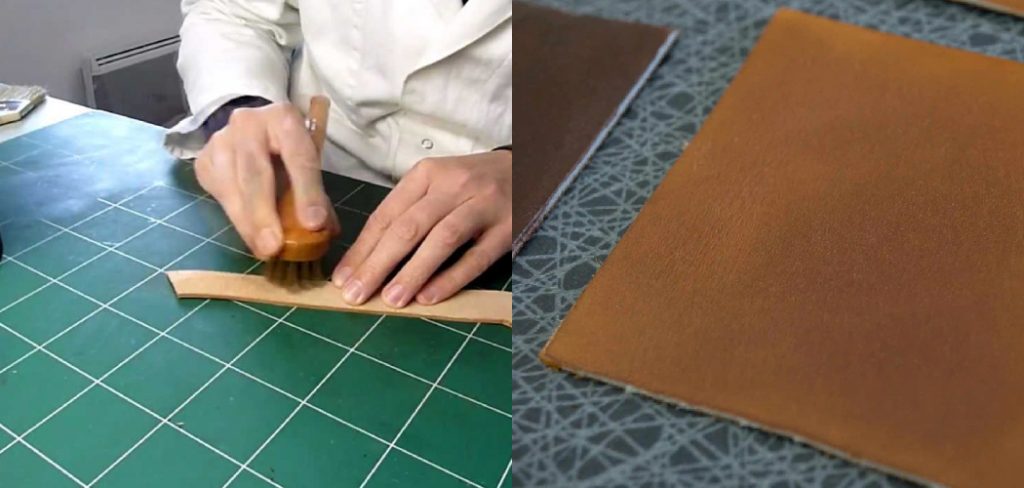
3. Use a Steel Wool Pad:
A steel wool pad is another great tool for smoothing the rough side of the leather. This method is best used on smaller projects like wallets and purses. To use a steel wool pad, start by rubbing the pad along the grain of the leather.
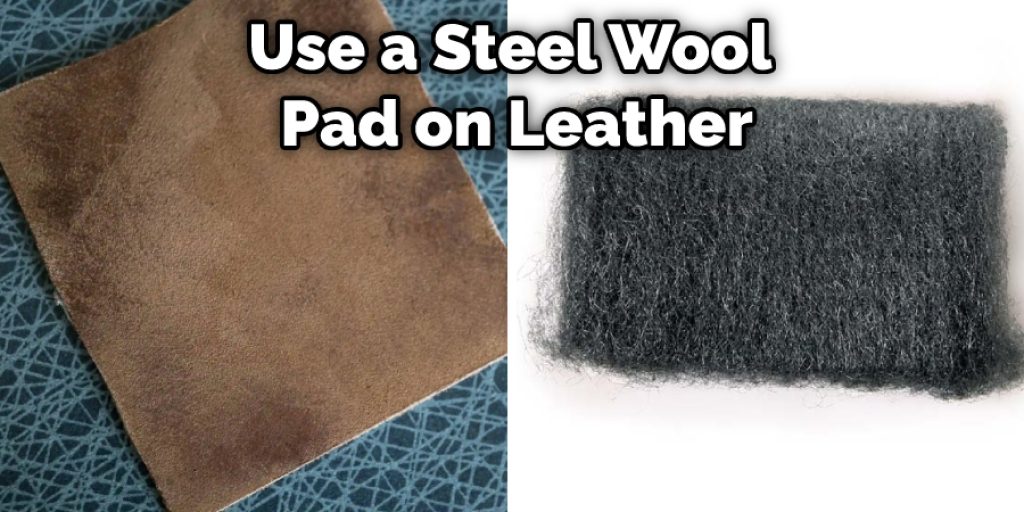
Work in small sections and apply even pressure. You should see the leather start to look shiny and smooth. If you’re working on a large project, you may need to use a power drill to attach the steel wool pad. Again, work carefully and stop if you see any damage to the leather.
4. Use a Dremel Tool:
A Dremel tool is a versatile tool used for sanding, carving, and polishing. It is important to use the correct Dremel bit for the material you’re working with. For leather, use a Dremel sanding drum or abrasive brush. If you have a lot of leather to smooth, a power sander might be better.
5. Use a Leather Conditioner:
After sanding the leather, it will likely be dry and need to be conditioned. There are many commercial leather conditioners on the market, or you can make your own with olive oil or beeswax. First, apply the conditioner with a clean cloth, working it into the leather in a circular motion. Allow the conditioner to soak in for at least 15 minutes before buffing it off with a second clean cloth.
6. Use a Power Sander:
A power sander is a tool that uses abrasive paper to sand down wood or other surfaces. It is important to choose the right type of paper for the job. For example, if you are working with leather, you will want to use very fine grit sandpaper. Start by attaching the sandpaper to the sander. Then, please turn on the sander and hold it against the leather. Move it in smooth, even strokes until the surface is evenly sanded.
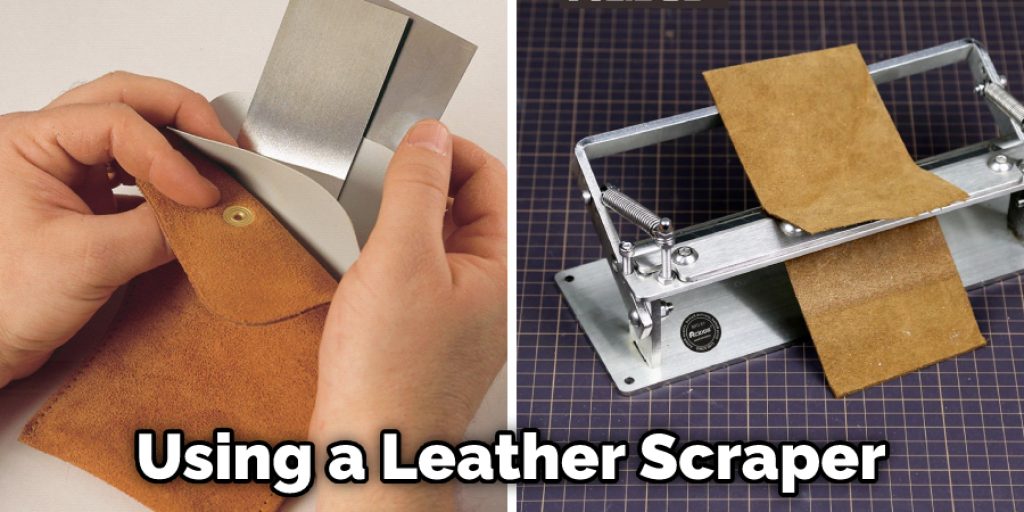
7. Use a Leather Scraper:
A leather scraper is a specifically designed tool for working with leather. It has a sharp blade that can be used to scrape away any roughness on the surface of the leather. When using a leather scraper, it is important not to damage the leather.
8. Use a Pumice Stone:
A pumice stone is a natural product that can be used to smooth the surface of leather. It works by gently exfoliating the top layer of the leather, which removes any roughness. Pumice stones are available at most hardware stores. If you’re using a pumice stone, wet the stone and then rub it over the surface of the leather in a circular motion. Be sure to use a light touch, so you don’t damage the leather.
9. Use a Commercial Leather Cleaner:
There are many commercial leather cleaners on the market that can be used to smooth the surface of the leather. These cleaners typically contain chemicals that break down the top layer of the leather, which removes any roughness. Be sure to follow the directions on the cleaner to avoid damaging the leather.
10. Use an Edge Beveler:
An edge beveler is a tool specifically designed for rounding off the edges of the leather. This is a great tool to use to create a nice, smooth edge on your leather project. To use an edge beveler, hold the tool against the edge of the leather and rotate it clockwise. As you rotate the tool, it will cut away any rough or sharp edges on the leather.
Additional Tips & Advice
- If you’re working with a large piece of leather, it’s best to use a power tool like a sander or Dremel tool.
- Always test the tool on a scrap piece of leather before using it on your project.
- When sanding, always move the tool in the same direction as the leather grain.
- If the leather is very dry or cracked, you may need to moisturize it before sanding.
- Always use a light touch when sanding; too much pressure can damage the leather.
- After sanding, finish the leather by applying a conditioner or polish.
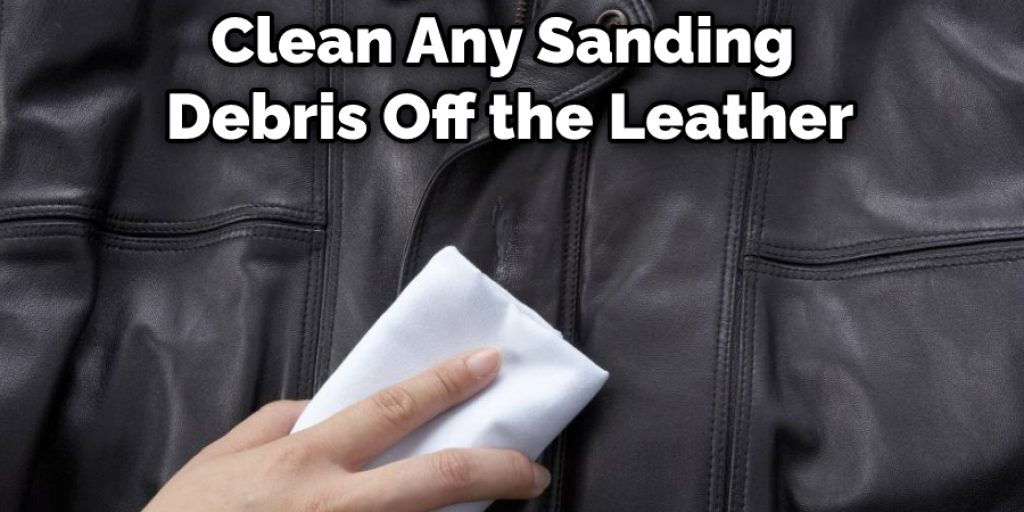
- Be sure to clean any sanding debris off the leather before proceeding.
- Once you’ve sanded the leather, it’s important to protect it from further damage.
Conclution
Leather is a natural material that has been used for thousands of years to make furniture, clothing, and other items. The popularity of leather goods remains high because of the unique look and feel of this type of fabric. Leather also has several practical benefits, such as durable and easy to clean.
However, one downside to using leather is that it can be difficult to work with. In this blog post, we have discussed how to smooth the rough side of leather. If you have any questions about this topic or want to know more, then feel free to comment below!


