
How to Solder Rings Together
Are you a bit curious to know the perfect process of how to solder rings together? If your ultimate reply is positive, we must say you need to read this whole article because it is specifically dedicated to readers like you. Please believe us because we are telling you the truth!
We must follow some tricks and tips to learn an effective method of soldering rings. Again, if we fail to maintain the process, we cannot hope to achieve our most desired outcome. Apart from these points, we also need to follow some safety hacks if we want to perform any work without messes or accidents.

The great news is considering these facts here in this content, we will discuss a more straightforward method so that you can quickly know the process. If you are willing to learn in further detail, then kindly read the next sections of this content for your own benefit.
An Overall Overview of the Topic
A wedding band is a symbol of eternal love, and a marriage ring cements the never-ending responsibility of marriage. Those wedding ceremony bands match together to communicate your special bond beautifully.
Even though sporting two rings on one finger can spark off ring erosion and truly harm your valuable wedding ceremony band, that is the motive some human beings decide to have their wedding ceremony bands welded.
Numerous women collectively choose to have their wedding ceremony bands patched to retain their two cherished wedding earrings. So one can bind wedding bands, filler steel is softened to bond the two pieces of jewelry collectively.
The Process of How to Solder Rings Together
1. Before you can collectively weld the band and wedding bands, you should ensure that the two rings coordinate each differently equally. While the healthy has been set up, utilize an internal ring to preserve the two rings collectively while you chip away at welding them.
2. Move the place in which you want the weld to flow. It consists of a simple patch to the crease in which the two jewelry pieces touch the shank’s rear.
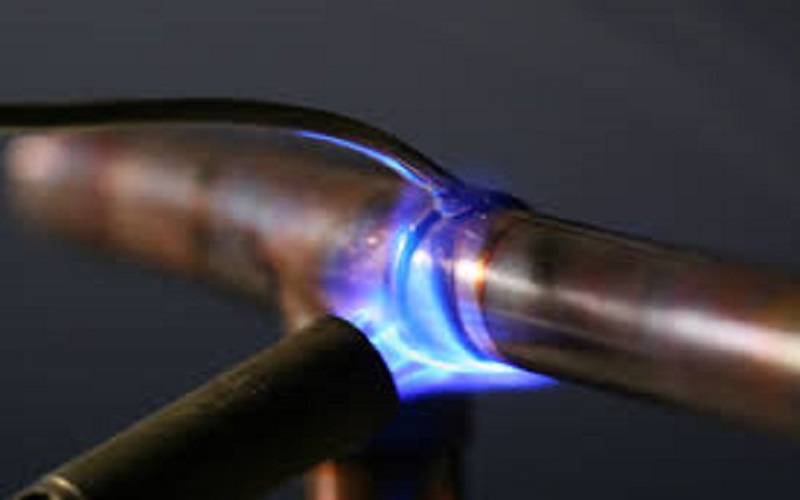
3. Warm temperature of the jewelry progressively, and later on the center, the warmth of the fireplace within the two shanks. It could draw the weld on the off chance it is important and add more patches to the crease.
4. Check your paintings and ensure that the weld has streamed similarly. Permit the earrings to cool commonly.
5. Utilize your notice to reclassify the crease between the two shanks and make use of your needle file, clean to restore the ring to its unique radiance.
Final Thoughts
By the end, we will assume that you have learned all the necessary information about how to solder rings together. And thus, now you can apply your acquired knowledge in your practical work to achieve the desired outcome that you might have been looking for for a while. Then why are you still waiting to get started with the steps? It is the right time to give it a try!
Elizabeth Davis
Elizabeth is a creative writer and digital editor based in the United States. She has a passion for the arts and crafts, which she developed from a young age. Elizabeth has always loved experimenting with new mediums and sharing her work with others. When she started blogging, she knew that DIYquickly would be the perfect platform to share her tutorials and tips. She's been writing for the blog from the beginning, and her readers love her helpful advice and easy-to-follow instructions. When she's not writing or editing, Elizabeth enjoys spending time with her family and friends.


