How to Stitch Name on Stocking
I have recently received many questions concerning the embroidery facts: where to find them, how to create them, and how to stitch names on stockings. Honestly, there are plenty of answers to these questions, but you would definitely prefer the easiest one, right? Don’t worry; I am here to help you. I have gathered some simple tactics of embroidering.
I have taught several embroidery beginners in my region. So, it will be my pleasure to help you out. Honestly, it is an easier process, and you will love to do this. Even you are completely new in this field; these tactics are going to help you more than anything else. The entire process requires a perfect combination of time and patience, nothing else. After learning these tactics, you can apply it to any of your embroidery products.
Here Is What You’ll Need
A completed stocking that has enough space at the top for embroidering. In this case, if you are making the stocking for your personal usage, I will suggest you embroidery the name before making the attachment of the back. On the other hand, if you are working on a pre-made stocking, you can pin the back down so that you can get enough accessibility. One day is all that you need to make these beautiful stocking, but if you do not have time on your hands, it is still fine. You can choose to make a few at a time and keep it stored until it is time for Christmas.
- Tissue paper
- Pen
- Pins
- Computer Screen
- Embroidery needle and thread
How to Stitch Name on Stocking?
- At first, open your browser and search for picky monkey or something similar to that. You will see a top menu, select your design from there. Next, pick your preferable font and write down the name you wish to embroider. After that, select the color of the thread and proceed to checkout. Before you pay, you will have an option to upload the design. Upload your design and pay. Once the order is placed, our team will start working on it.
- Once you have completed writing the name in your desired style, take a tissue paper, and hold it on your computer screen. Make sure to zoom in or out the image so that it fits perfectly on your computer screen, and you get enough accessibility for writing the name on the tissue paper. Once the image is on your screen, trace the letters of the name with the help of a sharp pencil or even a black pen. Once you have traced the name completely, cut out the letters one by one with a pair of scissors.
- Then place the tissue paper on your stocking carefully. Pin it on your stocking to hold it securely while you are going to work on it.
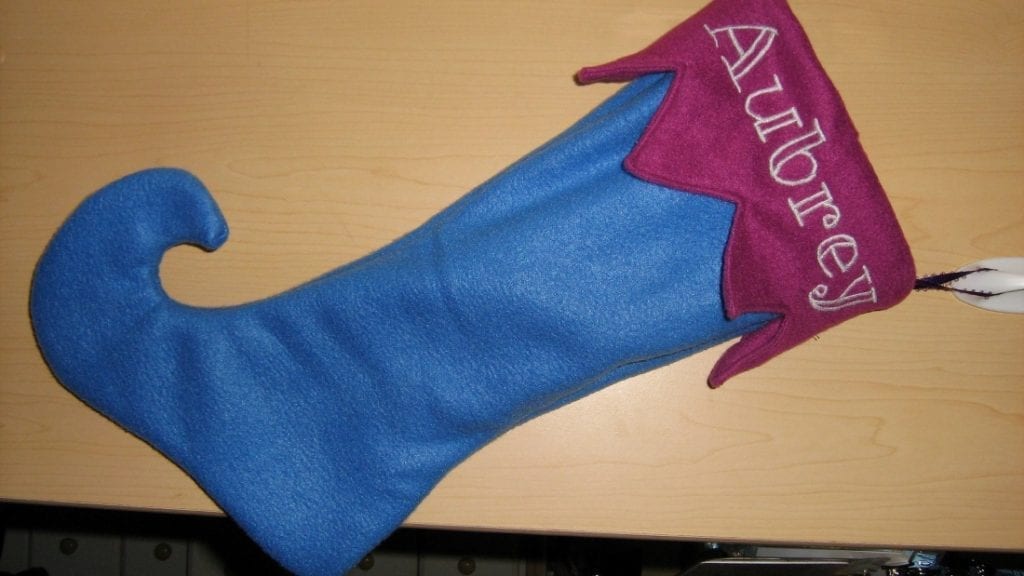
- After that, take the embroidery thread and needle, and start stitching each letter. You can use your preferable color of the thread. I have used two different threads for stitching the name.
- In this case, I will suggest you perform backstitching because it is the simplest one. You just have to follow the straight line one after another. However, if you have completed, stitching the name, re-check it.

- Now, rip off the tissue paper carefully from the stocking. Make sure to remove every single piece. Thus, your stocking is ready.
How Do You Hand Stitch a Name on Fabric?
Hand stitching a name on fabric can be a simple yet effective way to personalize any sewing project. To get started, choose the fabric and the desired embroidery floss color. Draw the name you want to stitch onto the fabric using a pencil or fabric marking pen.
Thread the embroidery needle with the embroidery thread, tie a knot at the end of the floss, and then begin stitching using a simple backstitch. Keep the stitches even and consistent for a neat appearance.
Once finished stitching the name, tie off the embroidery floss with a knot on the back of the fabric. If desired, glue the fabric to a larger project with fabric-tac glue for a seamless look. By following these steps, you can add a unique touch to any sewing project.
Conclusion
See, I told you it’s quite easy. Hopefully, you have understood the facts. If you got any questions, feel free to comment us below.