
How to String a Magnolia Leaf Garland
The great thing is you’ve not created one; it’s not too long to get one up for Christmas since this magnolia plants don’t keep their clean, beautiful look without drying for extended periods than a few hours. The leaf seems a bit grayer, and the plants seem to curl up when they dried out.
If you see a plant that you like, it is worth getting even if it only lasts a couple of days. The person writing this learned from experience what works and what does not, so you do not need to take pictures of your project.

Method-1:
- Develop sections. Establish a connecting point on every foliage-dense magnolia and leafy plant by pruning off leaves before 3 to 5 in of stem is clear, eliminating any weakened or dead plants.
- The fun begins! Attach a tie to the top of the nylon thread, then attach it to the base of the first magnolia branch. Next, tie the cord across the trunk of the tree and twine it around to secure.
- Branch binding. Attach another plant of magnolia and tie the cord over once more. Continue to connect three fresh portions of magnolia to the foundation with every 2 bits of evergreen, tie the rope always without breaking it, and shield the prior connection point instead.
- End the swag. To complete the garland frame, attach the last combination of magnolia and tree that grows to the edge and cover the cord and cord mechanisms with a pinecone.
- Apply design features. Using the flower tip string to tie pinecones to the garland and fresh fruit, cover empty spaces and cover precise chain and rope mechanisms.
Method-2:
In order to make a garland, you will need magnolia leaves, flower cord, clippers or cable ties, and cable rope. You can either get a cup handle, order loop, or buckles to tie the mantelpiece to the garland.
To begin, break the rope into two sections. My standard mantel length for this project is 67″, but the size of the twine may vary slightly depending on how much swag you choose for your garland. I was using double 40″ lengths rather than creating one long garland, because I soon discovered that attaching the foliage uniformly is much easier this way.
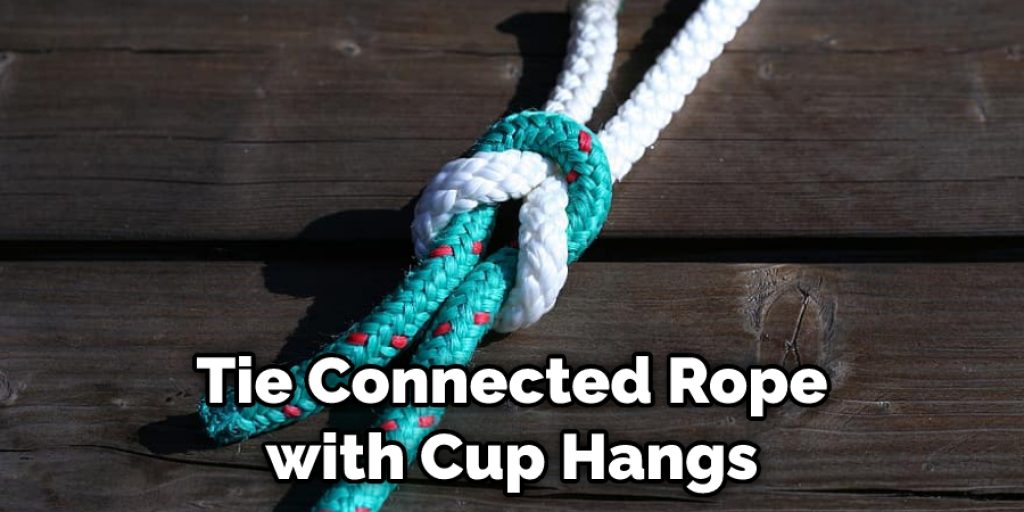
I have noticed that it is best to tie the connected rope with the cup hangs / Command straps to the mantelpiece until adding the plants. Initially, I took a seat to fasten the plants on the string, then put it on the throne, but noticed the leaf piles tied to the rope appear to curl. Once the braided rope has been tied to the mantel, so it is ready to implement the plants.
Split flower string into various 1-2 “pieces. Until you bring the leaves back, it is good to get a collection of those taken. Take three leaves of magnolia of similarly sized, carry them with each other in a fan form by the steams. I have used plants’ green faces pointing out, but the magnolia plants provide lovely, velvety dark backrests that could also be used.
In order to make a leaf fan, you will need a piece of flower string and a cabled cord. Begin by tying the plants around the cord, making sure to leave a line at the edge of the plant package. Next, connect the leaf wraps to the cord, working from the middle outwards.
Essentially, you tie the leaf packages to the flower cord two times, but just attaching the loose leaves directly to the twine doesn’t stop the foliage from moving and losing size. Based on the scale of the magnolia plants you can use, place the plant packages on the cabled rope around 2 “away (or ideal length), covering every box already connected to it.
Like a roofer might put shingles on a home, it is far simpler to add this method than stuffing underneath an already installed package of leaf handfuls. Continue to work back the twine duration, attaching bundles of leaves until you approach the edge of the mantelpiece. Begin from the other after finishing one part, once more continuing to work from of the middle to the mantel’s outer advantage. I measured a total of 50 packages of leaves.


