
How to Take Apart a Mechanical Pencil Without Breaking It
Introduction:
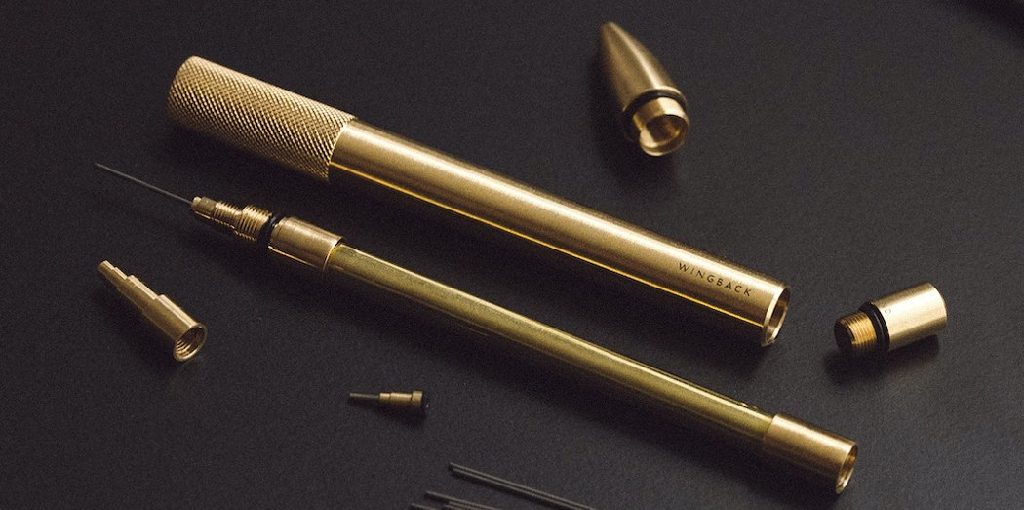
A mechanical pencil is a writing tool in which leads are held externally in one or more rotating shafts with bearing surfaces. When you rotate the pencil’s lead-holder mechanism, lead is pushed out by one of the bearing surfaces against the paper, leaving a mark. Mechanical pencils are engineered to resist breaking under normal use.
So they’re great for artists, designers, and anyone who does physical, hand-drawn work on paper daily. However, it’s not uncommon for people who aren’t used to taking mechanical pencils apart accidentally break them during disassembly or reassembly procedures.
This happens so frequently that some manufacturers have resorted to glue to hold their mechanical pencil parts together. I will discuss how to take apart a mechanical pencil without breaking it in this article. So let us get started.
Summary: In this article, we will show you how to take apart a mechanical pencil without breaking it. We will start by removing the eraser cap and then unscrewing the barrel. Next, we will remove the lead cartridge and the lead holder. Finally, we will show you how to reassemble the pencil.
Stepwise Guide on How to Take Apart a Mechanical Pencil Without Breaking It:
Step 1 :
After making sure that the pencil isn’t sharp, you need to open up the top to remove the lead. You can do this by prying open the top portion of the pencil with your thumbnail.
Step 2 :
If a clip is present above the grip section at the base of your pencil, remove it by bending it back and forth until it breaks off.
Step 3 :
Now, get rid of any rubber tips, so you know how deep these parts go inside.
Step 4 :
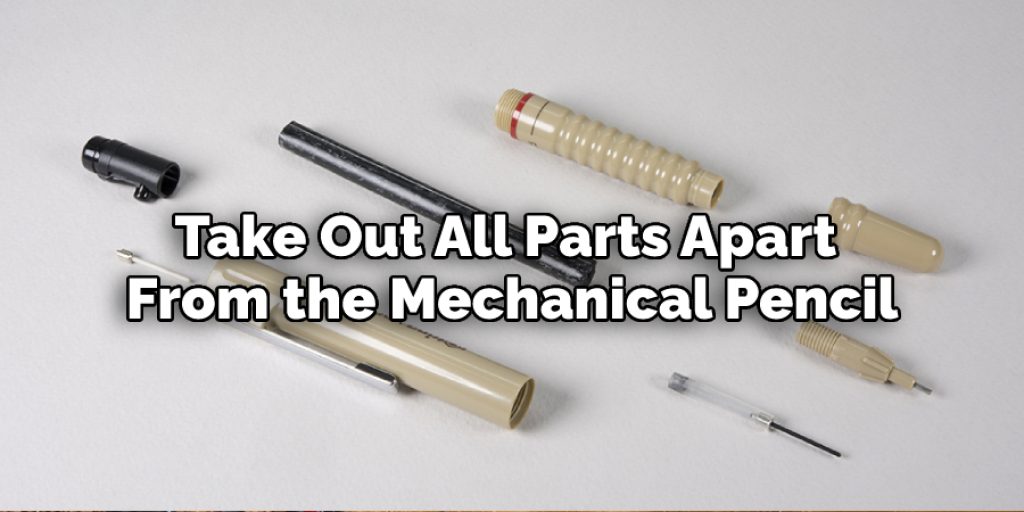
Using Flathead screwdrivers or bamboo skewers (be careful), take out all parts apart from the mechanical pencil shaft guiding system, which comprises of 2 metal tubes, one inside another connected with gears on both ends.
Step 5 :
Unscrew the top grip and remove all other parts inside the grip section.
Step 6 :
Now, you must have disassembled your mechanical pencil completely. One of these pieces is a spring that will push up whenever you need to advance the lead. You can take this off by opening its coils with needle-nose pliers.
Step 7 :
Don’t lose any part of your pencil during this process, compromising on the quality of your mechanical pencil because the chances are high that it might get broken in half or not work properly again after you reassemble it yourself without any guidance or instructions.
Step 8 :
Finally, when you are done taking apart your mechanical pencil, ensure that no parts are left inside its grip, which is pushed open by a spring when your lead is extended.
Step 9 :
Now you must be clear with the whole procedure of how to take apart a mechanical pencil without breaking it, don’t worry if it isn’t working properly after re-assembly because this will only happen if you don’t put everything back in its right place or if you lose some parts accidentally or intentionally while placing them back again together.
Precautions While Taking Apart a Mechanical Pencil:
1. Make sure you have a new eraser and tip ready before taking apart the mechanical pencil.
2. If you are using a multi-piece pencil, take out all of its parts before disassembling it into its core components.
3. Some mechanical pencils may include small accessories such as screws and ferrules that can be easily lost or misplaced, so avoid losing them by keeping them safe inside a container while doing this activity. The same goes for the other small parts and pieces of your mechanical pencil, such as those tiny rubber rings at the tip and those tiny metal washers near the eraser cap for better grip and durability.
4. Remember where each piece is to prevent misplacing any of them!
5. Have a pair of tweezers or a hemostat to hold onto the components you are taking apart from your mechanical pencil.
6. Use proper lighting and magnification for better visibility and avoid making mistakes while disassembling your mechanical pencil.
How to Clean a Mechanical Pencil:
1. Put the pencil in your freezer for at least two hours.
2. Take it out and let it thaw completely. Remove any dried pieces on the tip with a cotton swab or paper towel soaked in rubbing alcohol (isopropyl). The frozen lead may break while you try to remove it, but that’s okay; just put the broken pieces back into place on top of the eraser, then continue with step 3.
3. Slowly twist the tube that holds the lead while gently pulling up on the eraser end of the pencil (the end opposite where you put lead-in). If too many pieces of dry lead stuck together to pull out one by one, once you’ve removed as much as possible, put the pencil back in the freezer to thaw again. The pieces will be a little looser and easier to remove after having been frozen a second time.
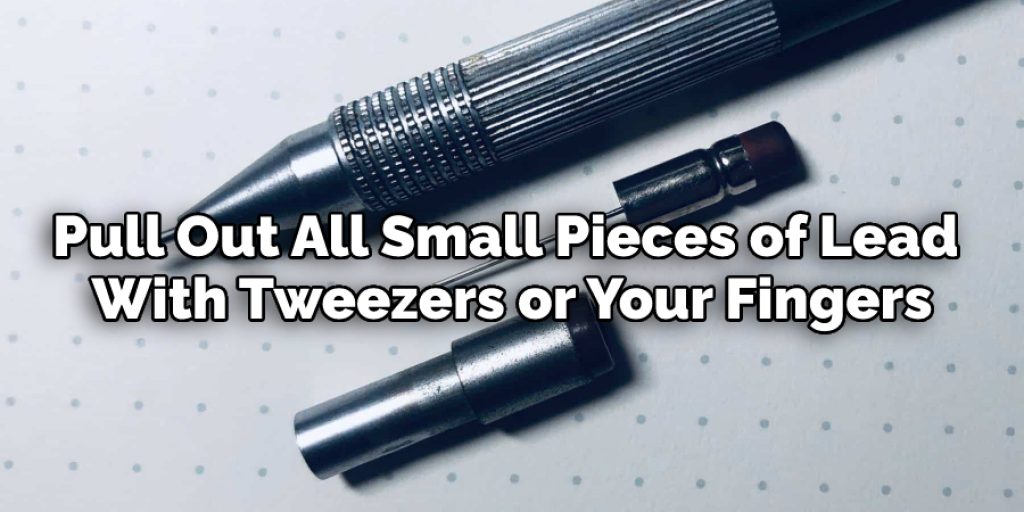
4. Pull out all small pieces of lead with tweezers or your fingers.
5. Repeat steps 3-4 until all of the lead has been removed from inside the pencil. (If you’re trying to refill it later, you’ll want to go slowly and try not to break too many pieces off.)
Benefits of Using a Mechanical Pencil:
Maintaining a thin, sharp line is easier because you can add more lead as needed. Mechanical pencils have a thin outer casing, making it easy for artists and architects to draw thin lines. The thin casing also prevents the breaking of leads when dropped accidentally on the floor.
Unlike traditional wooden pencils that require sharpening after every few strokes, mechanical pencils provide continuous writing without sharpening. This gives artists more time to focus on their drawing rather than getting distracted by the need to sharpen and waste precious raw materials.
Also, there’s no hand strain from applying too much pressure while writing, as you would typically do with a wooden pencil to write or draw thick lines. Different sizes of lead can be used depending on the type of project. Although most mechanical pencils are designed to use 0.5 mm, 0.7 mm, and 0.9 mm leads, lead sizes of up to 2 mm in diameter are available in different brands for more specific needs.
Conclusion:
I hope this article has been beneficial for learning how to take apart a mechanical pencil without breaking it. Ensure all the precautions while performing the process. Thank you and have a nice day!


