
How to Test Electrical Wires With Multimeter
Testing electrical wires with a multimeter is an essential step in the troubleshooting process to fix a malfunctioning circuit. You can use this tool to determine if there are any shorts in your wire, which will help you narrow down where the problem might be located. If you have never used one before, here are some steps on how to test electrical wires with multimeter.
When testing electrical wires with a multimeter, it is essential to be mindful of the polarity. Polarity refers to whether the voltage measured by the multimeter is positive or negative relative to the ground. Whether using an analog or digital meter, always make sure that you read the voltage from one lead and grounding yourself on the other lead before touching any part of your circuit. Read on to know more!
What Tools You’ll Need?
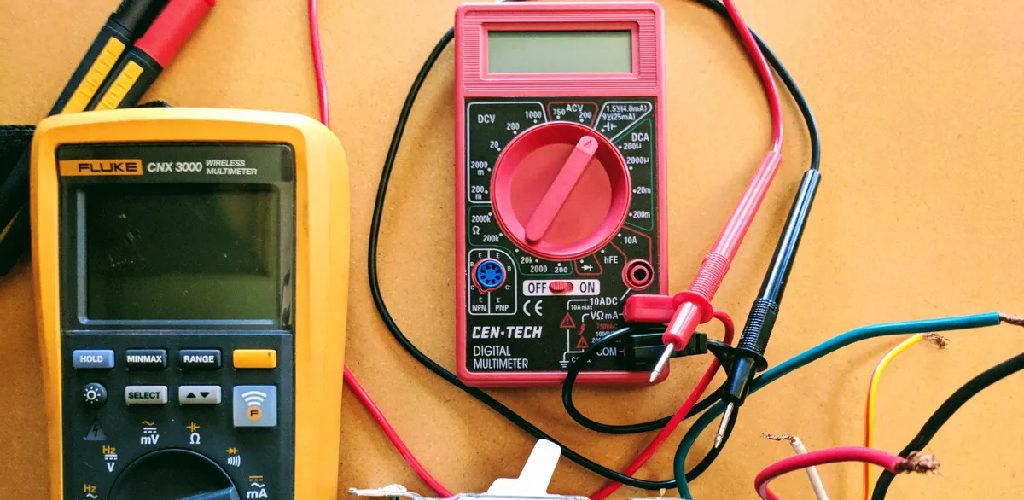
- Multimeter
- Voltmeter
- Ohm Meter
- Electrical Wires
Step by Step Guide: How to Test Electrical Wires with Multimeter
Step 1:
First, put the black probe of your multimeter on a bare wire and then touch it against one end of the wire that you’re testing. So, for example, if you’re testing a strand of wire, touch the probe to one strand and then to another.
Step 2:
Next, put the multimeter’s red probe on the other end or opposite side of the wire. You should see some numbers appearing on your multimeters screen. If it doesn’t work, check the next point. If there are no numbers, then there must be a problem with the wire.
Step 3:
In case if you have no numbers appearing on your multimeters screen, try measuring another wire to see if it is working correctly. If it does not work as well as the first one, you might have a broken wire; otherwise, something may not be wired correctly.
Step 4:
You can check the continuity of a wire by moving your red probe from one end to another as you put the black search on both ends, but if it does not work, there is something wrong with your wire. You should have a multimeter capable of reading ohms and amps, which will help you test the amount of power passing through your wire.
Step 5:
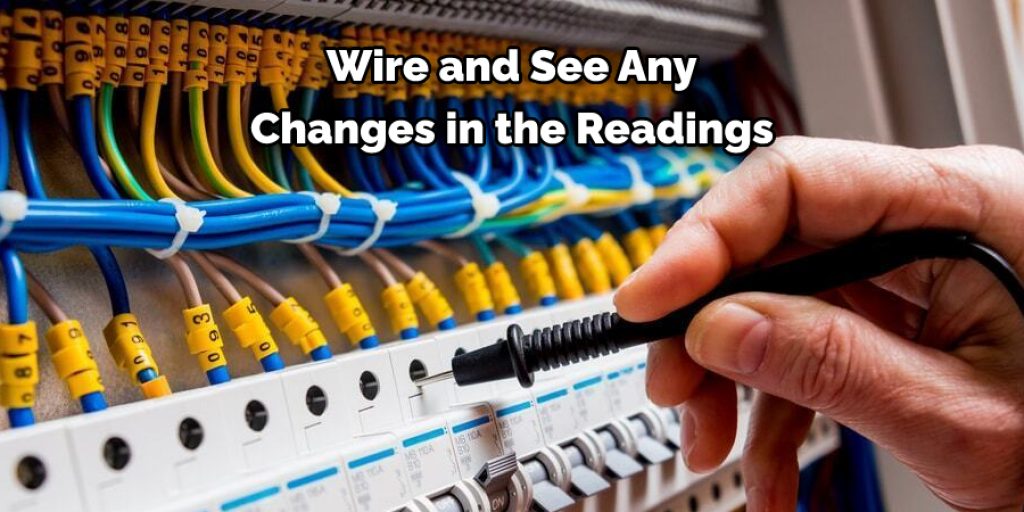
Put one probe on each end of your wire and see any changes in the readings; you have to adjust it accordingly. You can fix or repair a broken wire by replacing it with another wire with the correct ohms reading. If you’re going to replace it with a new one, do the first two steps again.
Step 6:
To check if there’s any cut or nick in your wire that can cause a short circuit, touch the probes of your meter together and make sure they’re not getting hot from electricity passing through them. Then, move the probes along the wire a bit and then check if they’re getting hot or not. If they are, this means there’s a cut in your wire which could cause a short circuit.
Step 7:
To prevent future accidents, you should wear gloves to avoid any possible injury when dealing with wires, especially when you’re doing testing. You can also put some electrical tape to cover any cuts or nicks.
Step 8:
Ensure that your wire is not damaged, nicked, or broken before you use it to avoid an unwanted incident. It’s better to check the cables every time before using them for safety precautions.
Step 9:
When dealing with wires or electrical repair, never touch two multimeter probes to each other because this would let you know if your tool is working and not getting damaged.
Step 10:
When you’re done testing your wires, make sure that you turn off all switches and breakers to avoid any accidents. If there are no problems with your wire, then it’s safe to use. You can check this by plugging in or wiring up an appliance/ light/any electrical device. If you’re sure that your wiring is complete, then it should turn on without any problem.
Some Tips and Suggestions:
1. It is always best to test wires and cables with a multimeter before installation, if possible.
2. When testing the continuity of individual conductors (wires) it usually is not essential to disconnect them from any other conductors or devices that they may be connected to.
3. Shorting the multimeter probes together should not damage the meter. However, this practice may be dangerous in some instances that involve very high voltages or electric shock.
4. To prevent any electrical problems from occurring when testing wires and cables with a multimeter, two important things to keep in mind are: To avoid being shocked by touching a live circuit, do not touch the multimeter terminals.
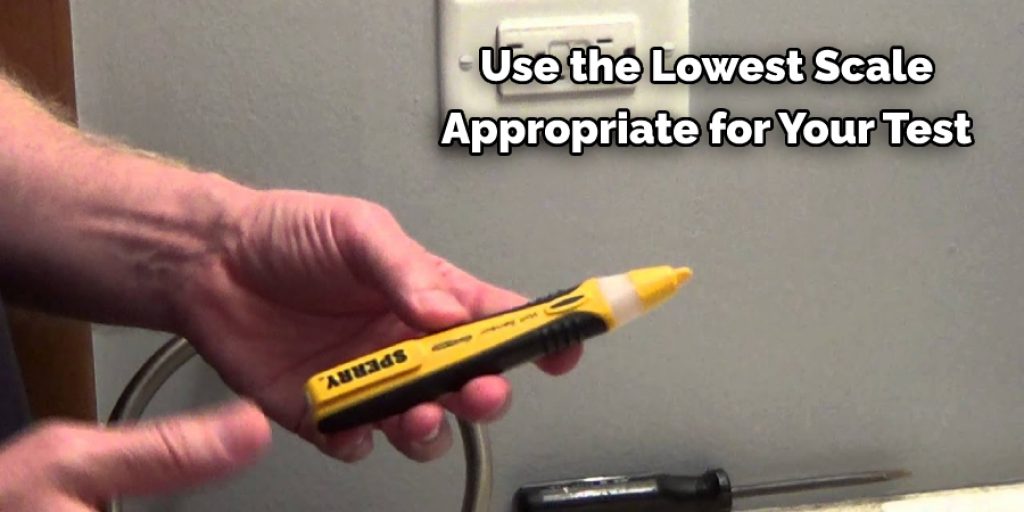
5. When testing for continuity with a multimeter, always use the lowest scale appropriate for your test. For example, in measuring the continuity of a wire, you should use the lowest scale value that is appropriate for your test.
6. The battery in a multimeter will typically last several years if it is being stored in an excellent dry location out of direct sunlight. However, it can lose its charge very quickly when exposed to heat or cold.
How Do You Check if a Wire Is Live With a Voltmeter?
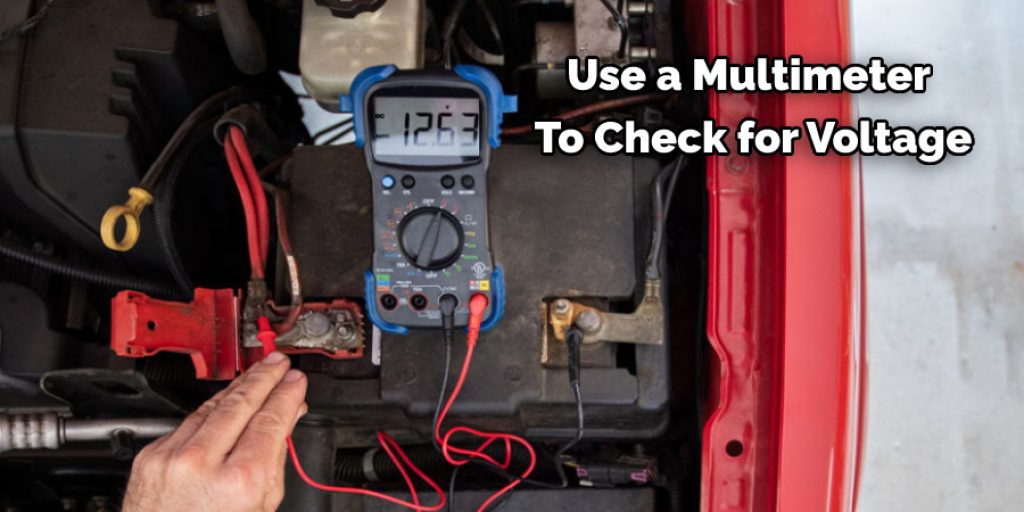
You can use a multimeter to check for voltage. Make sure that your multimeter is set to read current ( A ), put one probe against the live wire and the other on a neutral piece of metal. If no electricity is going through, there should be zero volts. If there is a flow, the voltage number should read as a positive number.
If you have a multimeter that reads voltage in an analog fashion, you will notice that the needle moves. This means electricity is going through, and if you touch it by accident, it can shock you. So, in addition to making sure your probes are on separate pieces of metal, make sure not to touch the probes.
Conclusion:
Testing your wire is straightforward unless you have a multimeter or the right tool needed to do the job. Always make sure that all parts of your wire are working correctly to avoid any further damage. In addition, you should be able to determine which wire is carrying the current by testing for continuity and resistance along with each one.
This article has provided some excellent information on how to test electrical wires with multimeter that will help keep your home safe from fires caused by faulty wiring. Be sure not to skip this vital step in any future projects around the house. If you follow these steps, We are confident that you will test your electrical wire without difficulty. Happy testing!


