
How to Test Gas Cap Pressure
If you’re like most people, you probably take your car in for tune-ups and other routine maintenance without giving a second thought to the health of your gas cap. But did you know that a defective or loose gas cap can cause serious problems with your vehicle? Gas caps are an important part of a car’s emissions system, and it’s important to test the pressure regularly.
This blog post will teach you how to test gas cap pressure using a simple tool that you can find at most auto parts stores. We will also give you some tips on fixing a gas cap if it is not working properly. Read on to learn more!
Why Should You Test Gas Cap Pressure?
As we mentioned, gas caps are an important part of a car’s emissions system. The purpose of the gas cap is to keep fuel vapors from escaping into the atmosphere. These vapors can contain harmful chemicals that can damage the environment. A defective or loose gas cap can cause these vapors to escape, triggering the “check engine” light on your dash.
In addition to being bad for the environment, escaped fuel vapors can also cause your car to run less efficiently. If your gas cap is not sealing properly, you may notice that your gas mileage is not as good as it used to be. This is because the escaping fuel vapors are taking some of the gas with them! So, now that we’ve talked about why it’s important to test your gas cap pressure let’s move on to how you can do it.
Tools & Supplies Needed
To test your gas cap pressure, you will need the following tools and supplies:
- A gas cap pressure tester
- A small Phillips head screwdriver
- A new gas cap (if needed)
Step by Step Guide: How to Test Gas Cap Pressure
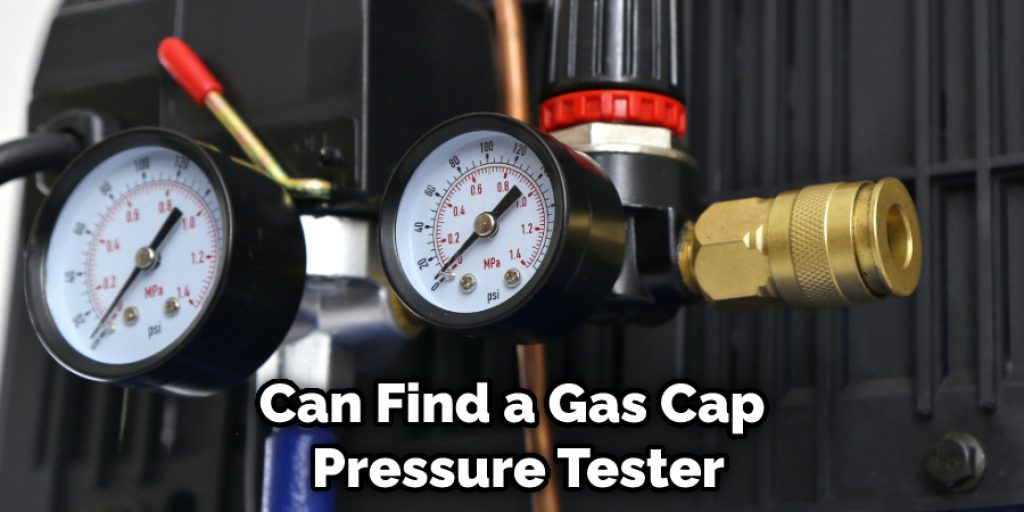
Step 1: Purchase a Gas Cap Pressure Tester.
You can find a gas cap pressure tester at most auto parts stores. This is a small, hand-held tool that will allow you to test the pressure in your gas cap. If you think the gas cap on your car may be defective, we recommend purchasing a new one before you begin this test. If the gas cap is defective, you can replace it immediately.
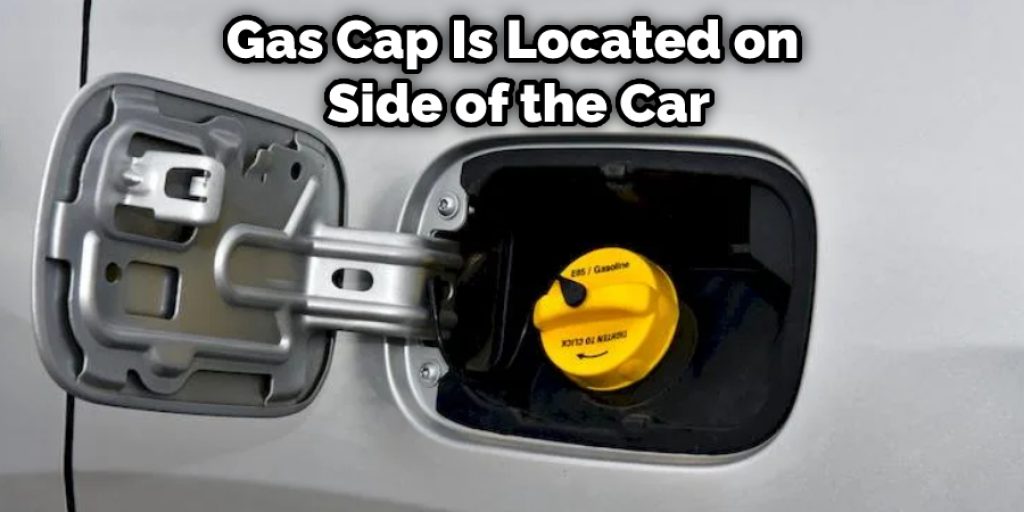
Step 2: Locate the Gas Cap on Your Car.
The gas cap is usually located on the side of the car, near the fuel tank. It is often hidden behind a small door that says “fuel” or has a picture of a gas pump. If you can’t find the gas cap, consult your car’s owner’s manual.
Step 3: Unscrew the Gas Cap.
Once the gas cap is located, use the small Phillips head screwdriver to unscrew it. Be careful not to strip the screws. If the gas cap is stuck, do not force it. This could damage the threads on the gas cap or fuel tank. Instead, try spraying a little WD-40 on the threads and waiting a few minutes before trying again.
Step 4: Attach the Gas Cap Pressure Tester.
Once the gas cap is unscrewed, you can attach the pressure tester. There will be a small hose on the tester that you will need to connect to the gas cap. Make sure that the hose is firmly attached to avoid any leaks.
Step 5: Pump the Tester Until the Needle Moves.
The next step is to pump the tester until the needle on the gauge moves. You will need to pump the tester 10-15 times before the needle moves. If it does not move after 15 pumps, there may be a problem with the tester itself. If this happens, take the tester back to the store and exchange it for a new one.
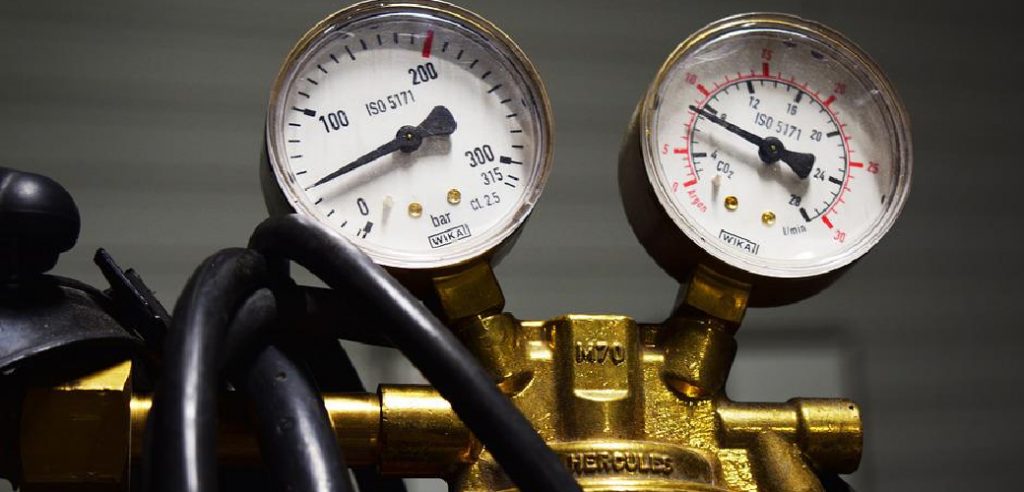
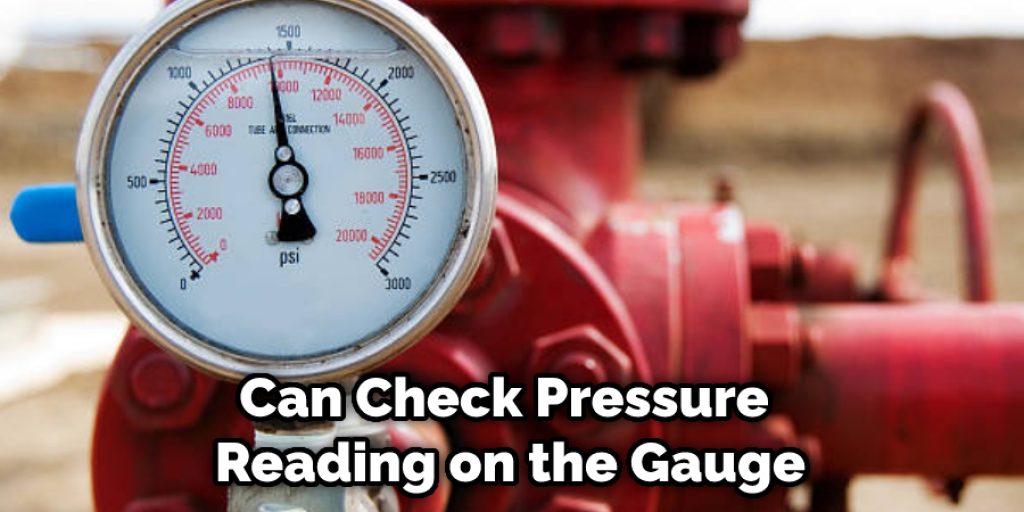
Step 6: Check the Pressure Reading.
Once the needle has moved, you can check the pressure reading on the gauge. The ideal reading should be between 18 and 22 psi. If the reading is below 18 psi, the gas cap is not sealing properly and needs to be replaced. Likewise, if the reading is above 22 psi, the gas cap is not venting properly and needs to be replaced.
Step 7: Remove the Tester and Screw on the Gas Cap.
Once you have checked the pressure reading, you can remove the tester and screw the gas cap back on. Be sure to screw it on tightly to avoid any leaks. You can now throw away the old one if you have a new gas cap. If your car has a gas cap lid, close it before driving away.
And that’s it! You have now successfully tested the pressure in your gas cap and can be confident that it is sealing properly. If the gas cap was not sealing properly, we recommend taking your car to a mechanic to have the fuel tank checked for leaks. A leaking fuel tank is a serious problem that should be fixed soon.
You Can Check It Out To Open Gas Cap
Some Helpful Tips & Advice:
Here we have given tips on how to test gas cap pressure.
- If you think your gas cap may be defective, we recommend purchasing a new one before beginning this test. If the gas cap is defective, you can replace it immediately.
- The gas cap is usually located on the side of the car, near the fuel tank. It is often hidden behind a small door that says “fuel” or has a picture of a gas pump. If you can’t find the gas cap, consult your car’s owner’s manual.
- Be careful not to strip the screws when unscrewing the gas cap. If the gas cap is stuck, do not force it. This could damage the threads on the gas cap or fuel tank. Instead, try spraying a little WD-40 on the threads and waiting a few minutes before trying again.
- Make sure the engine is cool before beginning this test. If the engine is hot, the pressure in the fuel tank could be too high and cause injury.
- Park the car on level ground before starting the test. This will ensure that the fuel in the tank is at an equal pressure on all sides of the tank.
- Have an assistant help you with this test if possible. For example, one person can hold the gauge while the other unscrews the gas cap.
- 7. Wrap a rag around the gas cap before unscrewing it. This will help to prevent gasoline from spilling out and getting on your hands or clothes.
- 8. Be sure to screw the gas cap back on tight after the complete test. A loose gas cap can cause the “check engine” light to come on and decrease fuel efficiency.
How Often Should You Test Gas Cap Pressure?
We recommend testing gas cap pressure every few months or whenever you notice that the “check engine” light is on. This test is quick and easy to do and can save you a lot of time and money in the long run.
This test will not only help you on your way to becoming a smarter driver but will also help keep your car running smoothly. Testing Gas cap pressure will also help you to avoid costly repairs, as it can help you catch a problem early on.
You Can Check It Out To Unlock Gas Cap Without Key
What Causes Fuel Leak on Gas Tank?
There are many reasons why your fuel tank might be leaking. However, the most common reason is a faulty or worn gas cap. A gas cap that is not sealing properly will allow fuel to leak out of the tank.
Another common cause of fuel leaks is a damaged fuel line. A damaged fuel line can cause fuel to leak out of the tank and onto the ground. If you suspect that your fuel tank is leaking, it is important to have it checked by a qualified mechanic as soon as possible.

How to Know If You Have a Faulty Gas Cap?
If your “check engine” light is on, or if you notice that your car’s fuel economy has decreased, it might be time to test your gas cap pressure. A faulty gas cap can cause various problems, including decreased fuel economy and increased emissions. To test your gas cap pressure, you’ll need a pressure gauge.
Attach the pressure gauge to the gas cap. Make sure that the gas cap is tight before taking a reading. If the reading is below 0.5, your gas cap is not sealing properly and must be replaced. If the reading is above 2.0, your gas cap is too tight and needs to be loosened.
Conclusion:
Testing gas cap pressure is a simple way to check for a vacuum leak in your car. The test takes just a few minutes and can be done with the engine running or off. You need a gas cap pressure tester, which you can pick up at any auto parts store. The most important part of the test is ensuring that the engine is at operating temperature before you start.
If the engine isn’t warm enough, the results will be inaccurate. Once the engine is warmed up, locate the Schrader valve on your gas cap. This is the same type of valve used on bicycle tires. It’s usually located on top of the cap. Insert the gas cap pressure tester into the Schrader valve and press the button to take a reading. We hope this guide on how to test gas cap pressure has been helpful. If you have any questions or want to know more, then feel free to comment below!


