
How to Tighten a Single Handle Moen Bathroom Faucet
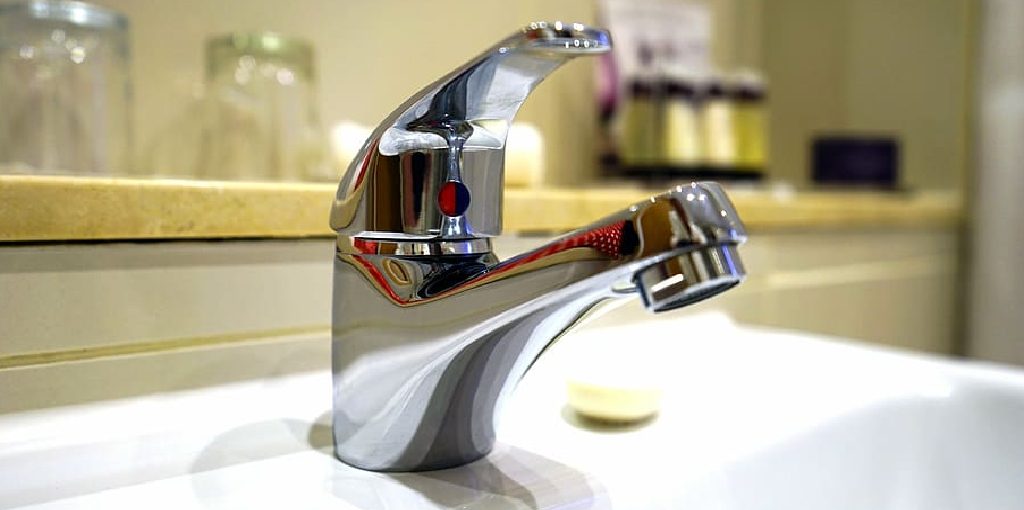
The Moen Single Handle Bathroom Faucet is a popular fixture for many homes. The design of the single-handle faucet makes it easy to control water temperature and volume. However, these fixtures can become loose over time due to wear on the threads or other parts of the faucet body. This blog post will cover how to tighten a single-handle Moen bathroom faucet with some simple tools.
A common problem that plagues single-handle Moen bathroom faucets is loose-fitting. This loosening can be caused by regular use, corrosion, or even just old age. Luckily there are a few quick and easy ways to tighten up your single-handle Moen bath fixture without any significant plumbing knowledge! We have covered them in these blog posts.
What Things You’ll Need:
- Moen faucet handle set
- Towel/rag
- Pliers
- Flathead screwdriver
- Screwdriver
- Adjustable wrench
- Replacement washers and gaskets
8 Steps to Follow: How to Tighten a Single Handle Moen Bathroom Faucet:
Step 1:
To remove the handle from your Moen faucet, simply unscrew it. Then, remove the screw inside the handle that holds it in place before sliding it off the stem.
Step 2:
Next, you’ll need to remove the cover plate. This is going to be a single screw on most faucets. If it’s not, there will most likely be two screws holding it in place, with one being hidden behind the handle itself. Once you have removed this particular screw, the plate should easily slide off of your stem as well.
Step 3:
You can now take your stem and handle assembly apart. On the bottom of the faucet, you’ll see a place where it unscrews from the tap, and this is where you’ll want to do that. If any water is left in your faucet, then be prepared to clean up some extra mess because this will most likely spill out.
Step 4:
Once you have removed the stem from your faucet, you’ll want to remove any rubber seals that are present on the inside of your tap, as well as the actual ball that holds the water in place. You can now clean all parts thoroughly under some warm running water and dry them off before putting them back together.
Step 5:
Next, you’ll want to put your rubber seals back onto the bottom of your stem and press the ball inside your tap. After this is done, take a screwdriver and firmly tighten any part that seems loose or has wiggled out of place. Be extremely careful not to over-tighten, though, as this might strip out your faucet.
Step 6:
After you have reinstalled the rubber gaskets and tightened the stem, it’s time to put everything back together. Take a cloth or a towel and dry off any excess water from the bottom of your faucet before screwing it back into place on top of your tap.
Step 7:
Once you have put the handle back on top of your stem, you’ll want to screw it firmly into place. Don’t force anything, though, as this might cause some damage to your faucet. Instead, put the inside cover plate over your stem and screw it in as well. At last, make sure to tighten any screws necessary to hold your cover plate in place.
Step 8:
After you have screwed everything back together, turn on your faucet and ensure that it doesn’t leak or drip any water before putting anything back underneath the sink area where you found it. Now your Moen faucet should work like new with no leaks and a nice, firm handle.
You Can Check It Out to Turn Off Water to Shower in Condo
Tips and Warnings:
- Don’t over-tighten the handle on your Moen bathroom faucet, or you’ll break it. If this is happening, then go to Moen Faucets for replacement parts.
- If you’ve got a Moen kitchen faucet handle, then follow the same procedure.
- If you’re unsure what kind of faucet you have, look at it closely and compare it to the photos below.
- Also, look for any small identification tags that may be stuck onto your faucet for further identifying information.
- Don’t over-tighten the rings on your Moen faucet, which you can see on some of its handles. If they’re screwed too tightly onto the handle and shaft, then this ring will break, and your only recourse is to purchase a replacement part from our site or go buy a new faucet.
- Don’t over-tighten the screw on your Moen single-handle bathroom faucet, which holds the handle onto the stem of your unit, because you could strip out this hole and render your faucet useless. You’ll need to get a replacement part for that too.
How Do You Take Apart a Moen Single Handle Bathroom Faucet?
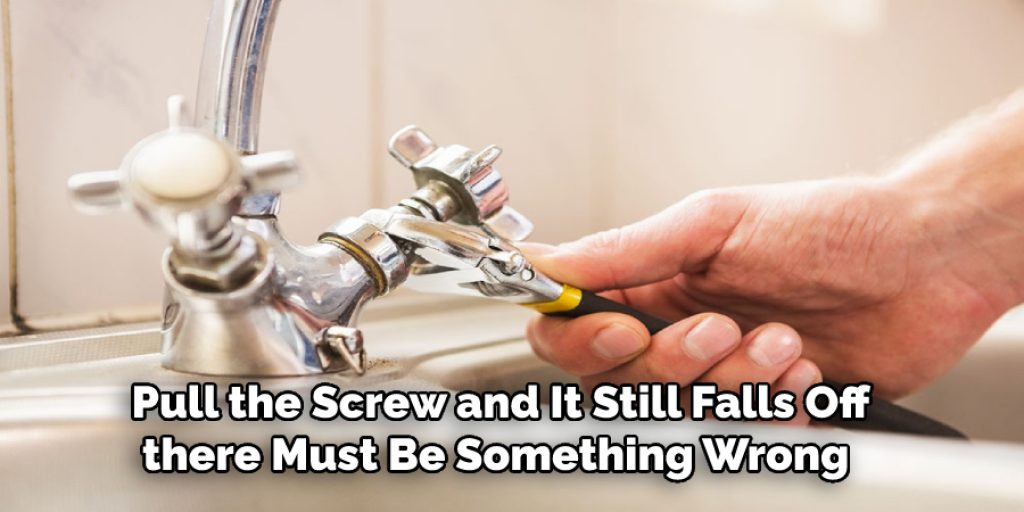
Sometimes when you tighten a single handle Moen bathroom faucet, it becomes loose. If you pull the screw and it still falls off, there must be something wrong with the washer. The common problem is that the hole in the washer has become stripped or too big to provide a tight fit, causing water to leak out.
A new washer can be obtained from a local hardware store. First, turn off the water supply to the faucet. Next, open up the faucet head by removing its screw.
Then remove the handle by pulling it straight out of its fitting on top of the faucet. Now, pull the trim pieces on either side of the stem directly down to remove them. Finally, remove the handle by removing the screw that holds it together. The whole will now be exposed. Put in a new washer, and put it back together again. Now tighten the screw to provide a water-tight seal for your single-handle Moen bathroom faucet.
Conclusion:
If you want to tighten a single-handle Moen bathroom faucet, the first step is to turn off the water. You should remove debris around the base of your sink or bathtub and use an adjustable wrench to loosen the nut at the bottom of your fixture’s spout. Once you have reduced it enough to have no more threads on either side of the pipe, twist it in either direction until it tightens up again.
After tightening, turning on your water can help test if everything is working correctly before finishing with additional steps like replacing seals or washers for leaks. We hope this blog post on how to tighten a single-handle Moen bathroom faucet has been helpful. Let us know your thoughts in the comment section below!
Read our another article: How to Tighten Kitchen Faucet Nut under Sink.
Angela Ervin
Angela is the executive editor of DIY quickly. She began her career as an interior designer before applying her strategic and creative passion to lifestyle and home. She has close to 15 years of experience in creative writing and online content strategy for housekeeping, home decorations as well as other niche efforts. She loves her job and has the privilege of working with an extraordinary team. She lives with her husband, two sons, and daughter in Petersburg. When she's not busy working she spent time with her family.


