
How to Transfer a Pattern Onto Fabric for Embroidery
Whether you have a head full of ideas for textile designs or are just getting into the hobby, transferring your patterns onto fabric is an essential skill for any embroiderer. With the right materials and techniques, this method will give you accurate results when it comes to securing the pattern to your chosen material and ensuring that even intricate works look professional.
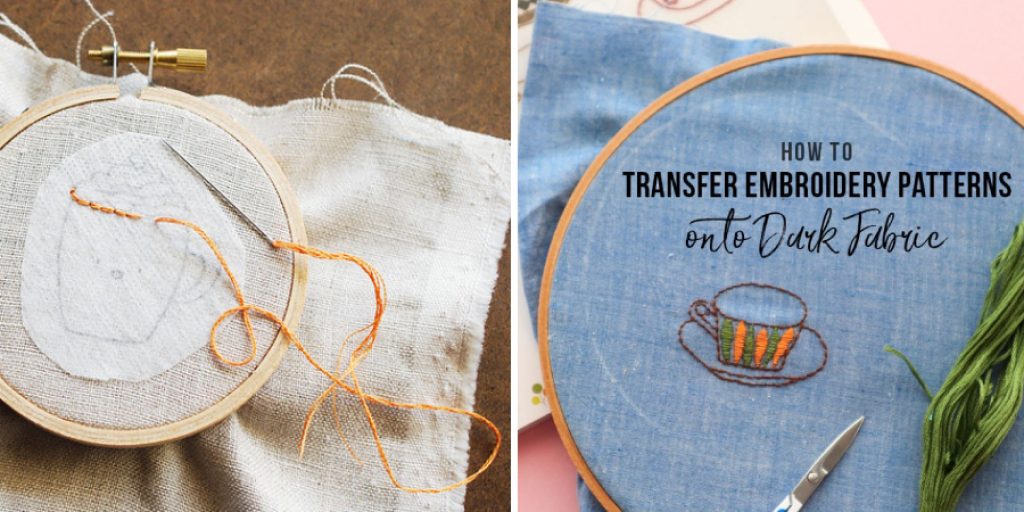
In this blog post on how to transfer a pattern onto fabric for embroidery, we’re here to guide you through all of those steps: from finding suitable fabric and prints for transfer to how best to utilize security stitch methods. Get ready with your pens, paper and needle holders – texture transfers await!
Needed Tools
Given below some of the tools you might need:
- Suitable Fabric
- Lightweight Pattern Tracing Paper
- Transfer Pens or a Pencil for Tracing Patterns Onto the Fabric
- An Embroidery Hoop or Frame
- Embroidery Floss and Needles
8 Step-by-step Guidelines on How to Transfer a Pattern Onto Fabric for Embroidery
Step 1: Choose Your Fabric and Pattern
When it comes to finding the right fabric for a project, you’ll want to look for something that is high-quality and has a smooth surface so that your transfer will remain intact during the stitching process. In terms of pattern selection, you can either use one from a store or create your own. If creating your own patterns, be sure to choose ones without too much detail, as this can affect how well they actually transfer onto fabric.
Step 2: Prepare Your Fabric
Once you’ve found the right material for your project, give it a quick wash in warm water with some mild detergent to make sure all dirt and oils are removed from the fabric before transferring any patterns. You should also iron the fabric flat if needed before continuing to Step 3. If you’re transferring onto a delicate fabric material, such as silk, it is best to use an additional stabilizer underneath the fabric so that it has extra support when stitching.
Step 3: Select Your Transfer Medium
Depending on what type of fabric you’re using, there are a few different methods for transferring your pattern onto it:
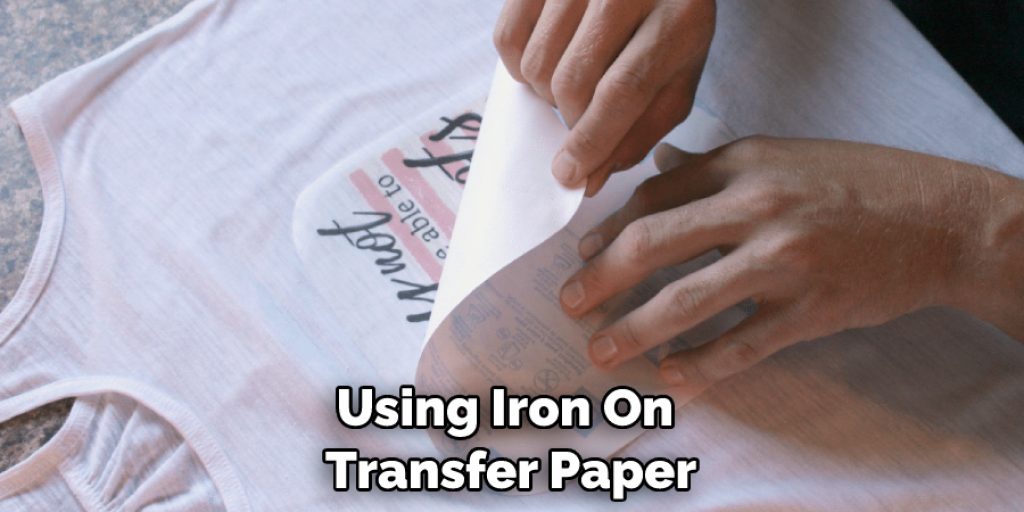
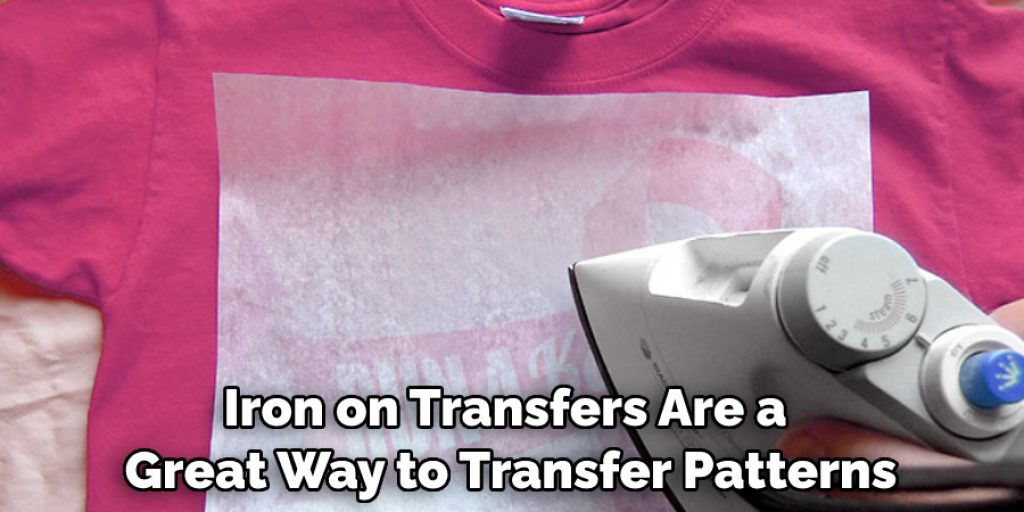
Iron-on Transfer Paper
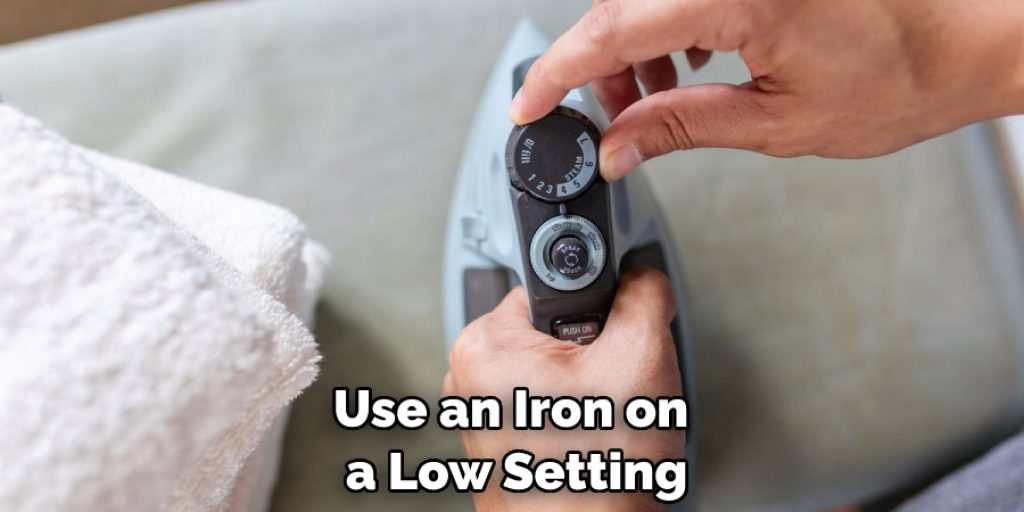
This method is great if you have a cotton or polyester material as the transfer paper will bond to those types of fabrics. Be sure to read all instructions on the package before using this method. It is best to use an iron on a low setting and place some paper between the fabric and the iron to help with the transfer process.
Freezer Paper Stencils
If you’re using something like linen or wool, freezer paper stencils are an effective way of getting an accurate design transferred onto your material without causing any damage. Be sure to draw and cut out the design before beginning Step 4.
Heat Transfer Vinyl
Heat transfer vinyl (or HTV) is another great option for more delicate materials such as silk. This method involves using a vinyl film with your chosen design printed onto it before applying heat to the fabric, which will cause the transfer to bond with the material.
Step 4: Trace Your Pattern
Now that you’ve selected a transfer medium, it’s time to trace your pattern onto it. If you’re using iron-on transfer paper, make sure you place the design side facing down on your material before tracing over it with a marker or pen. For freezer paper stencils and HTV transfers, you can either use a marker or pencil directly on the design itself before carefully cutting out any sections that need to be transferred.
Step 5: Secure Your Transfer Medium
Once all of your pattern pieces are traced and cut out, you’ll need to secure them to the fabric in order for the transfer to be effective. If you’re using iron-on transfer paper, use an iron set on a medium-temperature setting and press down firmly on each section of the design until they have adhered to the material. For freezer paper stencils and HTV transfers, you can either use a heat press or an iron (depending on what type of fabric you’re using) – just make sure it is set at an appropriate temperature according to instructions.
Step 6: Transfer Your Pattern
It’s time for the fun part! Once your transfers have been secured onto your fabric, it’s time to move them over to their desired locations. Depending on the type of transfer medium you’ve used, this can either involve using the iron or heat press again to transfer the pattern onto the fabric (for iron-on and HTV methods), or carefully peeling away the freezer paper backing and pressing down firmly with your fingers until all edges have been secured (for freezer paper stencils).
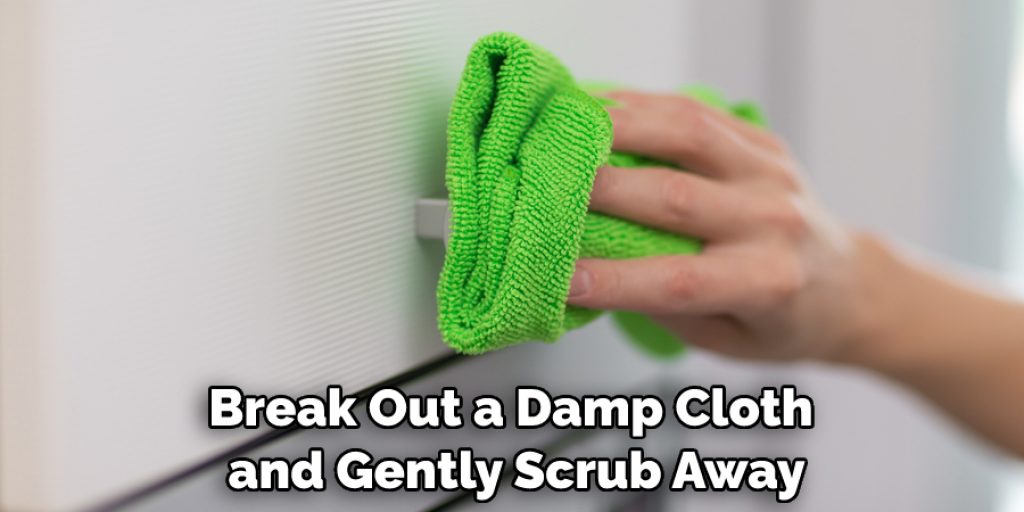
Step 7: Remove Your Transfer Medium
Once your patterns have been transferred onto your fabric, it’s time to remove any remaining pieces of the transfer medium. For iron-on transfers, just break out a damp cloth and gently scrub away any excess before giving the material one final press with an unheated iron. For freezer paper stencils and HTV transfers, you can often just use a tweezer to peel away any remaining bits of material before giving the fabric one final press with an unheated iron.
Step 8: Get Stitching!
Now that your pattern has been transferred onto your fabric, it’s time to get stitching! Pick out some embroidery floss and needles, and you’re ready to start. Enjoy your newly embroidered fabric!
Following these steps on how to transfer a pattern onto fabric for embroidery will ensure that you have a successful pattern transfer for any type of fabric. Just remember to be careful with the heat settings when transferring intricate patterns or delicate materials and always read all instructions before beginning.
Do You Need to Use Professionals?
You don’t necessarily need to use professionals when it comes to transferring patterns onto fabric for embroidery. This process can be easily done at home if you have the right tools and materials. However, professional embroidery companies can be of great help if you’re feeling overwhelmed, or need assistance with larger and more complex patterns. They can also provide advice on the best transfer mediums to use depending on your fabric type and desired design.
How Much It Will Cost?
The cost of transferring a pattern onto fabric for embroidery can vary greatly depending on the type of transfer medium you decide to use. Generally speaking, iron-on transfers tend to be the least expensive option as they can often be picked up in packs at your local craft store or online. Freezer paper stencils and HTV transfers tend to be more expensive as they require the use of specialized equipment such as a heat press or large-format printer.
Frequently Asked Questions
Q: Can I Transfer a Pattern Onto Fabric for Embroidery Without Any Specialized Equipment?
A: Yes, you can. Iron-on transfers are a great way to transfer patterns without needing any specialized equipment.
Q: How Do I Know What Type of Transfer Medium is Best for My Fabric Type and Design?
A: It’s best to do some research before deciding on the type of transfer medium you will be using. Generally speaking, iron-on transfers are best for most fabrics and intricate designs, while freezer paper stencils or HTV transfers are recommended for larger designs that would be difficult to cut by hand.
Q: What is the Best Way to Remove Transfer Mediums from Fabric?
A: Generally speaking, a damp cloth can be used to remove iron-on transfers, while freezer paper stencils and HTV transfers can often just be peeled away with a tweezer. Always read the manufacturer’s instructions for best results.
Q: Is It Necessary To Use Professionals When Transferring a Pattern Onto Fabric for Embroidery?
A: Not necessarily. This process can be easily done at home if you have the right tools and materials. However, professional embroidery companies may be able to provide advice on the best transfer mediums to use depending on your fabric type and desired design.
Conclusion
Thanks for reading this article on how to transfer a pattern onto fabric for embroidery. In conclusion, transferring a pattern onto fabric for embroidery is a simple and rewarding process. Patience and attention to detail are key in order to achieve the best results for any project. By choosing either the tracing paper or water-soluble transfer pencil methods detailed above, achieving desired outcomes for any arty endeavors will be much simpler.
Crafting something with care adds an extra special touch that shows you’ve taken time to produce something unique and thoughtful, allowing anyone to proudly display finished pieces in their homes as conversation starters.
Additionally, don’t forget to allow yourself ample time for this portion of the process—each step should be done thoughtfully as practice makes perfect! All this means is that it may take a few attempts before creating a successful transfer – have no fear! As long as you keep at it and persevere, your passion project will come together beautifully in the end.
Nancy Behan
Nancy is an embroidery artist, fashion blogger and a full time editor at DIY quickly. Nancy edits the fashion section on DIY quickly, focusing on the embroidery and cross stitch articles, alongside with fabric and other costume design elements. She graduated from the University of Michigan with a Bachelor of Arts in Art History. She loves to work on her own projects, read books and watch romantic movies in her spare time.


