How to Use a Seam Ripper on Zig Zag Stitch
You may think sewing does not require lots of tools until you come to a point where you need to remove that one stitch you accidentally did. There are many problems if you try to get the stitch to remove by hand or try to cut it without giving it a second thought. There is a tool specially made for eliminating stitch, and it is called a seam ripper. If you want to know how to use a seam ripper on zig zag stitch, then keep reading ahead.
What is the Use for Seam Ripper?
A seam ripper is a tool that is used to remove stitches from fabric. It is a small, sharp tool that is used to cut the threads that hold the stitches in place. Seam rippers are very useful for removing stitches that are not easily seen or accessed with scissors.
They are tiring to cut, but if you make one single mistake of pulling or pruning, your fabric will get ruined. The one thing that everyone fears to face while removing stitch is destroying their fabric by accidentally ripping it or making big homes on it.
If you want to remove a stitch from your fabric without ruining it, you need to be very careful and use a seam ripper. People who are very particular about their work use seam rippers all the time because they make the job much easier.
How Does Seam Ripper Work?
It is lovely to be confused about the whole seam ripper thing if you have never seen it before. Just to explain the model to it, it looks like a tweezer but has a surgical outline. The middle of the tweezer is sharp, which will work to cut the thread that you want to cut.
Many watercolor artists use ivory to create their paintings because it provides a good texture when used in the medium. Ivory is a type of bone that is used for a variety of purposes, including the manufacture of brushes and other types of painting implements.
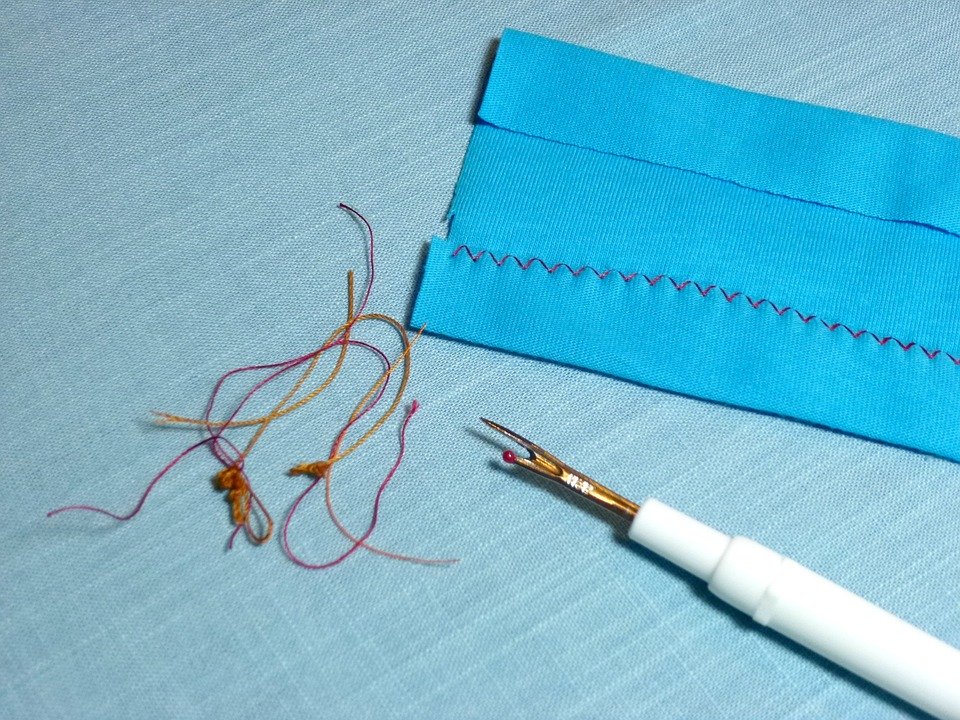
Ripping out stitches with a seam ripper is much easier than using scissors, and it will save you a lot of time. Once you start using a seam ripper, you’ll never go back to using scissors.
Zig Zag Stitch
Before we move onto know how to use a seam ripper on zig zag stitch, let us give you a short review on zig-zag stitch.
There are many patterns of sewing you will find, and one of them is zig-zag patterns. This pattern is quite popular as it is easy to do by hand and available as an option on almost all sewing machines.
A lot of people love to use zig-zag stitch because it can secure the fabric properly. Also, the whole outline is very good to look at. So, no matter where you are putting the zig-zag pattern on, you will have a good-looking stitch.
If you are trying the zig-zag pattern by hand, you can do it quickly. The first step is to draw a straight stitch, followed by a diagonal stitch across. Continue doing the same process; you will be done with your secure zig-zag stitch.
Learn: How to Use a Seam Ripper on Zig Zag Stitch
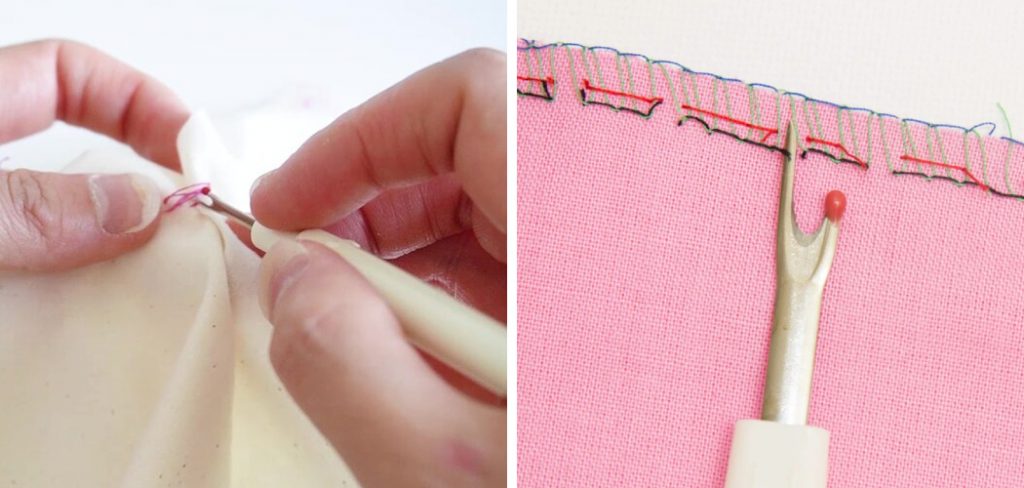
A seam ripper is a tool used to remove stitches. It has a sharp point that is used to cut the thread, and a small hook that is used to pull the thread out of the fabric.
To use a seam ripper on a zig-zag stitch, you need to be careful not to cut the fabric. First, you need to find the end of the thread. Then, you use the sharp point to cut the thread, and the hook to pull the thread out.
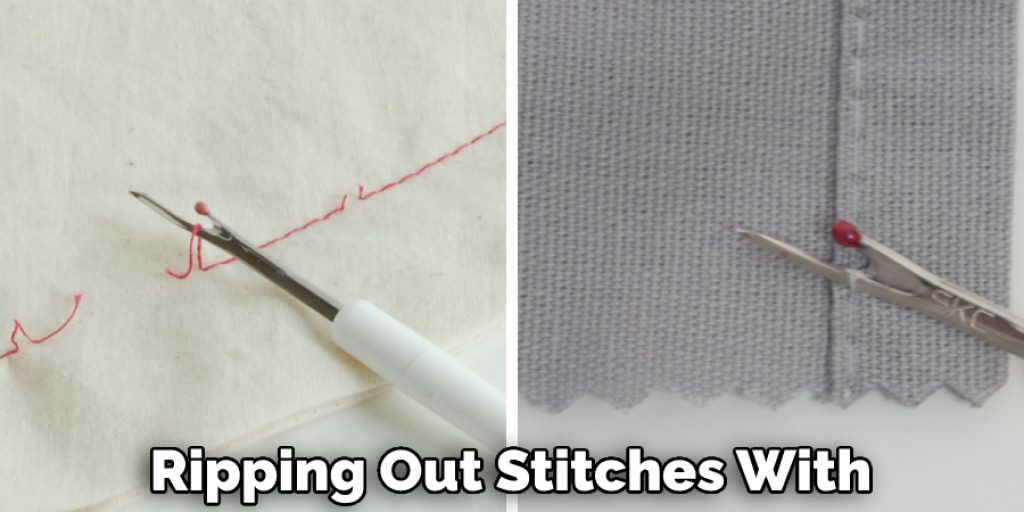
As for zig-zag pattern stitch, they do not have too much confusion. They are not only easy to do but also very easy to remove. So, the first thing you will be doing is putting the ripper’s sharp side through one of the zig-zag stitches.
But before you do, remember to start the process from the middle as it will give you proper access to everything.
After that, you need to rip the thread slowly with the sharp part of the tool. You will start to see that the stitch will come loose once you broke one stitch.
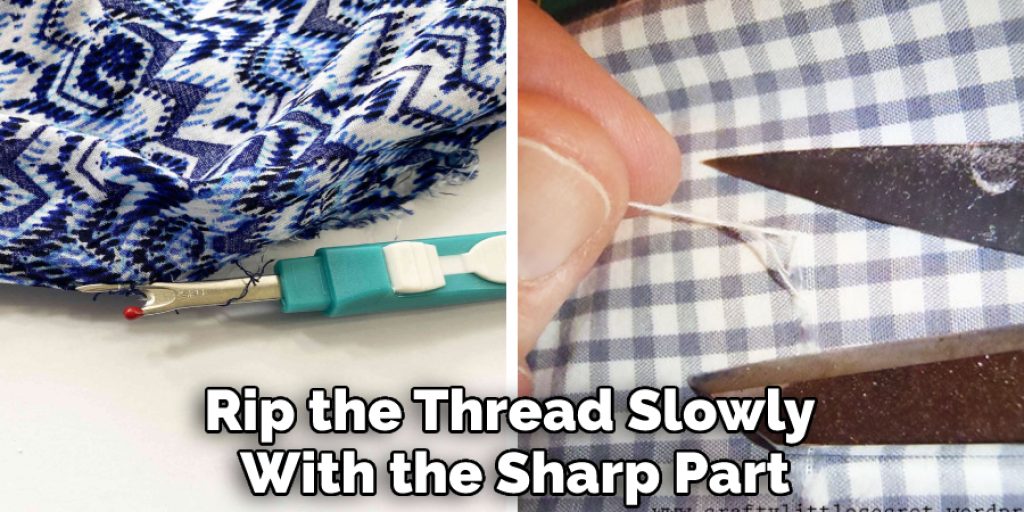
The zig-zag pattern stitch involves cutting one of the stitches and then slowly removing it. Next, you need to find where the other stitches end and cut the thread. Repeat this process until all of the stitches are removed.
The tool is very sharp, so you need to be careful not to get hurt or accidentally rip the fabric. Also, you need to be careful when tugging the threads out as you can end up making the holes more prominent than before.
Final Thoughts
There you go, that is all you need to learn to know how to use a seam ripper on zig zag stitch. The thing is that it is not hard. Instead, it is very easy to use. But what everyone worries a lot is that you can accidentally ruin the fabric. Well, chances are less when you are using a seam ripper rather than scissors. Hopefully, you will be benefitted by our help on figuring out how to use the ripper when you are trying to remove zig-zag stitch.