
How to Use a Stitch Counter
A stitch counter is an invaluable tool for knitters and crocheters alike, helping to ensure that projects are completed with accuracy and precision. Whether you’re tackling a complex pattern or simply trying to maintain consistent stitch counts, a stitch counter can simplify the process and enhance your overall crafting experience.

This guide on how to use a stitch counter will explore the various types of stitch counters available, how to use them effectively, and tips for integrating them into your projects to elevate your skills and efficiency.
Why Use a Stitch Counter?
Before diving into the specifics of using a stitch counter, it’s important to understand why they are such an essential tool for knitters and crocheters.
Firstly, stitch counters help you keep track of your progress in a project by counting each individual stitch or row completed. This can be especially helpful when working on more complex patterns that require multiple stitch counts within a single row or round.
In addition, using a stitch counter can also increase accuracy and consistency in your work. By keeping track of each stitch and row, you can ensure that your finished project will have clean lines and even tension throughout.
Types of Stitch Counters
There are several types of stitch counters available, each designed to cater to different preferences and needs. The most common types include:
Manual Stitch Counters:
These are simple, mechanical devices that feature a button you can press to count each stitch or row. They are typically portable and easy to use, making them an excellent choice for knitters and crocheters who prefer a straightforward approach.
Digital Stitch Counters:
For those who appreciate technology, digital stitch counters offer a modern solution. These devices often come with features like the ability to store multiple counts, track progress over time, and even connect to smartphones for enhanced functionality.
App-Based Stitch Counters:
With the rise of smartphones, many crafters now turn to mobile apps that function as stitch counters. These apps can provide additional capabilities, such as setting reminders or accessing pattern guides, making them a versatile option for tech-savvy individuals.
Row Counters:
While not exclusively stitch counters, row counters serve a similar purpose by specifically tracking the number of rows completed, which can be particularly useful in larger projects.
By understanding the various types of stitch counters available, you can choose the best tool to suit your crafting style and enhance your overall experience.

Needed Materials
Before you begin using a stitch counter, it’s important to have all the necessary materials on hand. Depending on the type of stitch counter you’re using, this may include:
- Manual or Digital Stitch Counter
- Yarn and Knitting/crochet Needles or Hooks
- Project Pattern
- Pen and Paper (for Keeping Track of Multiple Counts)
Make sure to gather all your supplies before starting your project to prevent any interruptions or delays in the counting process.
8 Step-by-step Methods on How to Use a Stitch Counter
Method 1: Manual Stitch Counter
- Start by attaching the stitch counter to your knitting/crocheting needles or hooks, ensuring that it’s easily accessible but not in the way of your working yarn.
- Begin your project as usual, counting each stitch or row as you go along. Once you’ve completed a stitch or row, press the button on the counter to keep track of your progress.
- Continue knitting/crocheting and repeating this process until you reach the desired number of stitches or rows.
- If you need to take a break between counting, make sure to reset the counter back to zero before continuing.
- At any point in your project, you can check the count on your stitch counter to ensure accuracy and make adjustments if needed.
- Once you’ve finished your project, reset the stitch counter back to zero and store it in a safe place for future use.
Method 2: Digital Stitch Counter
- Follow the manufacturer’s instructions on how to set up and operate your specific digital stitch counter.
- Make sure the counter is within reach but not obstructing your working yarn.
- Begin counting each stitch or row as you work, using the designated buttons or features on the device.
- Some digital stitch counters allow you to save multiple counts, so make sure to take advantage of this feature if needed for more complex projects.
- Use any additional features, such as reminders or timers, according to your preferences and project needs.
- Reset the counter and store it safely when not in use.

Method 3: App-Based Stitch Counter
- Download a stitch counter app on your smartphone and follow the instructions to set it up.
- Open the app and access the stitch counting feature.
- Begin knitting/crocheting and count each stitch or row by tapping the designated area on your phone’s screen.
- Some apps may offer additional features, such as setting reminders or accessing pattern guides, so make sure to explore them and see how they can enhance your experience.
- Once you’ve finished your project, reset the counter back to zero and save any necessary counts for future reference.
Method 4: Row Counter
- Similar to the manual and digital stitch counters, attach the row counter to your knitting/crocheting needles or hooks.
- Begin counting each row as you work, using the designated button on the counter to keep track.
- If you need to take a break, reset the counter back to zero before continuing.
- Use multiple counters if needed for more complex patterns with varying row counts.
- Reset and store the counter when not in use.
Method 5: Pen and Paper
- For those who prefer a more traditional approach, use pen and paper to manually count your stitches or rows.
- Keep a tally of each stitch or row completed by making a mark on the paper.
- Use a separate sheet or section of the paper for each count to prevent confusion.
- Once you’ve finished your project, double-check your counts and make adjustments if needed before storing the paper for future reference.
Method 6: Using Stitch Markers
- For larger projects with multiple repeats or sections, stitch markers can be used as a visual reminder of where you are in the pattern and how many stitches/rows have been completed.
- Place a marker after every designated number of stitches/rows according to your pattern instructions.
- As you work, move the marker along with your project to keep track of progress.
- If using multiple markers, make sure to differentiate between them by color or size.
- Make sure to remove all markers before finishing the project.
Method 7: Counting by Fives or Tens
- If you prefer a more relaxed approach, try counting your stitches/rows in groups of five or ten instead of one at a time.
- For example, after completing five stitches/rows, make a mark on pen and paper or press the button on your stitch counter once to indicate a group of five.
- This method can also be used alongside other counting methods for added accuracy.
Method 8: Using a Combination Approach
- Depending on the complexity and personal preference, you can use multiple counting methods in combination with each other to best suit your needs.
- For example, use a manual stitch counter for tracking individual stitches and a pen and paper for keeping track of larger sections or repeats.
- Experiment with different combinations until you find what works best for you.
By mastering the use of various stitch counters, you can save time, reduce frustration, and improve the accuracy of your knitting/crocheting projects. Remember to always have the necessary materials on hand and choose the method that suits your crafting style to enhance your overall experience.
Additional Tips
- Practice makes perfect when it comes to using stitch counters, so don’t be discouraged if you make mistakes at first.
- Make sure to check your counts regularly to prevent any errors from going unnoticed and causing major setbacks in your project.
- Utilize the additional features of digital apps or counters, such as reminders and pattern guides, for a more efficient and organized experience.
- If you’re working on a complex project with multiple sections or repeats, consider using different colored markers or counters to keep track of each section separately.
- Don’t hesitate to ask for help or advice from fellow crafters if you’re struggling with a certain method or need guidance on choosing the right counter for your project. Overall, the key is to find a counting method that works for you and helps make your knitting/crocheting experience more enjoyable.
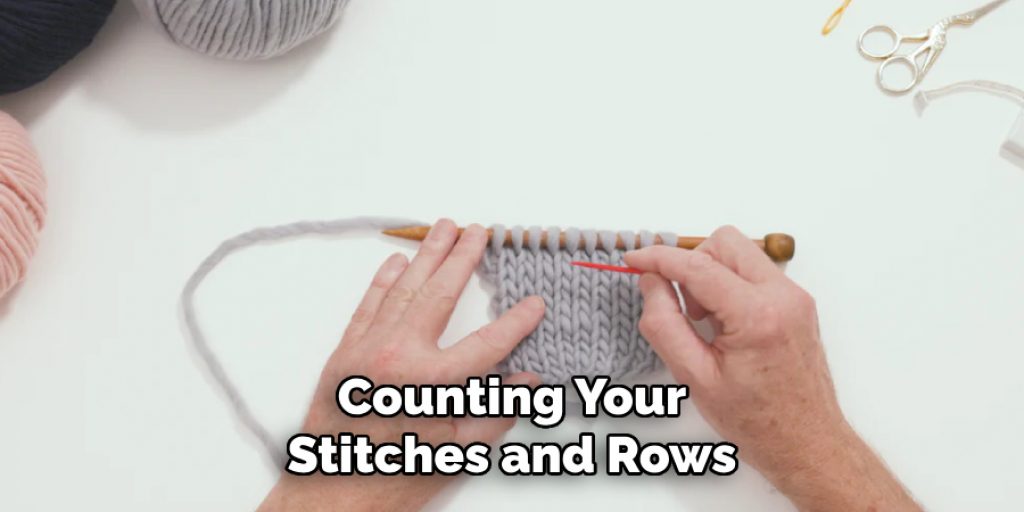
With these tips and methods on how to use a stitch counter in mind, counting your stitches and rows will no longer be a daunting task but rather an essential tool for ensuring the success of your projects.
Conclusion
In conclusion, mastering the various methods on how to use a stitch counter is essential for achieving accuracy and consistency. Whether you prefer traditional techniques, digital solutions, or a combination of approaches, the key is to find what resonates best with your crafting style. Regular practice and attention to detail will help you confidently track your progress while minimizing frustration.
By implementing these counting strategies and tips, you can enhance your crafting experience, ensuring that you complete projects successfully and enjoyably. Remember, each project is an opportunity to refine your skills and explore new techniques, so embrace the journey and happy crafting!
Elizabeth Davis
Elizabeth is a creative writer and digital editor based in the United States. She has a passion for the arts and crafts, which she developed from a young age. Elizabeth has always loved experimenting with new mediums and sharing her work with others. When she started blogging, she knew that DIYquickly would be the perfect platform to share her tutorials and tips. She's been writing for the blog from the beginning, and her readers love her helpful advice and easy-to-follow instructions. When she's not writing or editing, Elizabeth enjoys spending time with her family and friends.


