
How to Fix Hairline Cracks in Phone Screen
The screens on smartphones are made of glass, which is a brittle material. This means that it can crack easily when dropped or impacted in some other way. It’s a good idea to know how to fix hairline cracks in phone screen, so you don’t end up with a broken phone!
What is a Hairline Crack?
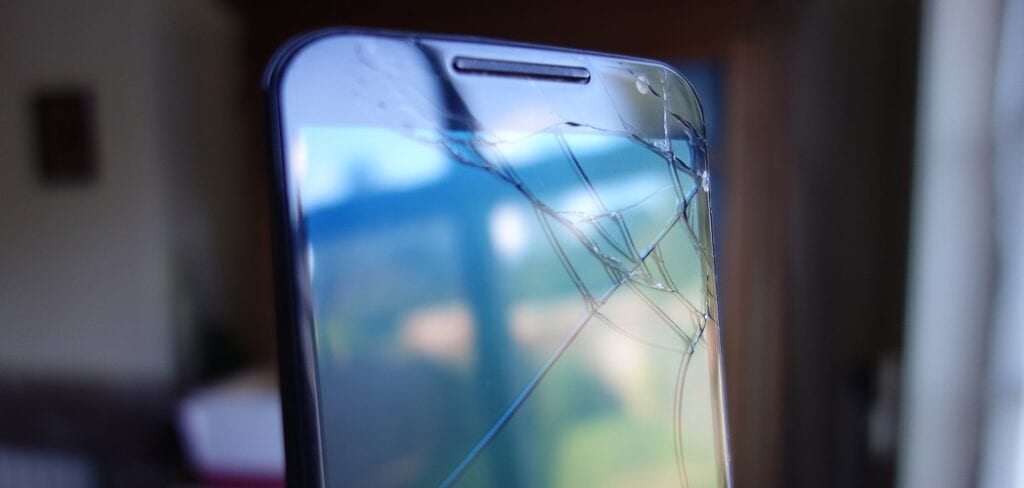
A hairline crack is a small, thin crack that appears on the surface of the phone screen. It usually appears as a single line and is often barely visible unless you look closely. This type of crack can occur due to everyday use or from dropping the phone on a hard surface. Hairline cracks can also appear as a result of manufacturing defects or physical pressure on the phone screen.
It’s essential to fix hairline cracks as soon as possible, as they can lead to further damage if left untreated. The cracks can expand and spiderweb across the screen, making it difficult to use the phone. Additionally, moisture and dirt can enter through the crack, causing internal damage to the phone.
What Causes Hairline Cracks?
Hairline cracks can be caused by a variety of factors, including:
- Dropping the phone on a hard surface
- Applying too much pressure on the screen
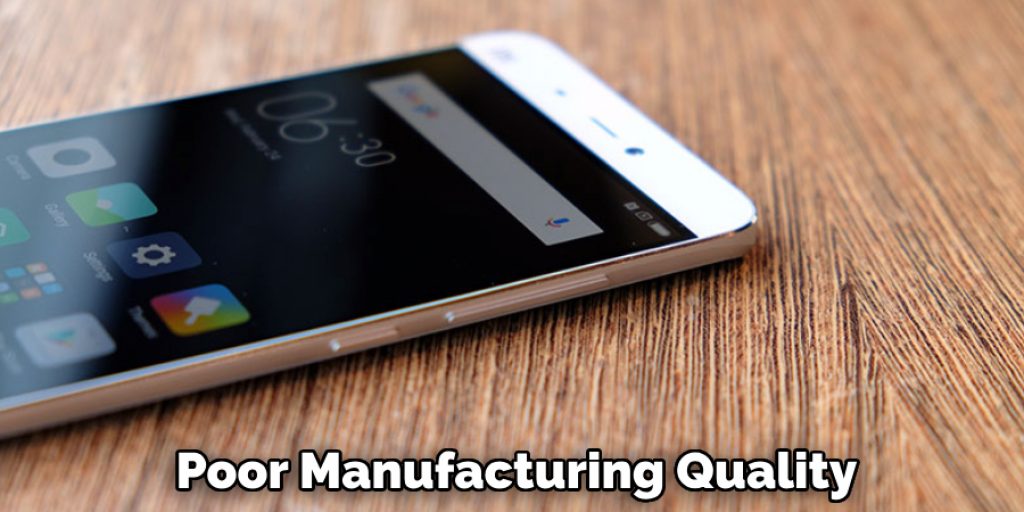
- Poor manufacturing quality
- Extreme temperature changes
- Natural wear and tear over time
Required Tools and Materials:
Microfiber Cloth:
This is used to clean the screen before and after the repair. It is important to use a microfiber cloth as it will not scratch the screen like other materials might. You can find these at most electronics stores or online.
Screen Repair Kit:
This is a kit that contains all the tools and materials needed to fix small cracks in a phone screen. It usually includes items such as adhesive, replacement screens, and other necessary tools for the repair. You can find these kits at most electronics stores or online.
Tweezers:
These are used to remove any glass fragments or debris from the screen before beginning the repair. It’s important to use tweezers to avoid touching the screen with your fingers, as this can leave oils and smudges on the surface.
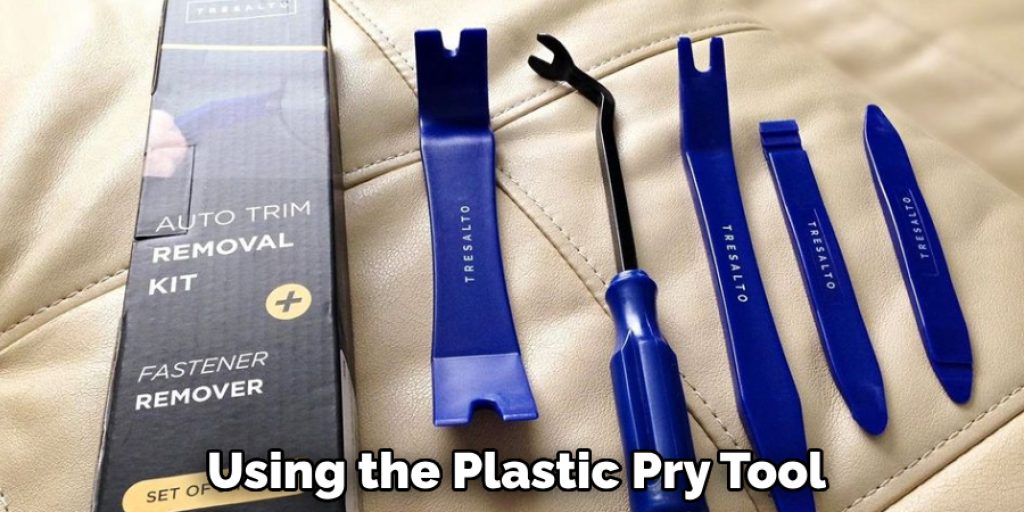
Plastic Pry Tool:
This tool is used to safely pry open the phone’s screen without causing any damage to the device. It is essential in removing the cracked screen and replacing it with a new one.
Instructions: How to Fix Hairline Cracks in Phone Screen :
Step 1: Power Off the Phone
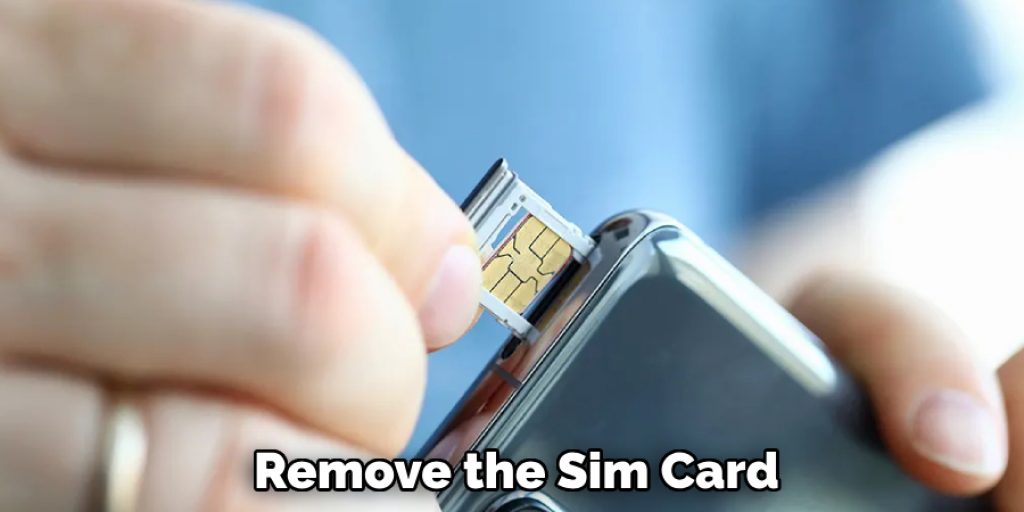
Before starting the repair, make sure to turn off your phone and remove any protective case or cover. This will prevent any accidental damage to the phone or yourself during the repair process. You can also remove the SIM card and memory card if your phone has one. It’s important to take precautions and protect the internal components of the phone. You can power off your phone by holding down the power button and selecting “power off” from the options.
It’s also a good idea to have the necessary tools and materials ready before starting the repair. This will save you time and prevent any delay in fixing the cracked screen. You can refer to the list of required tools and materials mentioned above.
Step 2: Clean the Screen
Use a microfiber cloth to gently clean the screen of any dirt, dust, or debris. This will ensure that there are no particles present when you begin the repair process. If there is a lot of debris or dirt on the screen, you can use a small amount of rubbing alcohol to clean it. Be sure to let the alcohol dry completely before moving on to the next step. The screen must be completely clean before repairing it. But be careful not to apply too much pressure while cleaning, as this could make the crack worse.
You can also use a specialized screen cleaner to clean your phone screen. It’s important to avoid using harsh chemicals or abrasive materials, as they could damage the screen further. The goal is to clean the screen gently without causing any additional harm.
Step 3: Remove the Screen
Using the plastic pry tool, slowly and carefully remove the cracked screen from the phone. It’s crucial to be gentle and take your time during this process to avoid causing any further damage. If there is any resistance while prying open the screen, stop immediately and reassess. You may need to use more force in some areas, but be cautious not to apply too much pressure. If you are unsure, it’s best to seek professional help.
Otherwise, continue to slowly pry open the screen until it is completely removed from the phone. You may need to use the tweezers to remove any broken glass fragments or other debris from the phone’s body.
Step 4: Clean the Inside of the Phone
Once the screen is removed, you can use a small amount of rubbing alcohol on a cloth or cotton swab to clean the inside of the phone. This will remove any adhesive residue or debris left by the cracked screen. It’s important to be careful and not apply too much alcohol, as it can damage internal components if it seeps in.
You can also use compressed air to blow away any remaining debris or dust from the phone. This will ensure that the new screen has a clean surface to adhere to.
Step 5: Prepare the New Screen
Carefully remove the new screen from its packaging and lay it on a flat surface with the adhesive side facing up. It’s important to handle the screen gently and avoid touching the adhesive surface with your fingers. You can use tweezers to handle the screen if necessary. It’s also a good idea to check the new screen for any defects before proceeding.
You can also apply a small amount of adhesive evenly on the edges of the new screen. This will ensure that it adheres properly to the phone when you place it.
Step 6: Align and Place the New Screen
Gently align the new screen with the phone’s body, making sure all edges match up correctly. Once aligned, slowly press down on the screen to adhere to the phone’s body. Be sure to apply even pressure and avoid pressing too hard in one spot, as this could cause the screen to crack again.
There may be some excess adhesive around the edges of the screen. You can use a cloth or paper towel to wipe away any excess and ensure a clean finish. It’s important to do this step immediately before the adhesive sets.
Step 7: Apply Pressure
To ensure that the screen adheres properly, apply pressure on all edges of the screen for at least a minute. You can use your fingers or a specialized tool for this, depending on the type of adhesive used. Follow any additional instructions from the screen repair kit, if applicable. It’s important to make sure that the screen is securely in place before moving on to the next step.
You can also use a hairdryer on low heat to heat the edges of the screen, which will help the adhesive set faster. You can do this for a few minutes before removing the pressure.
Step 8: Clean the Screen
Gently clean the new screen with a microfiber cloth to remove any fingerprints or marks. It’s important to be careful and gentle during this process to avoid damaging the screen again.
If there are any bubbles under the screen, you can gently press down on them with your finger or use a specialized tool to remove them. It’s important to do this before the adhesive sets completely.
Step 9: Let it Set
It’s important to let the screen set for at least an hour before using your phone again. This will ensure that the adhesive is fully adhered and the screen is secure. You can also check any additional instructions from the repair kit, as some may recommend a longer setting time. You can use this time to clean up your workspace and put away any tools or materials used during the repair.
It’s also a good idea to avoid any extreme temperatures or exposing the phone to water during this time. This could affect the adhesive and potentially cause the screen to come loose. The longer you let the screen set, the better.
Step 10: Test the Screen
Once the screen has been set, you can power on your phone and test the new screen. Check for any touch sensitivity issues or discoloration. If everything looks good, congratulations! You have successfully repaired your cracked phone screen.
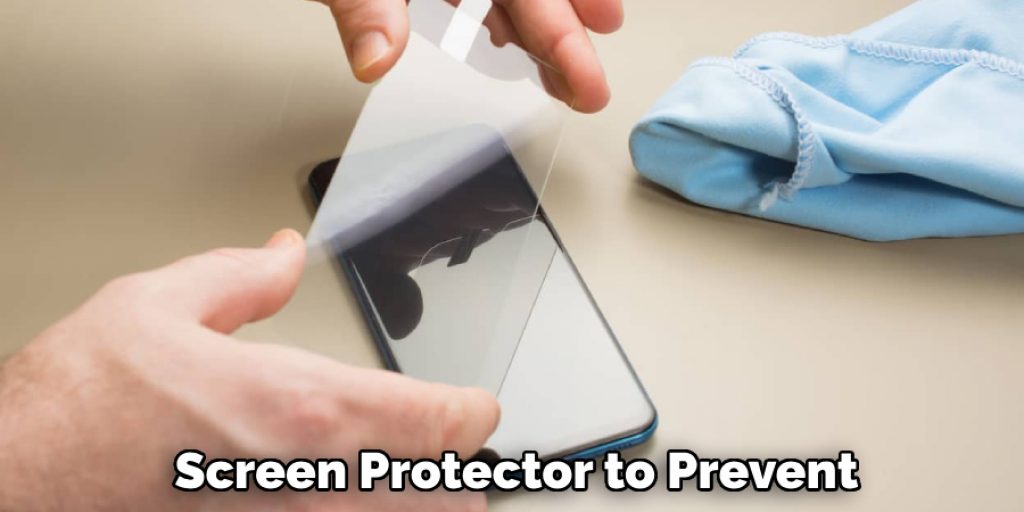
If there are any issues, it’s best to consult a professional or contact the manufacturer for assistance. It’s also important to note that DIY screen repair may void your phone’s warranty, so proceed with caution and at your own risk. In the future, consider using a protective case or screen protector to prevent any potential damage to your phone screen. Prevention is always better than repair.
Following these steps on how to fix hairline cracks in phone screen and being cautious can save you time and money in the long run. Always take your time and be gentle when repairing any phone, as one small mistake could lead to more damage. And remember, if you don’t feel comfortable doing the repair yourself, it’s always best to seek professional help.
Types of Cracks in Phone Screen:
a) Scratches:
Scratches are the most common type of hairline cracks in phone screens. Scratches happen when your finger slides across a rough surface (e.g., desk, car door) or is scratched by something such as sandpaper.
b) Hairline Cracks:
A crack can show up on your iPhone’s touch screen if you drop it and land on one corner with some force; this may also cause an impact break, which occurs when drops hit in different places where the glass might be weaker than other spots (e.g., the corners). Hairline cracks often start from impurities within the glass, like dust particles that settle during production, but they’re not always visible until after hours of usage because they are so fine.
c) Full or Partial Shatters:
If the hairline cracks are full or partial shatters, then you might already have a big problem. When glass particles break off inside your phone, they can cause short circuits and lead to fire risks if not removed by an expert technician.
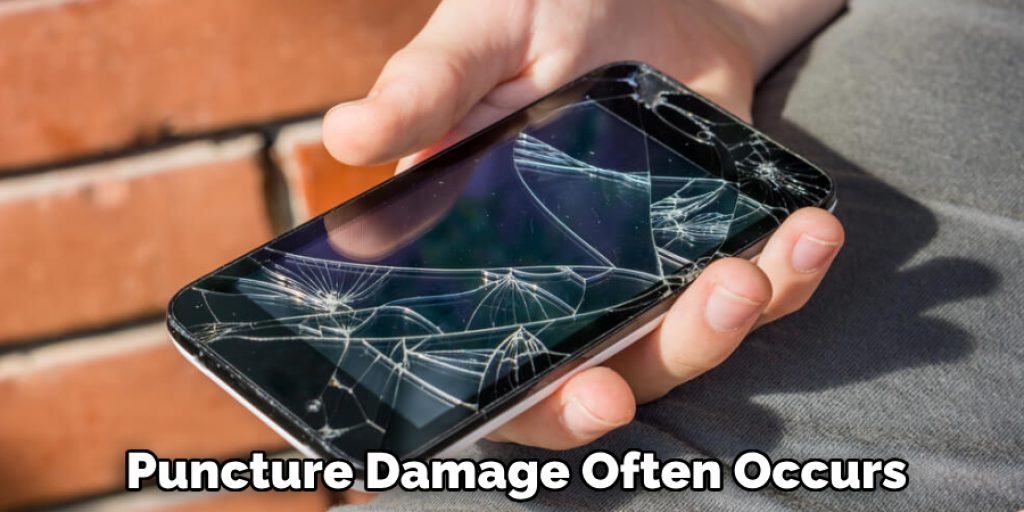
d) Puncture Damage:
Puncture damage is when a hairline crack becomes too large and it shatters. Puncture damage often occurs due to drops and might happen from something as innocuous as turning up the volume of your phone or pressing on one side for long periods of time. A puncture in your screen can also cause damage to the LCD inside, which is what you see when you turn on your phone.
e) Spiderweb Damage:
In case of a significant impact or drop on your phone’s screen, spiderweb-like cracks might appear. These types of cracks often indicate that the glass has been significantly weakened and may need to be replaced entirely.
f) Touchscreen Malfunction:
In some cases, a cracked screen may not display any visible damage but can still cause issues with the touchscreen’s sensitivity. If you notice that your touchscreen is not responding properly or has dead spots, it may be due to a crack on the screen.
Some Tips & Advice To Prevent Cracks is Phone Screen:
1) Use a soft cloth to wipe your screen clean and dry it off afterward. This will help prevent any dust or dirt from interfering with the adhesive on the phone’s case.
2) Do not use pressure when tapping on the touchscreen; this can cause hairline cracks in your mobile device’s display, which are difficult to repair. Try using two fingers instead of one finger for typing since more space between each tap prevents putting too much pressure on the glass surface while typing.
3) Keep an eye out for dropped phones! If you drop your phone once, the chances are that there is no damage at all – if you do it multiple times, then you may see some hairline cracks develop in your displays as well as other parts of your phone.
4) Avoid pressing on the side of your device. If you do, it may cause hairline cracks to develop in that part of the phone’s screen as well.
5) Use a glass protector whenever possible for added protection against damage from falls or scratches and cracks.
Frequently Asked Questions:
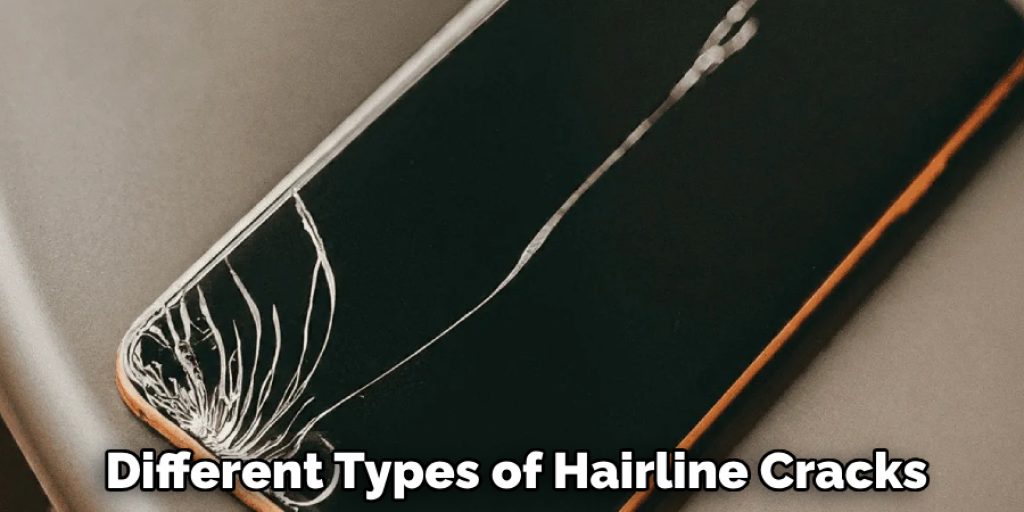
Q: How to Recognize Hairline Cracks in Phone Screen?
A: There are a few different types of hairline cracks you will see on your phone, but the most common one is horizontal. This type usually appears at the top or bottom edges of the screen and can be seen by looking straight down onto it. You may also notice that colors don’t light up as much when there is an issue with this crack line.
Q: How To Fix Hairline Cracks in Phone Screen After They Appear?
A: If you notice hairline cracks, act quickly! You should have access to something like an adhesive or tape so that you can cover up this issue before any more damage occurs to your device’s screen. Use these products as needed until you are able to get your hands on a replacement for this part completely – at which point, most individuals recommend contacting customer service representatives at their smartphone manufacturer because they will often provide free parts within certain warranty periods.
Q: Can Hairline Cracks Lead To Other Types of Damage?
A: Yes, hairline cracks can potentially lead to other types of damage if left untreated. For example, a hairline crack may expand over time due to pressure or more drops and eventually turn into a full shatter, which can cause serious issues with your phone’s display. Additionally, dirt and dust particles can enter through hairline cracks and cause further damage to the internal components of your phone, leading to potential malfunctions.
Q: Can I Fix Hairline Cracks in the Phone Screen Myself?
A: While it is possible to fix hairline cracks yourself, we recommend consulting with a professional for the best results. DIY methods may not provide a long-term solution and can potentially cause further damage to your phone screen. It’s better to seek expert help or get your phone repaired by a certified technician. However, if you are confident in your abilities and have the necessary tools and materials, then carefully following online tutorials or instructions from the manufacturer may help you fix hairline cracks on your phone screen. It is important to proceed with caution and take proper safety measures when attempting any DIY repair on electronic devices.
Conclusion:
The hairline cracks in your phone screen are a major pain when it comes to using the device. However, depending on how deep they go and where they’re located, there may be some simple remedies that can help you get back up and running with minimal downtime.
Here in this article on how to fix hairline cracks in phone screen, we’ll explore some of these options so that you can decide which one is best for your situation. As always, if none of them work or seem like too much trouble, then let us know in the comment section below.
Check it out to learn to Fix Black Spot On IPhone Screen.


