How to Use a Tire Balancer
Are you looking for a creative way to spruce up your craft projects? Why not give tire balancers a try? Creating something unique or decorative can be incredibly rewarding, but it often involves having to use tools and materials that are unfamiliar. A tire balancer is one tool that is often used in crafting projects for a variety of purposes, such as balancing furniture legs or stabilizing items with uneven textures.
Whether you’re just starting out working with tires or have been using them for years, this post on how to use a tire balancer will offer something new and exciting ideas about how these unique materials can revolutionize your crafts. The versatility of this device makes it an essential part of any crafting project though knowing how to properly use it can be tough. In this blog post, we’ll cover everything you need to know about using a tire balancer for your next craft project to ensure you get the most out of your work!
What is the Function of a Tire Balancer?
The tire balancer is a device used to balance your tires. By using this tool, you can ensure that each side of the tire has equal air pressure and weight distribution, which will help improve the handling of your vehicle. This tool works by measuring the amount of air pressure inside a tire and then adjusting it accordingly to make sure it’s evenly distributed.
To use a tire balancer, you’ll need to attach it securely to the wheel of your car. The device will then measure the air pressure inside the tire and then adjust accordingly. When measuring, keep in mind that different sizes of tires may require different types of balancing machines due to their size and weight.
Required Items
Before you begin the tire balancing process, there are a few items that you’ll need to have on hand. These include:
- The tire balancer itself
- A set of wheel weights
- Valve stems and core removers
- An air pressure gauge
- Safety glasses and gloves
10 Ways How to Use a Tire Balancer
Now that you know what a tire balancer does, it’s time to get into the specifics of how to use one. Here are 10 useful tips for using your tire balancer:
1. Gather Tools
Make sure you have all the necessary items on hand before starting (listed in the “Required Items” section). This includes the tire balancer, wheel weights, valve stem, core removers, an air pressure gauge, safety glasses, and gloves.
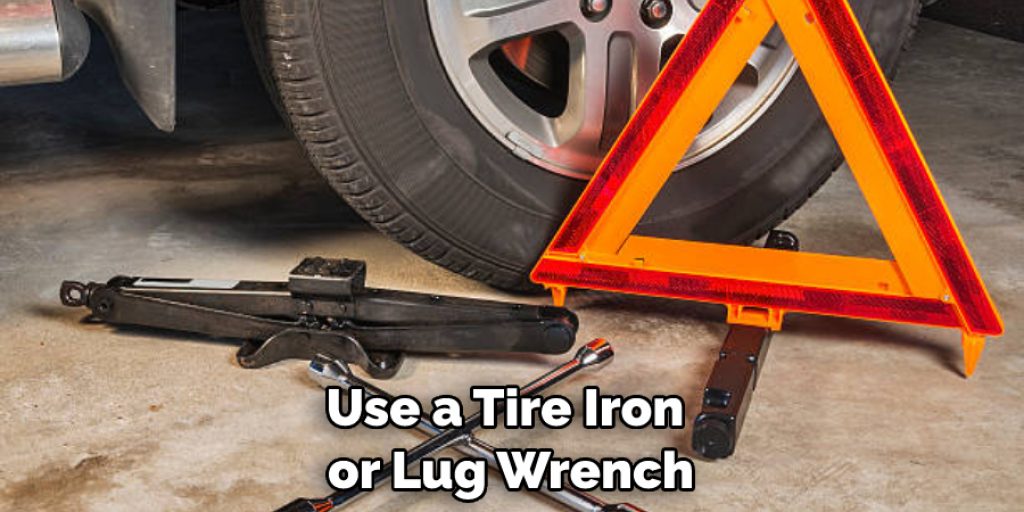
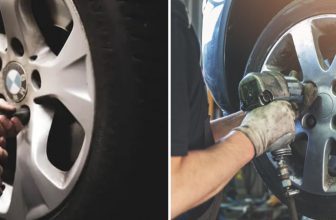
2. Remove Tires
Use a tire iron or lug wrench to remove the tires from the rim of your car. Removing tires from the rim can be tricky, so you’ll want to practice with a spare tire before attempting it on your vehicle. While doing this, make sure to be extremely careful so you don’t damage the tires or the rim.
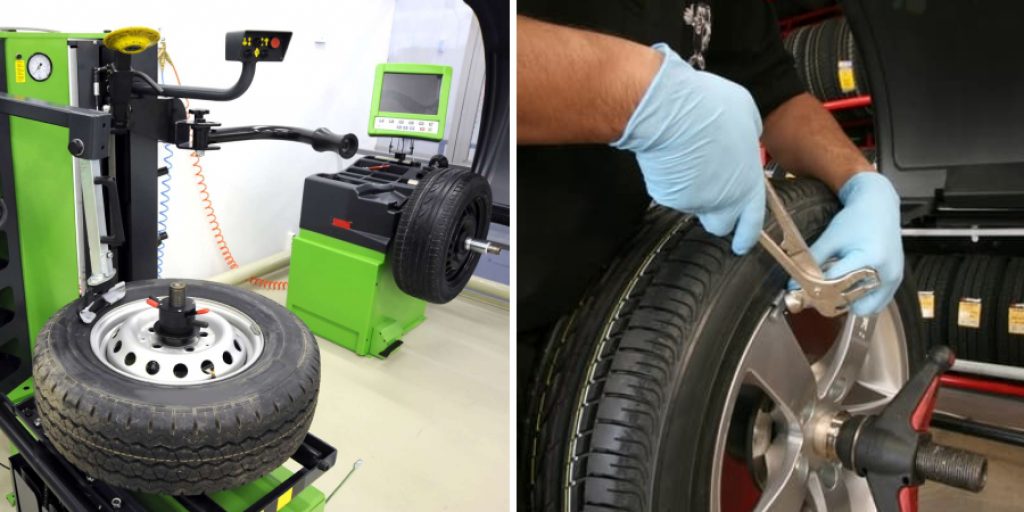
3. Attach Tire Balancer
Once the tires are off, attach your tire balancer securely to the wheel and tighten it until it doesn’t move. The balancer should make contact with the inner part of the wheel.
4. Take Measurements
The tire balancer will measure the amount of air pressure inside each tire and then adjust it accordingly. It’s important to take several readings before making any adjustments, as even a small error in measurement can lead to unbalanced wheels.
5. Adjust Tire Pressure
Using the air pressure gauge, adjust the tire pressure as necessary. Remember to take multiple readings before making any adjustments and check all sides of the wheel for balance. Tire pressure should be adjusted in small increments until the wheel is balanced.
6. Replace Tires
Once the tire balancer has finished its work, replace the tires back on the rim and use a lug wrench to tighten them securely. Make sure that they are properly attached before trying to drive your vehicle again.
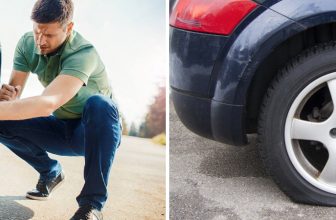
7. Check Balance
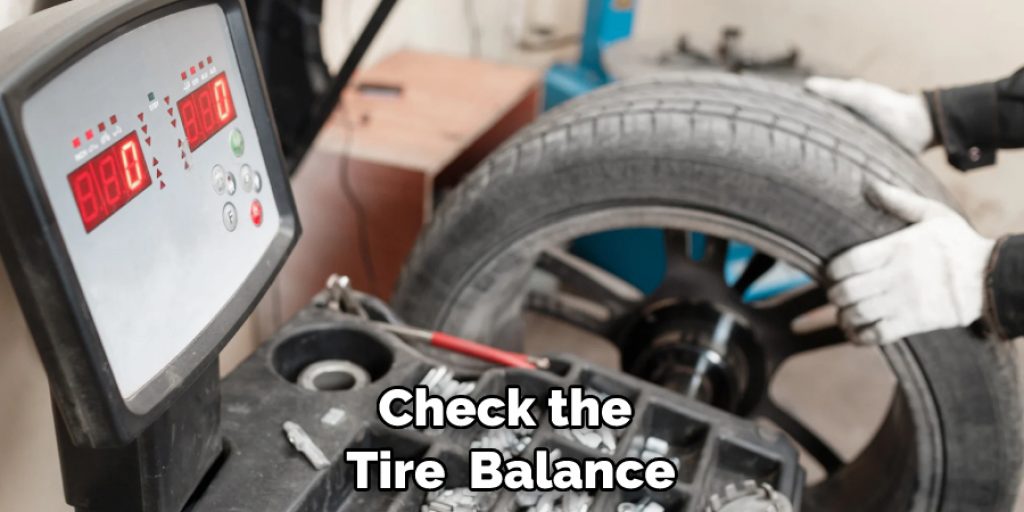
After you’ve put the tires back on, take your car for a spin. Pay attention to how the vehicle handles and use the tire balancer to check that the wheels are balanced again if needed. The balance should be checked regularly to make sure your car is driving safely.
8. Rebalance Tires
If the measurements taken with the tire balancer indicate that a wheel is unbalanced, you’ll need to rebalance it. This involves adjusting the air pressure in the tires again until they are perfectly balanced.
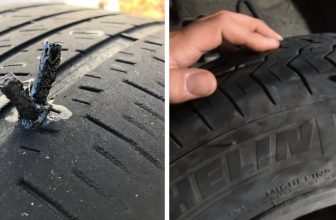
9. Monitor Tire Wear
Keep an eye on the wear of your tires. If you notice that one side is wearing down faster than the other, it could be a sign that your wheels are unbalanced and need to be rebalanced with the tire balancer.
10. Replace Tires as Needed
Inspect your tires regularly for signs of wear and tear. If the tread is worn down, then it’s time to replace them. This will ensure that your car is driving safely and that you get the most out of your tires.
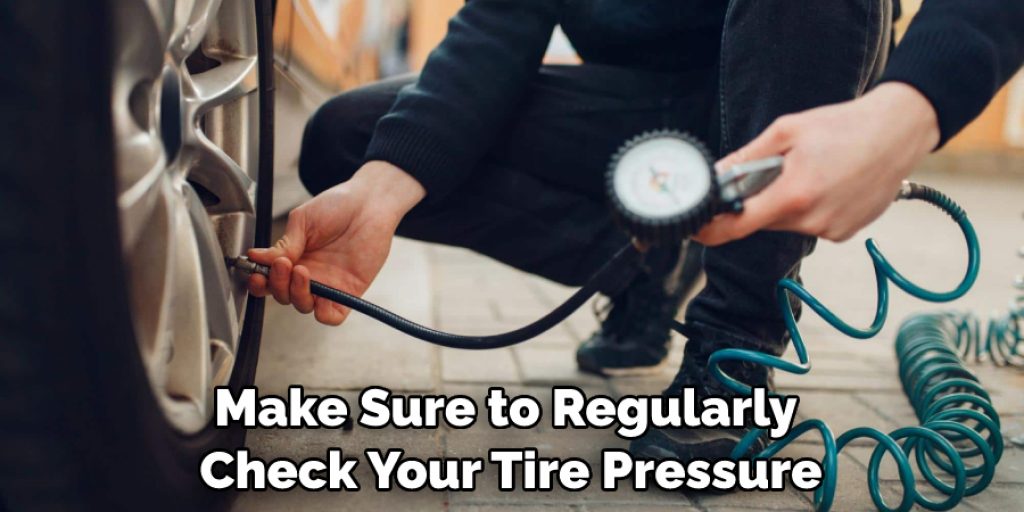
With these 10 tips for using a tire balancer, you should now be able to keep your wheels in perfect balance! Make sure to regularly check your tire pressure, and always use safety glasses and gloves when you’re working with a tire balancer.
8 Safety Measures to Follow
When using a tire balancer, it is important to remember some safety measures. Here are 8 safety measures that should be followed when using a tire balancer:
1. Read and understand the manufacturer’s instructions before operating or attempting to service any tire balancer. Reading instructions will help you understand the machine’s features and how to use them safely.
2. Wear protective clothing and safety glasses when working with a tire balancer. This will protect you from any flying objects that may be created by the spinning of the wheel. Protective clothing may also prevent contact with hot surfaces or parts of the machine.
3. Make sure that all guards, covers, and shields are in place before you begin using the tire balancer. These will help protect you from any flying objects created by the spinning wheel. The wheel should be balanced on the wheel balancer, and all shields and guards should be secured in place.
4. Make sure that the work area is clean and free of debris or objects that could interfere with the operation of the tire balancer. Clean up any oil spills before beginning to use the machine.
5. Make sure that your hands are dry and free of any oil or grease before you attempt to use the tire balancer. Oil and grease can cause the wheel to slip off the tire balancer and create a dangerous situation.
6. Make sure that all electrical connections are secure before operating the machine. Check for frayed wiring, loose wires, etc., that could create a safety hazard.
7. Never leave the machine unattended while it is running. If there are any problems with the tire balancer that need to be attended to, turn off the machine and unplug it before attempting repairs or adjustments.
8. Make sure to use only genuine parts when replacing or repairing parts of the tire balancer. Using the wrong parts could create a safety hazard and cause damage to the machine.
By following these 8 safety measures, you can ensure that your tire balancer is used safely and effectively. Remembering to take proper safety precautions will help keep you safe while using the tire balancer. Never hesitate to contact the manufacturer or a professional if you have any questions or concerns.
Frequently Asked Question
How Much Will It Cost?
The cost of using a tire balancer will depend on the type of machine and the size and weight of your tires. Generally, it costs around $20 to $50 per tire to have them balanced by a professional. It may be possible to buy or rent a tire balancer if you plan on doing a lot of balancing in the future.
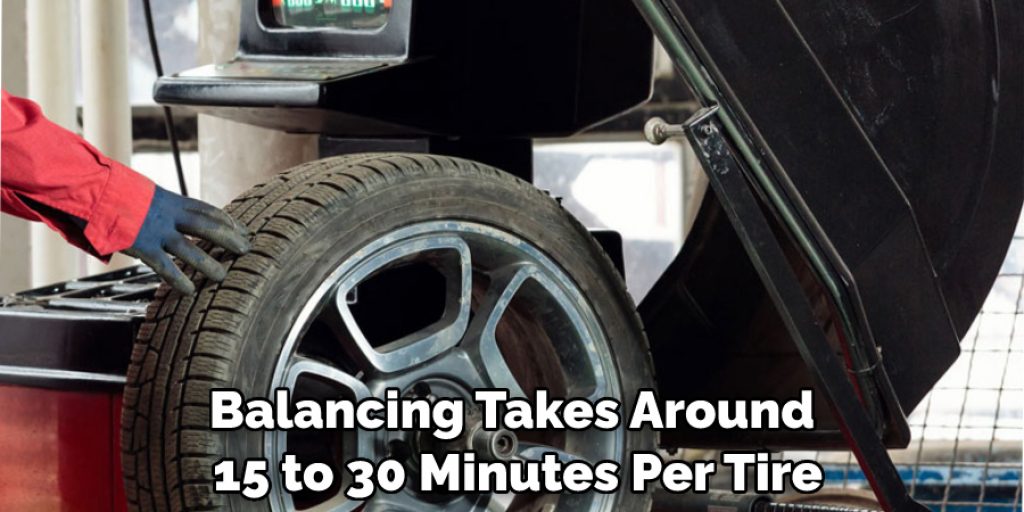
How Long Does It Take?
Tire balancing typically takes around 15 to 30 minutes per tire, depending on the size and weight. The amount of time it takes may increase with heavier or larger tires. If any adjustments need to be made after the initial balance, then this will add additional time as well.
How Often Should I Balance My Tires?
Most experts recommend checking your tires every 6,000 to 8,000 miles. For those who use their vehicle in more extreme conditions (off-roading or frequent trips on rough roads), then the interval should be closer to 4,000 miles.
Conclusion
With the right tools and step-by-step approach, you can easily learn how to use a tire balancer. From balancing individual tires to setting up whole wheel assemblies, understanding the process of balancing is key for efficient vehicle maintenance. And while a tire balancer may not be light in your pocketbook, it will surely save you from costly and time-consuming issues due to unevenly balanced tires.
To protect yourself and your loved ones, invest in a quality tire balancer that ensures comfortable driving and gives you peace of mind. Furthermore, don’t forget to make sure that it also works as a wheel alignment tool so that your car or truck remains straight on the road this summer! Lastly, if all else fails, why not craft your very own DIY custom tire balancer? Put your creativity and mechanical skills to the test and who knows – maybe one day, everyone will be using your handmade masterpiece!
Louis Wein
Louis has always been fascinated by cars. He loves the way they look, the sound of the engine, and how they make him feel when he's driving. He is always keen to learn more about different mechanics of cars and how the engine contributes to other aspects of the car. As an automotive technician with over 10 years of experience, he knew how they worked and loved taking them apart to see how they went back together. He was especially interested in the mechanics of combustion engines and loved finding ways to make them more efficient. He loves to work on cars and help people keep their vehicles running smoothly. As a senior editor, he enjoys contributing to Diy quickly because it allows him to share his knowledge and expertise with others.