
How to Use Stencil Paper
Stencil paper is an indispensable tool for artists, crafters, and DIYers. It’s also a great way to make your own stencils. You can buy stencil paper at any art supply store or online, but you may want to consider making your own if the project requires many stencils.
Stencil paper can be cut with scissors, X-acto knives, or laser cutting machines available in many schools and businesses. The type of blade used will depend on the material you’re cutting through; harder materials such as card stock require sharper blades than softer materials such as newsprint or tracing paper. Read this full blog post to learn more about using stencil paper.
What is Stencil Paper?
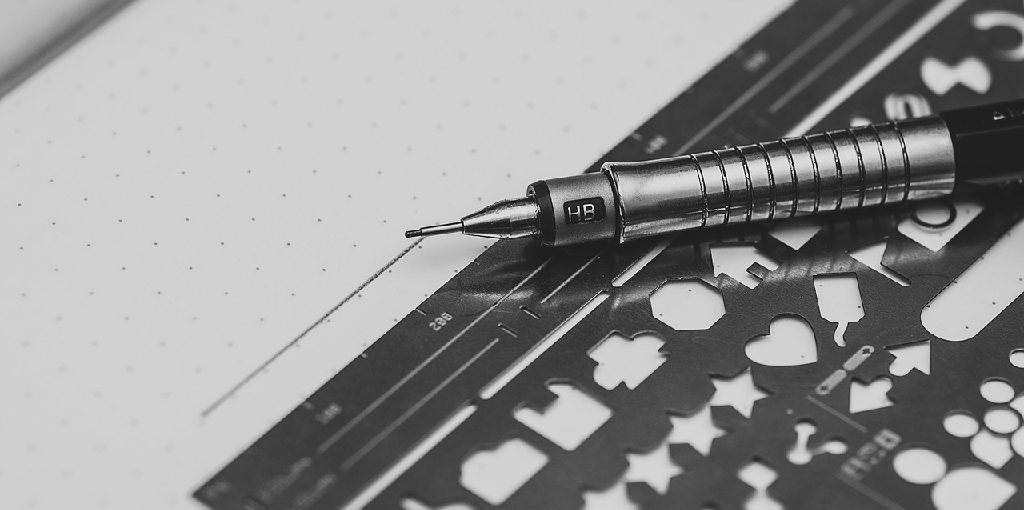
Stencil paper is an excellent type of paper that is most commonly used in stencil making. Artists can use various papers to make stencils, but especially processed stencil paper is the preferred material for many artists. Different papers have different thicknesses and surfaces, so artists should try different types to determine which paper works best for their stencil-making needs.
Why Use Stencil Paper?
The advantage of using stencil paper is that it can make different stencils, including letters, patterns, shapes, and even images. This versatility makes it a trendy choice for artists who want to create works in multiple mediums without investing in many different stencil-making materials.
Stencil paper is also easier to obtain than many other types of stencil-making papers, and it’s typically easier to work with as well.
10 Ways on How to Use Stencil Paper:
Stencil paper is a reusable adhesive stencil that can be applied to any surface to create a design or pattern. It’s a great way for crafters of all ages and abilities to add an extra layer of creativity to their paper projects. Here are 10 ways to use stencil paper for creative projects.
1. Decoupage a Glass Vase or Container
Using stencil paper for decoupage is a simple way to add an extra layer of creativity to any craft project. Cut the stencil out, cover it in Mod Podge, and carefully set it atop a glass container or vase. Repeat with multiple layers if desired to build up the creativity.
2. Make Paper Flowers
For crafters who love to make paper flowers, stencil paper can add an extra bit of creativity while also helping to make the task easier. Cut out a stencil of one or more petals and use it while cutting multiple pieces of paper; each flower will look like it came from the same sheet of paper.
3. Create a Mobile
Crafters can create their own mobile using stencils and other types of stencil-making materials to add an artistic touch to the nursery or playroom. Decorate stenciled shapes with acrylic paint or embellishments such as ribbon or fabric for a creative mobile the whole family will enjoy.
4. Make a Decal or Sticker
To make a decal or sticker, start with a design and a computer printer. Once the design is complete, print it onto an inexpensive sheet of paper to use as the base for the sticker. Cut out the shape from stencil paper and apply it to the base design; use Mod Podge to affix it if needed. Let the sticker dry completely, then embellish with paint or other embellishments.
5. Engrave Wooden Items
Wooden items like blocks can be decorated with stencils and engraved for an extra layer of creativity. Just lay out the block and press the stencil down firmly, then color over it with a fine-tipped Sharpie permanent marker. Once the design has been engraved, paint or embellish as desired.
6. Make Stenciled T-Shirts and Dresses
Using stencil paper to create t-shirts and dresses is fun for kids to add a personalized style to their wardrobe. Cut out a stencil and use it with fabric paint or acrylic paint to create a unique design that will have everyone asking where they got such an awesome shirt or dress.
7. Create Stenciled Posters
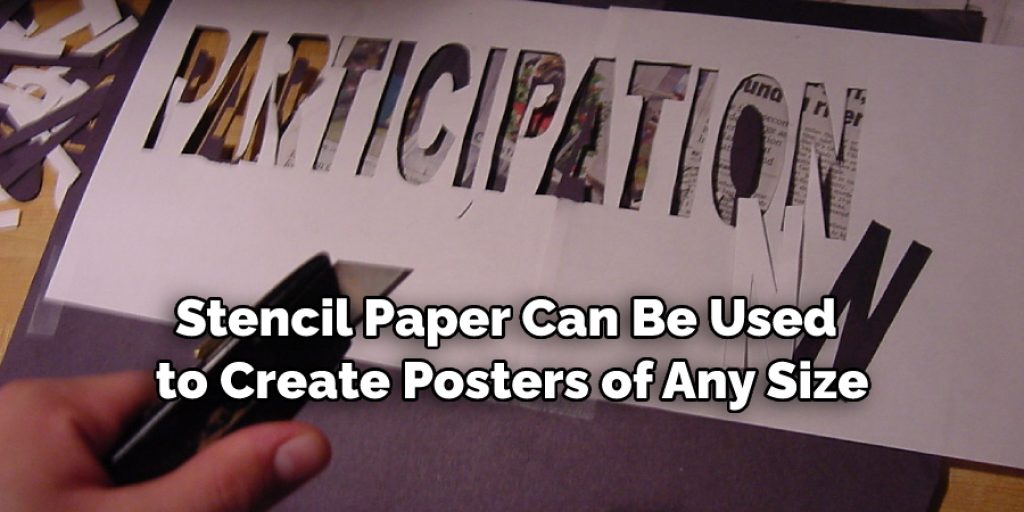
Stencil paper can be used to create posters of any size. Simply lay out the stencil, cut it out and use removable adhesive spray or double-sided tape to attach it directly to the wall. Paint over the stencil using acrylic paint for an eye-catching mural that’s perfect for a bedroom, playroom, or hallway.
8. Make Stenciled Cards
Stencil paper can be used to decorate handmade cards for birthdays, holidays, or other special occasions. Cut out part of the stencil and use it with markers, paint, or glitter glue. Over the cardstock Since all designs are hand-drawn using stencils, each piece will turn out uniquely.
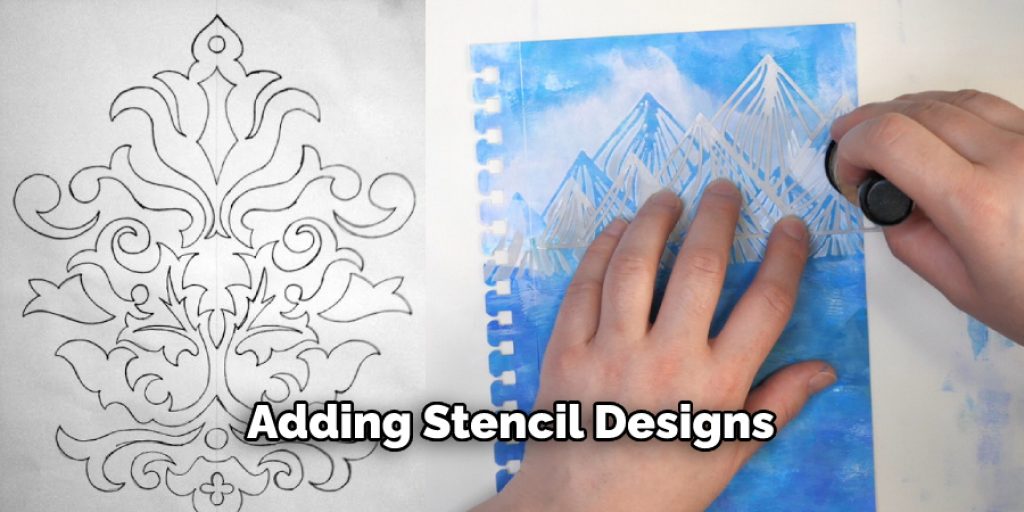
9. Create Stenciled Pillows and Cushions
Adding stencil designs to throw pillows or cushions is a fun way for crafters of all ages to add an extra layer of creativity to their decor. To start, cut out the design with stencil paper, then lay it down over the pillow or cushion. Place a sheet of wax paper over the stencil, then carefully iron it to heat up and affix it to the pillow or cushion. Allow cooling completely before removing the stencil.
10. Make Stenciled Bags
Bags can be decorated using stencil paper, just like pillows or cushions; lay out the stencil, then iron it down as explained above. Once the design has been affixed to the bag, embellished with paint or other embellishments for a creative touch, everyone will ask where they got such an awesome bag.
Conclusion:
You are now armed with all the knowledge you need to start using stencil paper. This material is perfect for many projects, especially if you’re looking for a way to add some dimension and detail without worrying about excess paint bleeding out of your lines.
The only thing left for you is to go ahead and try it! Have you tried it yet? If not, we hope this article on how to use stencil paper has inspired you to give stencil paper a try!
You May Also Read Our Other Article On – How to Stencil on Glass Jars
Elizabeth Davis
Elizabeth is a creative writer and digital editor based in the United States. She has a passion for the arts and crafts, which she developed from a young age. Elizabeth has always loved experimenting with new mediums and sharing her work with others. When she started blogging, she knew that DIYquickly would be the perfect platform to share her tutorials and tips. She's been writing for the blog from the beginning, and her readers love her helpful advice and easy-to-follow instructions. When she's not writing or editing, Elizabeth enjoys spending time with her family and friends.


