How to Use the Mr Clean Mop
Are you tired of sweeping and mopping your floors only to find more dirt that appears as you clean? I know the struggle of wrestling with a dull spinning mop or broom that pushes dirt around rather than lifting it.
For years, I battled with traditional mopping methods, never genuinely getting my floors clean, no matter how long I pushed that mop back and forth. But then I discovered the legendary Mr. Clean magic eraser mop – a miracle cleaning tool that has completely changed how I clean my floors. With its dual-sided microfiber pads that trap and lock away dirt and grime, this mop lifts floors to a shine with minimal effort.
In this blog post, I will share my simple steps and methods for how to use the mr clean mop and say goodbye to dirty floors for good.
What Will You Need?
Before we dive into the step-by-step process, let’s make sure you have all the necessary tools and materials for using the Mr. Clean mop effectively. Here are the things you’ll need:
- The Mr. Clean magic eraser mop (of course!)
- Water
- A bucket or container to hold water
- Cleaning solution of your choice (optional)
- A dry cloth or towel for drying floors
Once you have all the materials, it’s time to start mopping!
10 Easy Steps on How to Use the Mr Clean Mop
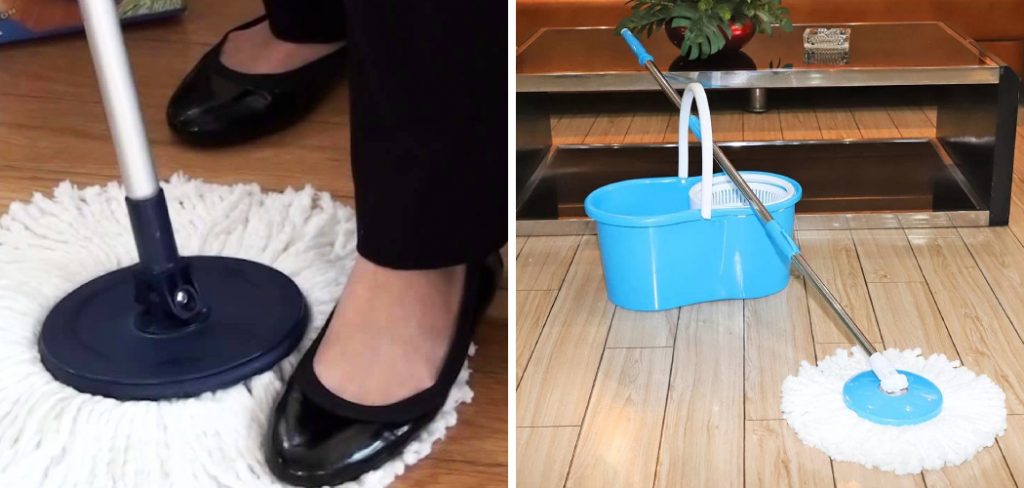
Step 1. Prepare the Mop Head
Before using your Mr Clean mop, it is essential to prepare the mop head. Start by removing the mop head from its packaging and attaching it to the mop handle. Then, rinse the mop head with cold water to remove any dirt or debris that may be present. After rinsing, squeeze out any excess water and let the mop head air dry before use.

Step 2. Apply Cleaning Solution
Next, fill a bucket with warm water and add a few drops of Mr Clean cleaning solution or other all-purpose cleaner to create a soapy mixture. Dip the mop head into the bucket and swish it around until it is thoroughly saturated with the cleaning solution. Squeeze out any excess liquid before mopping your floors.
Step 3. Mopping Your Floors
Now, you are ready to start mopping! Begin by starting in one corner of the room and working your way across in small sections, overlapping each section slightly as you go. Make sure to apply pressure when mopping to help lift dirt and grime from your floors more effectively. When you have finished vacuuming, rinse the mop head with clean water and let it air dry before storing it away for next time.
Step 4. Removing Stubborn Stains
You may need to put in a little extra elbow grease for tougher stains or grime buildup. In this case, simply dampen the magic eraser side of the mop and scrub the stain with gentle pressure until it is lifted away. Then, continue mopping as usual.
Step 5. Drying Your Floors
After you’ve finished mopping, it’s crucial to dry your floors to prevent slipping and moisture damage. Use a dry cloth or towel to mop up the excess water on the floors. Alternatively, you can let the floor air dry if you have the time. Remember to keep the area ventilated until the floor completely dries.
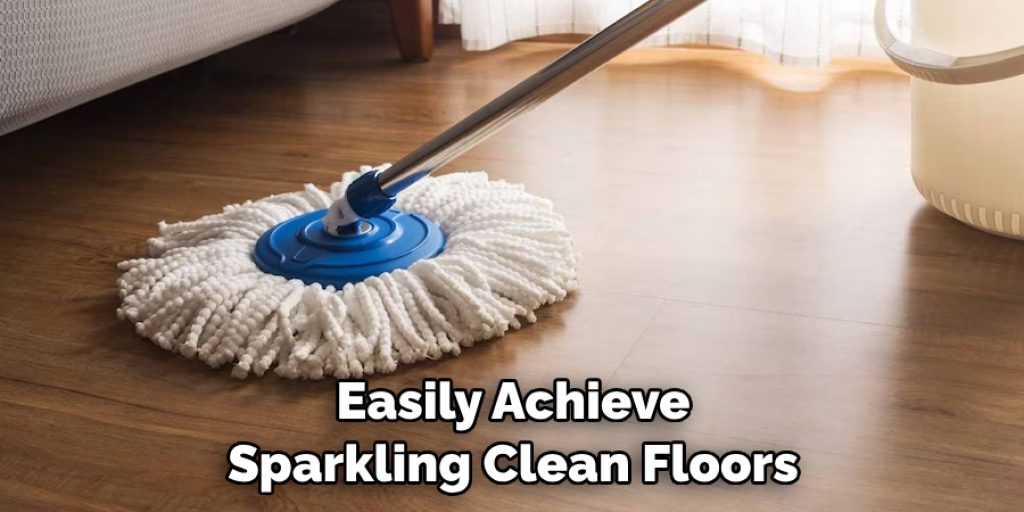
Once your floors are dry and shining, you can replace any rugs or furniture you might have moved during cleaning. This marks the end of the cleaning process using the Mr. Clean mop. So, enjoy your refreshed and sparkling clean floors!
Step 6. Cleaning the Mr. Clean Mop
After you’ve achieved your sparkling clean floors, it’s essential to pay attention to the mop’s cleaning itself. Begin by removing the microfiber mop head. Rinse it under warm running water, wringing it out repeatedly until it clears. You can also wash the mop head in your washing machine on a gentle cycle for a deeper clean.
Remember not to use bleach or fabric softener as it may damage the microfibers. Once done, let the mop head air dry before attaching it to the handle. Store your Mr. Clean mop in a dry area, ready for your next cleaning adventure.
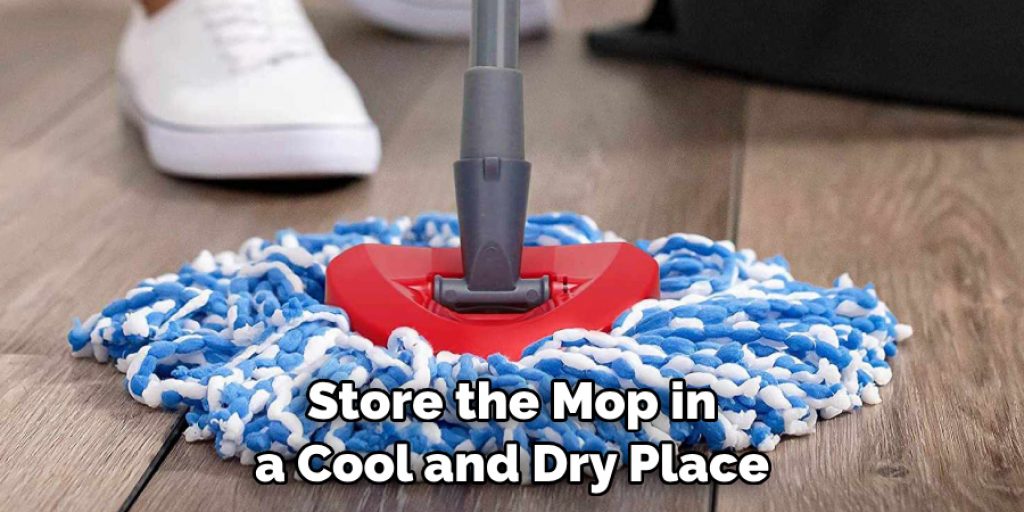
Step 7. Storing the Mr. Clean Mop
Storing the Mr. Clean mop correctly is also critical to its efficiency and longevity. Once the mop head is dehydrated, reattach it to the mop handle. Store the mop in a cool and dry place, preferably hanging off the ground to prevent the mop head from becoming dirty or misshapen. Avoid leaving the mop in damp or humid areas to prevent mold or mildew growth. Proper storage will ensure your Mr. Clean mop is ready for your next cleaning task.
Step 8. Try Different Mopping Techniques
While the traditional back-and-forth mopping technique works well, try different techniques for cleaning your floors. For example, you can use figure-eight or circular motions to mop your floors. These techniques help you reach tight corners and crevices often missed with regular back-and-forth mopping.
Step 9. Use the Mr. Clean Mop on Different Surfaces
The Mr. Clean mop is not just limited to cleaning hardwood floors; it can also be used on surfaces such as tile, vinyl, and laminate flooring. You can even use it on walls or ceilings for a quick spot clean. Be careful not to use the mop on unfinished or waxed surfaces, as it may damage them.
Step 10. Keep Your Floors Clean
To keep your floors clean longer, implement good cleaning habits such as removing shoes before entering the house, wiping spills immediately, and regularly sweeping or vacuuming floors. Doing so will help reduce the need for deep cleaning every time and prolong the life of your Mr. Clean mop. Try using a doormat at the entrance of your house to minimize the amount of dirt and grime brought in from outside.
Following these simple steps, you can easily achieve sparkling clean floors using the Mr. Clean magic eraser mop. So, say goodbye to dirty floors and hello to a more effective and effortless cleaning routine!
5 Things You Should Avoid
- Avoid Using the Mop Dry: The Mr. Clean mop is designed to be used wet for maximum effectiveness. Using it dry might not give you the desired results and could scratch your floors. Always make sure the mop head is well-saturated before use.
- Never Soak the Handle in Water: While the mop head is designed to be water-friendly, the handle isn’t. Avoid soaking the handle in water, as it could lead to rust or damage over time.
- Don’t Use Bleach on the Mop Head: Bleach could damage the microfibers in the mop head, affecting its effectiveness. Instead, stick to mild cleaning solutions or simply use warm water for washing.
- Don’t Let the Mop Sit in Dirty Water: After each use, clean the mop head thoroughly. Letting it sit in dirty water could lead to bacterial growth and unpleasant odors.
- Never Store the Mop Wet: Always let the mop head dry completely before storing it. Storing the mop while it’s still wet could cause mold or mildew to grow, undermining your cleaning routine’s hygiene.
By avoiding these common mistakes, you can ensure your Mr. Clean mop stays in top condition and provides you with sparkling clean floors for a long time.
Can I Wash Mr. Clean’s Spin Mop Head?
Absolutely! The Mr. Clean spin mop is designed to be machine-washable, making it easy to keep clean and hygienic. Simply remove the microfiber mop head from the handle and toss it in your washing machine on a gentle cycle with mild detergent. Make sure not to use bleach or fabric softener, as these may damage the microfibers.
Once done, air-dry the mop head before reattaching it to the handle. And there you have it, a clean Mr. Clean spin mop ready for your next cleaning task!
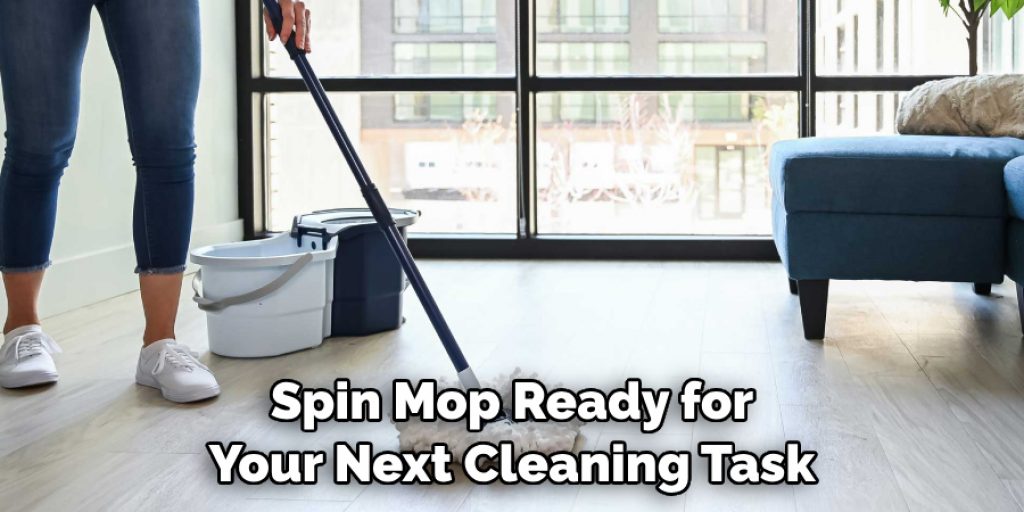
Additionally, you can also wash the mop head by hand if you prefer. Use warm water and mild detergent, rinse it thoroughly, and air dry before reattaching it to the handle. Regularly cleaning your spin mop head will help maintain its effectiveness and ensure a more hygienic mopping experience.
Conclusion
While using the Mr. Clean mop, you should feel confident in your cleaning efficacy and performance. This easy-to-use essential tool will help keep your space neat, clean, and free of stubborn dirt and grime. In making sure to always take good care of your mop by following the manufacturer’s instructions for cleaning and storing it correctly, you can enjoy many years of satisfaction and efficiency with a friendly, spotless swept area at the end of each use!
Hopefully, this guide has helped teach you how to use the mr clean mop effectively and efficiently. Remember, practice makes perfect, so be bold and try different techniques and methods until you find what works best for you. With a little effort and the right tools, keeping your floors clean will become a breeze! Now go forth, armed with your knowledge on
So don’t hesitate – grab your Mr. Clean mop today, get to work, show off your results, and enjoy the newfound freedom of a sparkling clean floor!
Angela Ervin
Angela is the executive editor of DIY quickly. She began her career as an interior designer before applying her strategic and creative passion to lifestyle and home. She has close to 15 years of experience in creative writing and online content strategy for housekeeping, home decorations as well as other niche efforts. She loves her job and has the privilege of working with an extraordinary team. She lives with her husband, two sons, and daughter in Petersburg. When she's not busy working she spent time with her family.