
How to Weave a Rug Without a Loom
Introduction:
Weaving is one of the oldest crafts in history. The Rug, or floor covering, was used for warmth and comfort long before it became an art form woven by hand with colorful wool threads. Today rugs are viewed more as works of art than valuable items, but that trend didn’t begin until the eighteenth century. Before then, spare materials were used to create wall hangings or mats for eating or sitting on.
Before woven rugs, there were knotted ones; these were made from leftover scraps of yarn by threading them through a backing, so they formed knots in patterns called “pile.” In this article, I will discuss how to weave a rug without a loom.
A Detailed Stepwise Guide on How to Weave a Rug Without a Loom:
Step 1 :
Supplies needed are simply a 14-inch knitting needle, some sturdy string or yarn that is at least three ply, an old toothbrush(optional), and of course, the materials for the actual Rug itself. The Rug itself can be any shape or size depending on what you want your finished product to be. I have chosen to do a round rug, but all steps are the same no matter what size you choose.
For this tutorial, I will be using acrylic yarn which is easy to work with, especially for beginners because it doesn’t fray when cut. In contrast, cotton would leave jagged edges if one were to attempt to cut it without hurting themselves in the process.
Step 2 :
First off, take some sturdy string about 60 inches long and double it. Tie a knot around one end, leaving about 15 inches from the short end from where you knotted off to the long end.
Step 3 :
Slide your knitting needle through this loop and, using a ruler, measure your string at 1/4 inch intervals until you have five evenly spaced marks on each side of your Rug lengthwise(for me, this meant ten total). Make sure not to make them too close together because if you do, there won’t be enough room to fit all of the loops through one needle hole when it comes time to weave them in!
When finished, tie another knot at the opposite end, making sure that it is still an even distance apart from opposite ends, then cut off any excess or yarn that might be sticking out of the knots.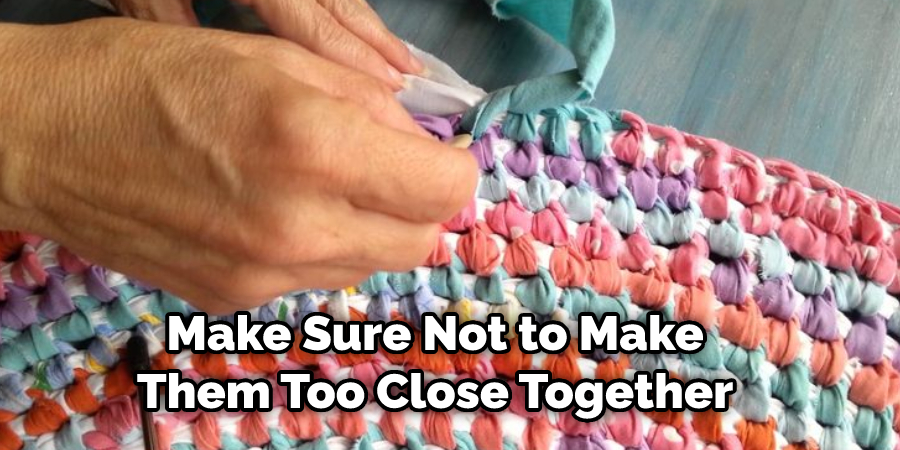
Step 4:
Now, take another piece of string about 60 inches long again and tie it to one end of your first string, making sure that both are evenly spaced apart, leaving 15 inches between each end knot. Make sure that the second string is right next to where you tied on the first one because you will be using this needle for this part instead of a new one! Keep in mind, though, that if you have a wooden rug frame or something similar(which you can make yourself), feel free to use a different needle for every color instead of re-stringing it over and over again.
Step 5:
Put a reasonably large knot at one end, leaving about 10 inches from the neck up until the opposite end of the string on the opposite side.
Step 6 :
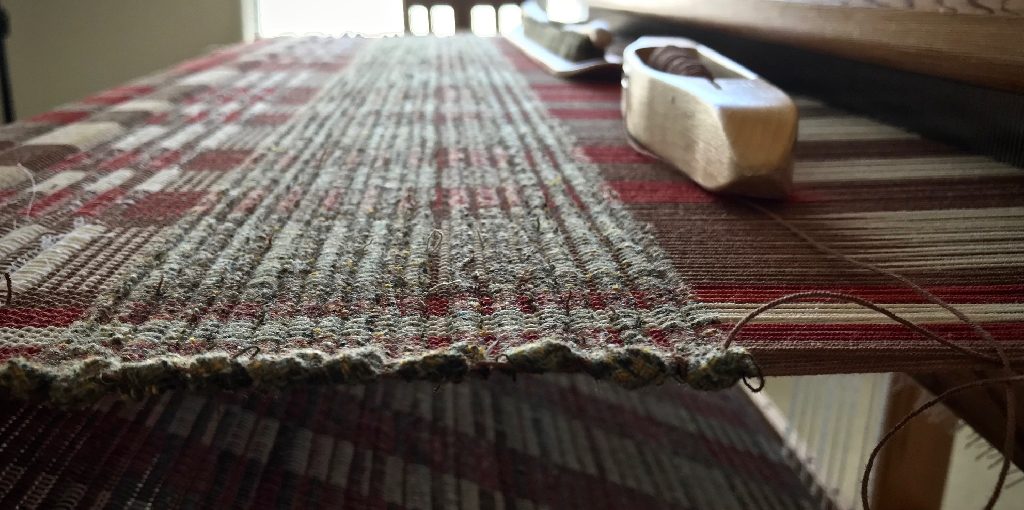
Now, weave your needle and knotted strings in and out, making a big diamond pattern all the way across until there is about an inch or two of loose yarn on either end. You can use an old toothbrush to get inside some of the spaces between the loops if you like, but it’s unnecessary, especially if they are minimal!
Step 7 :
Take another piece of string that is 60 inches long again and tie it onto one end knot leaving 15 inches from the neck until the opposite end knot. Then weave this string through just as you did with string number 5, but this time do so differently by going over each loop instead of under them, resulting in a diagonal pattern. Once finished, tie a knot at the opposite end and cut off any excess yarn, especially careful not to snip your needle.
Step 8 :
Now continue with steps 5 & 7 until you have completed all of your diamonds across the whole surface area of the Rug, then do that same thing for diamonds going in the other direction! A total of four times, that is 16 diamonds per side, will look gorgeous so try to hold yourself back from doing more than that because it can get overwhelming if there are too many colors used!
For me, I have decided on doing three colors which means 12 diamonds on each side! Of course, it’s entirely up to you how many colors or diamond shapes you use. Still, I would advise against using anything more complicated than a four-sided diamond due to the complexity of mastering it in such a short amount of time.
Step 9 :
When you have completed all of your diamonds for both sides, tie another knot at one end, leaving about 15 inches from where you tied off up until the opposite end and cutting off any excess yarn, being especially careful not to snip your needle or string!
Step 10 :
tie a large knot with both pieces of string close together, making sure that it is an even distance apart, then take a part of yarn about 7-10 inches long and double it before tying a knot around the two strings keeping them together. Of course, you can always use hot glue to attach them if that’s easier instead, but I find that the small amount of friction created from the knot and yarn end is enough to keep them together until you’re ready to attach them!
Precautions While Weaving a Rug Without a Loom:
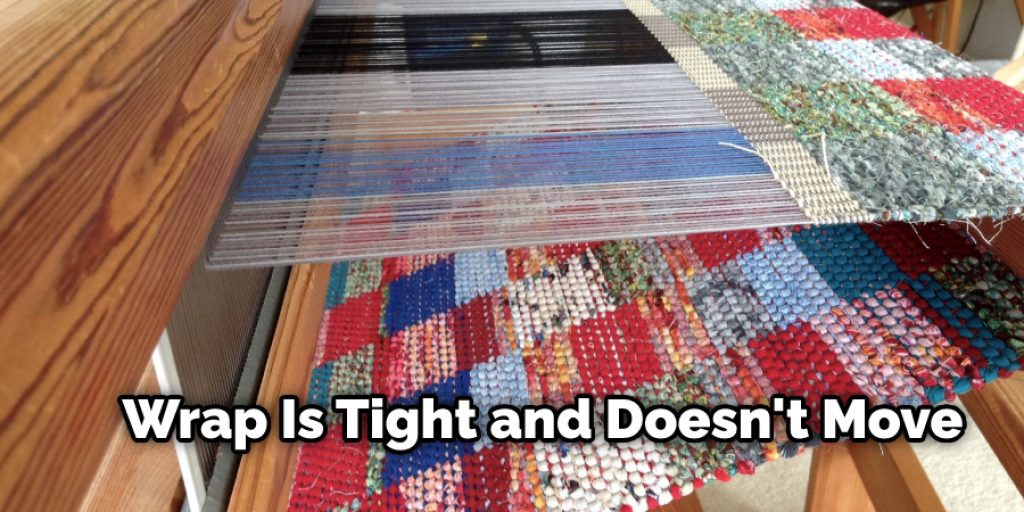
- Make sure the wrap is tight and doesn’t move. If it does, place a heavy object on top of it to hold it in place. Also, make sure your weft thread isn’t too long because you will need extra room to weave under and over the warps.
- Have an odd number of warp threads so that the warp pattern is stable.
- Use one bobbin of brown or undyed white wool for every 3″ of rug width so that your Rug will be light color after finishing; this way, any dirt won’t show easily. 4 . Don’t cut off the dead ends of yarn until you are finished weaving all rows, or else you will have to weave all over again.
- The Rug may get rippled after removing the loom, or it may not, but if it does, just take a steam iron and use a thick terry cloth towel as a pressing cloth and press gently on the rippled areas.
- If you do not like the crease where two color changes occur, take an ironing board cover and sew up one side to become a tube with an opening at both ends. Pull it over your ironing board and then flatten out the creases as they occur by lightly going over them with your steam iron set to “cotton.”
Conclusion:
I hope you have obtained all the necessary information on how to weave a rug without a loom. Also, Ensure all the precautionary measures are followed properly. Thank you and have a nice day!


